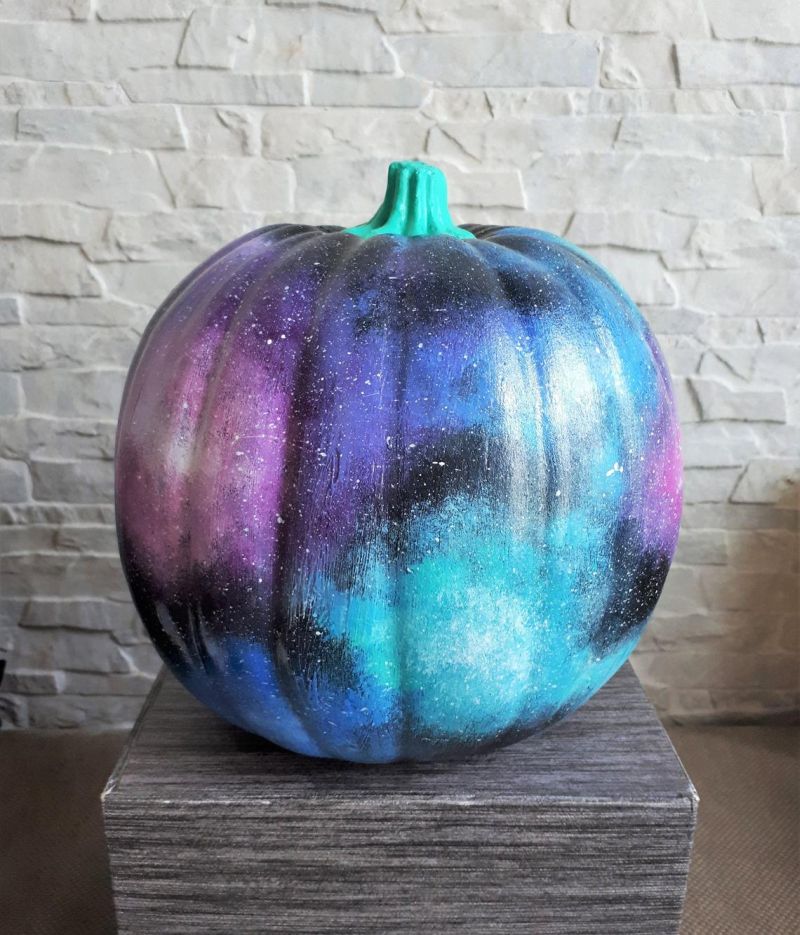
Painting pumpkins is easier than carving, and it gives you an option to match them to your interior decor and suit personal style. You can find a number of pumpkin painting ideas out there; however, we’ve come up with a popular no-carve pumpkin decorating idea, which is actually a galaxy painted pumpkin. Allison Murray of Dream a Little Bigger shared a DIY tutorial on how to paint your own galaxy on a pumpkin.
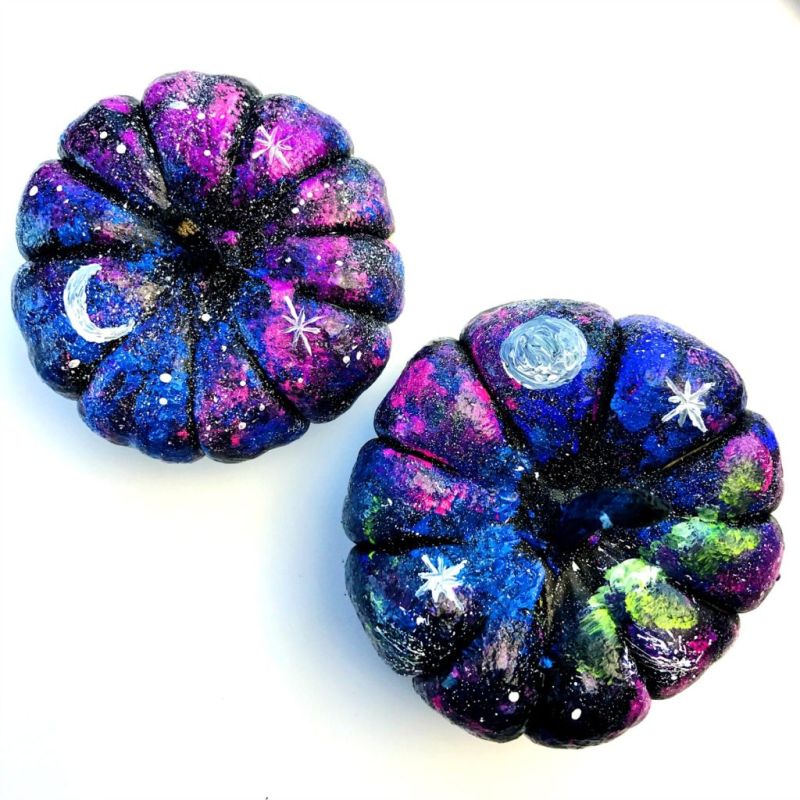
She used a fake black pumpkin, craft acrylic paint, sponge brush, and a few old toothbrushes for this Halloween DIY. The project started with putting on smudges of dark blue onto the pumpkin and then dulling them off with black paint. She used a paper towel to gently dab the black paint on the blue smudges for visual depth. Next, she applied other shades like teal, purple, pink and gold with a sponge brush (you can also use cotton balls). At last, tiny drops of white paint were sprinkled with stiff bristles of an old toothbrush to mimic the starscape.
After all the time and effort put into its making the galaxy pumpkin was ready. However, she didn’t stop there, instead, she turned it into a cool jack-o’-lantern. She printed constellation patterns on a paper and then used it as a stencil to mark points of each star on the pumpkin. These marked dots were drilled and further joined with white paint to look like galactic constellations. She also drilled small holes all around the pumpkin, which glow to look like stars when it turns into a jack-o’-lantern.
Also Read: 70+ Easy Pumpkin Carving Ideas
Finally, she drilled a large hole on the bottom of the pumpkin to place Christmas lights, turning it into an illuminating galaxy jack-o’-lantern. Although Allison used a fake black pumpkin for the project, it is indeed possible to paint the galaxy on a real pumpkin too. So why not try it this time around for Halloween!
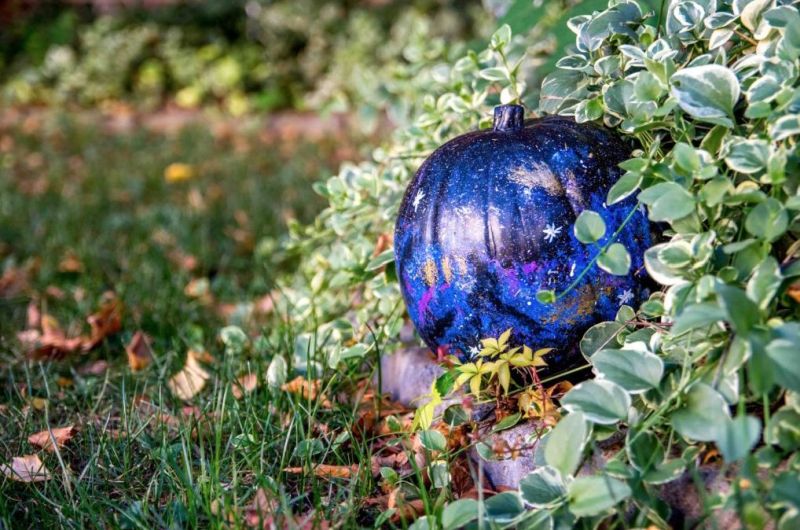
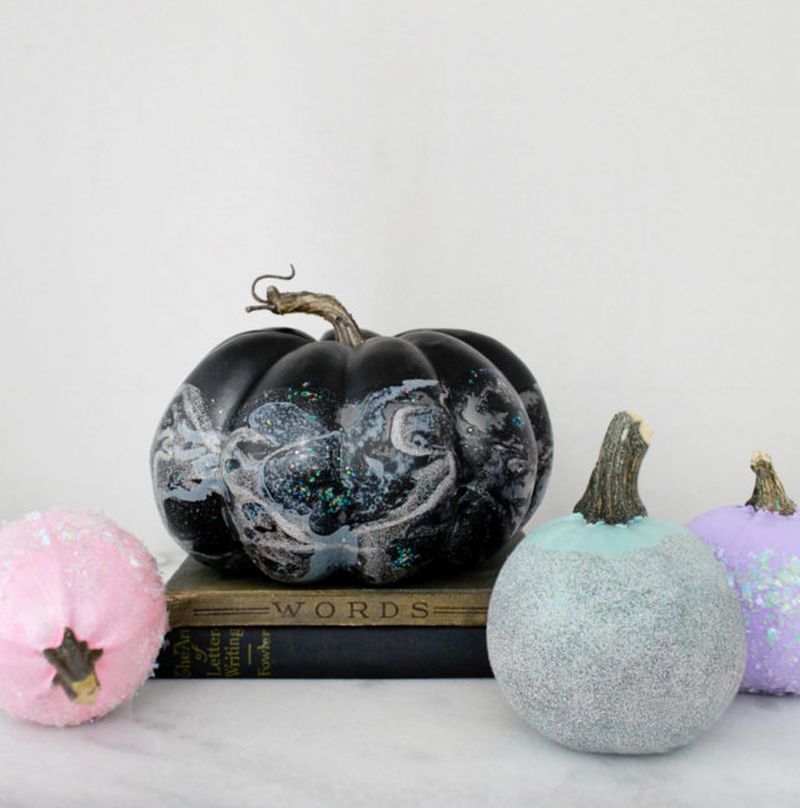
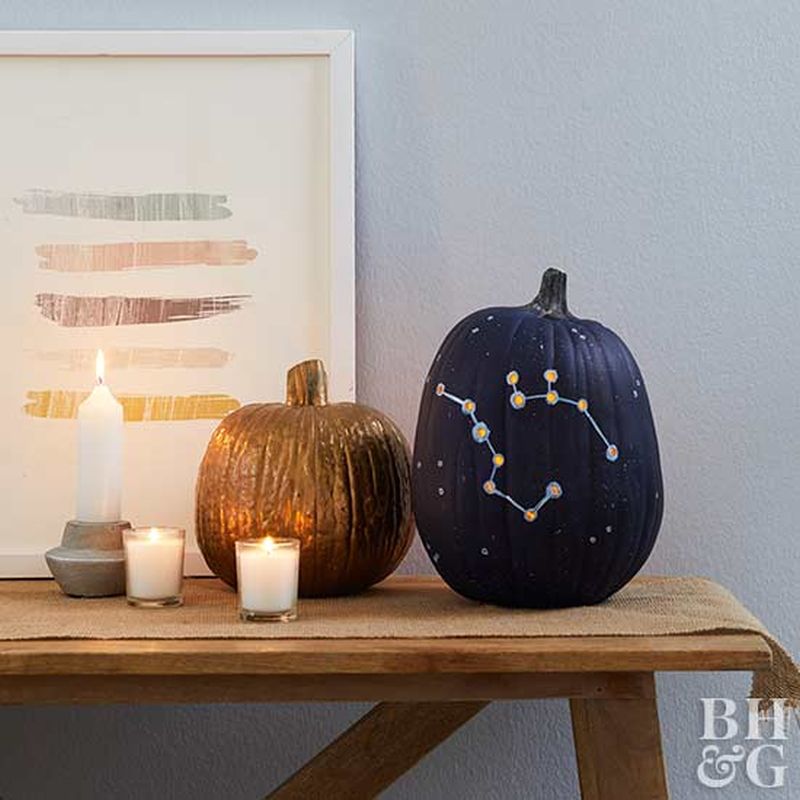
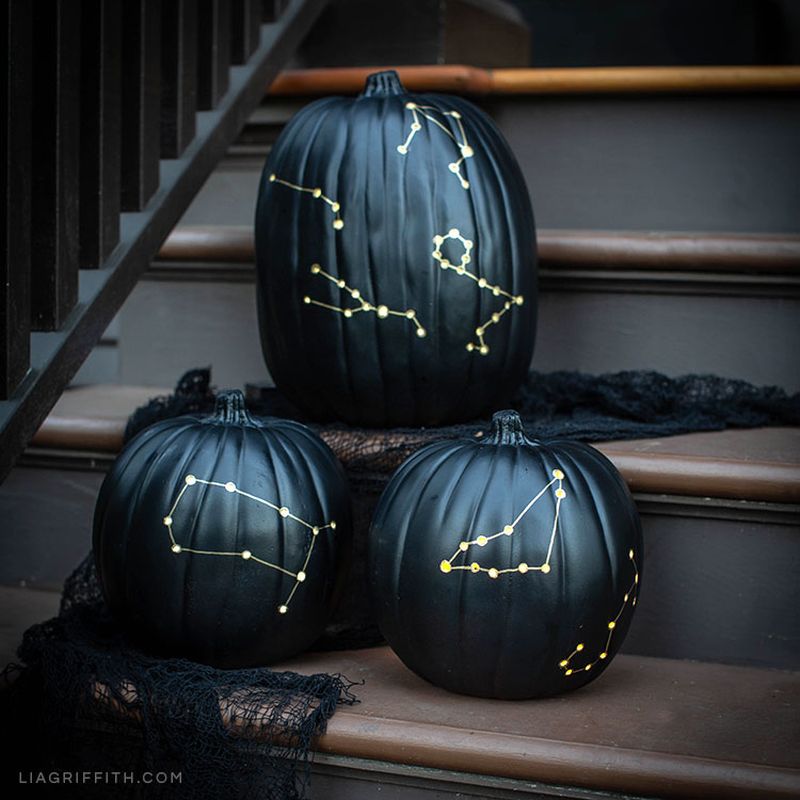
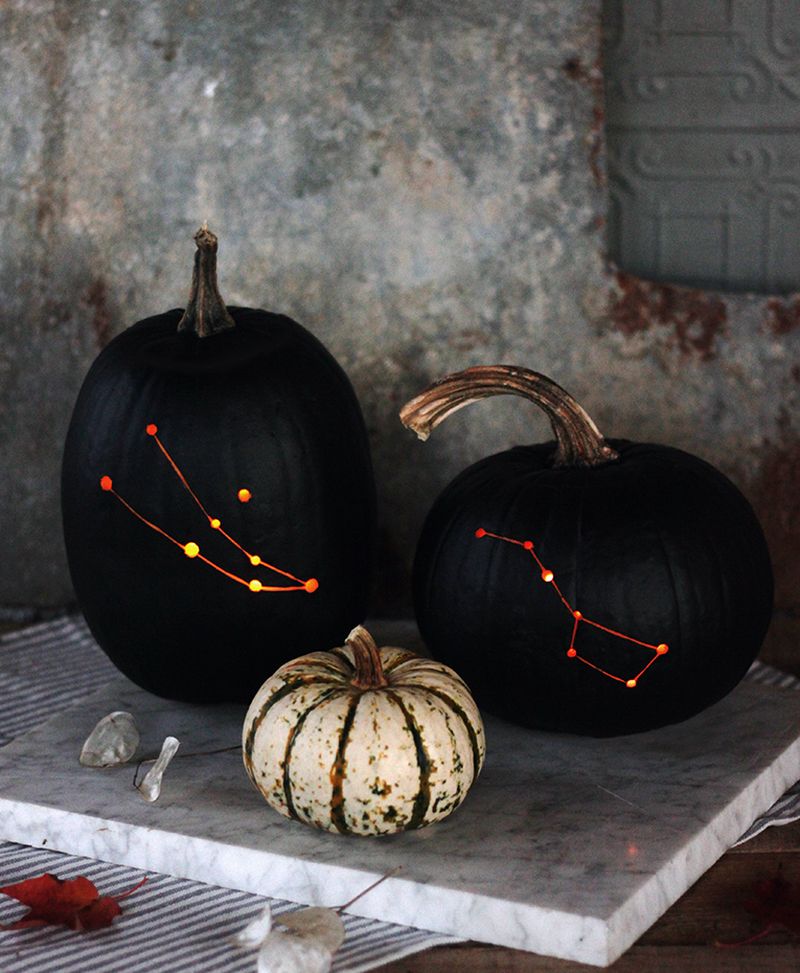
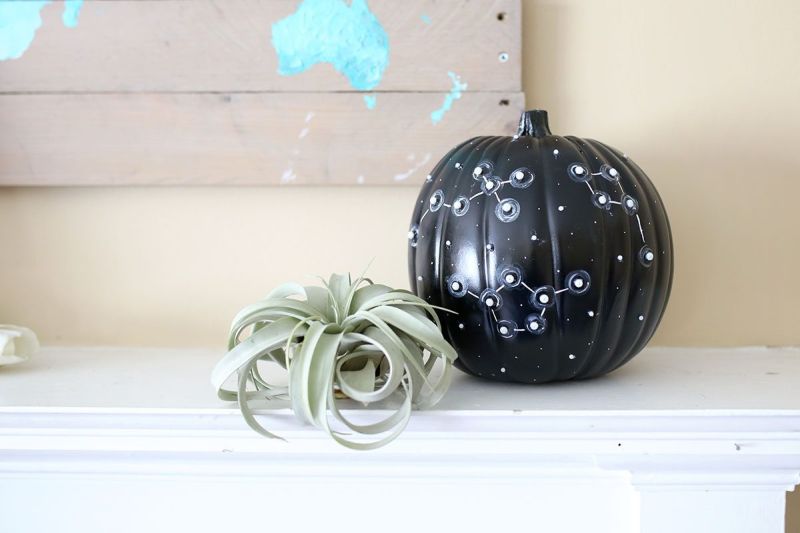
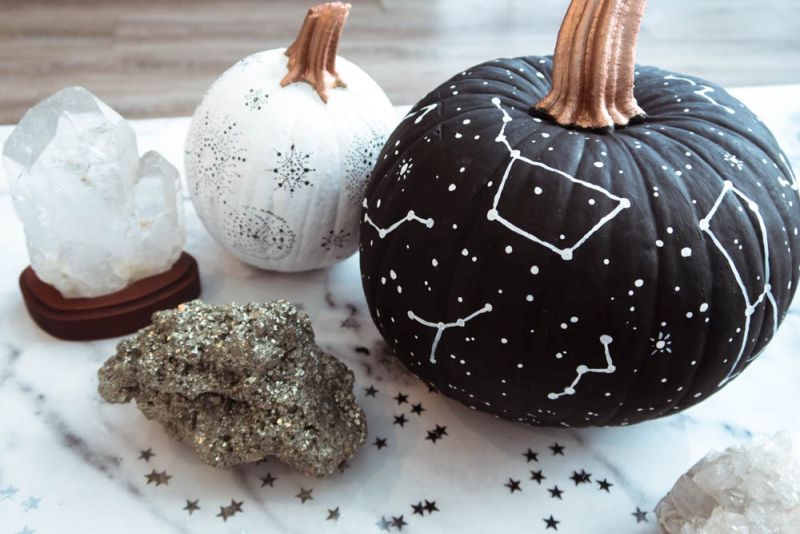
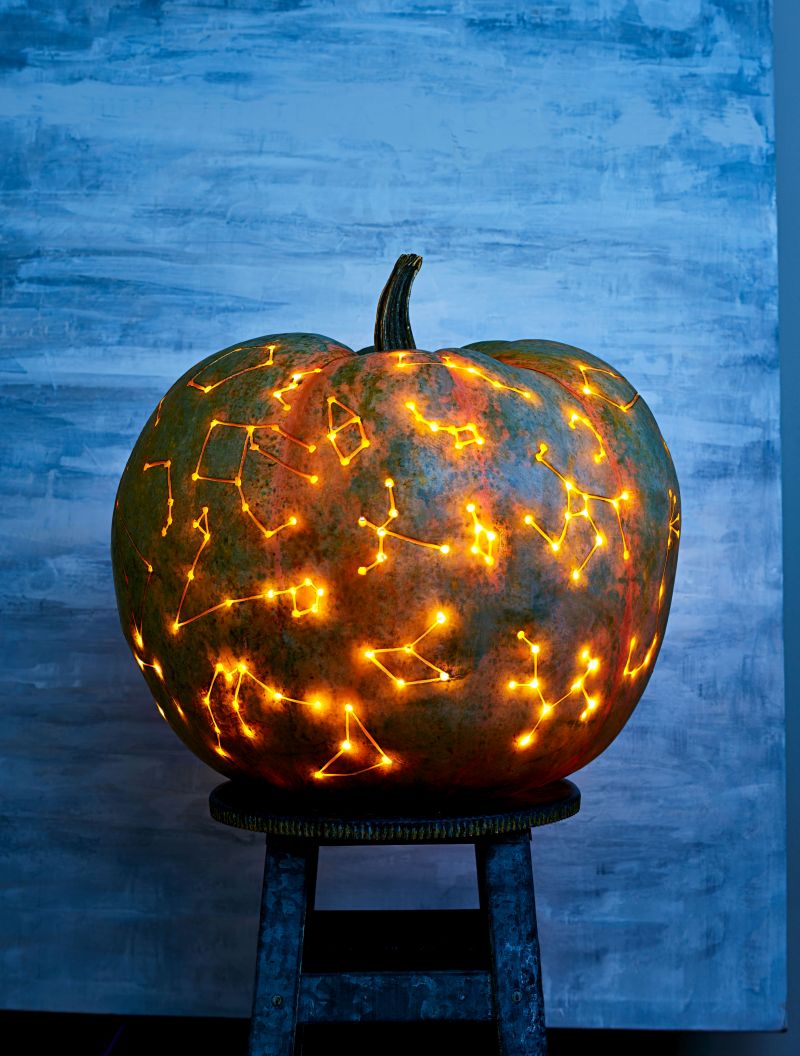
Head over to Dream a Little Bigger for the complete tutorial. Also, check out more galaxy/constellation pumpkin ideas for inspiration:
Follow Homecrux on Google News!

