Pumpkin carving is an enormous task for both beginners and seasoned holiday decorators. But with some practice, you can have a beautiful, albeit scary, Jack-o’-lantern to add to your fall festivities. This year, I tried my hands on pumpkin carving for the first time. I am happy to share that while the task was arduous and required some serious effort and time, the results are more than satisfying.
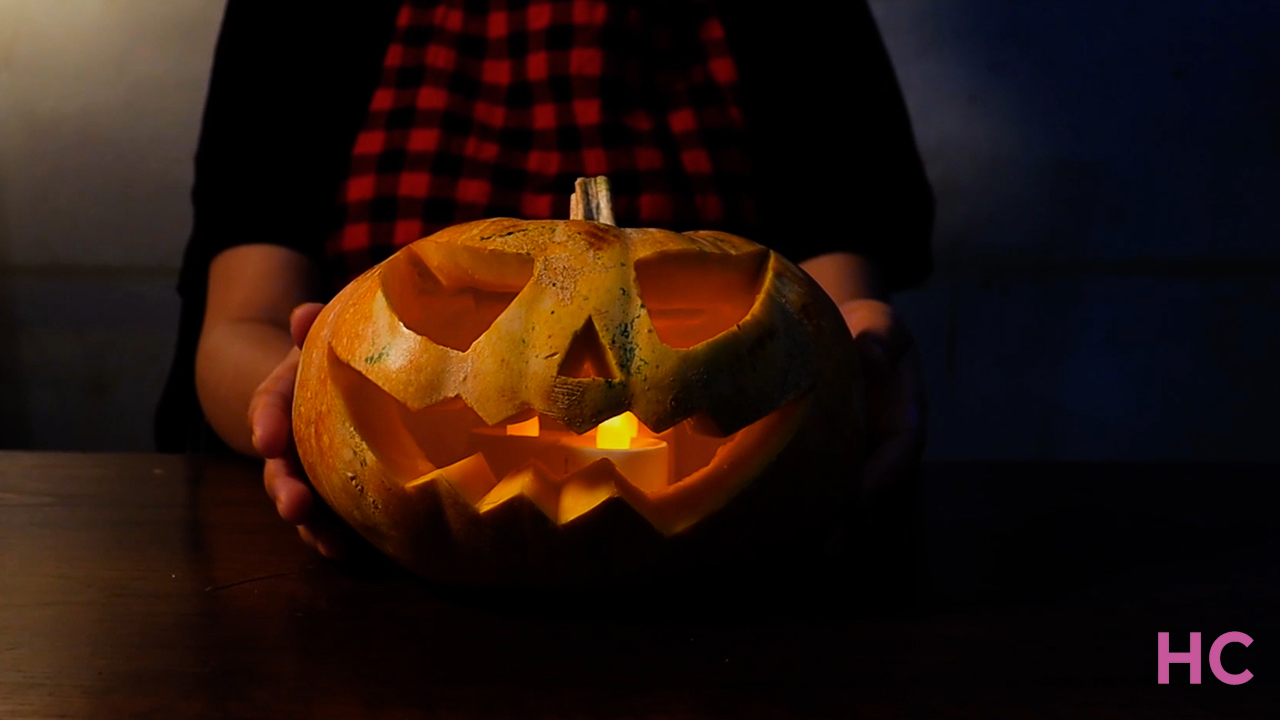
This one is my first pumpkin carving, and I sought to create an easy and traditional Jack-o’-lantern pumpkin carving idea for Halloween decorations, which even beginners can accomplish without any mistakes. Read on to learn how I achieved a beautiful pumpkin Jack-o’-lantern carving for Halloween 2023.
Note: I didn’t have any carving tools, so I employed two knives from my kitchen. You may want to get some tools as using knives can be tricky, with a risk of you nicking yourself.
Also Read: Pumpkin Fairy House Carving Tutorial for Halloween
Materials Used:
- Ripe pumpkin
- Knives
- Spoon or ladle
- Tealights
How to Carve a Pumpkin Jack-o’-lantern Tutorial
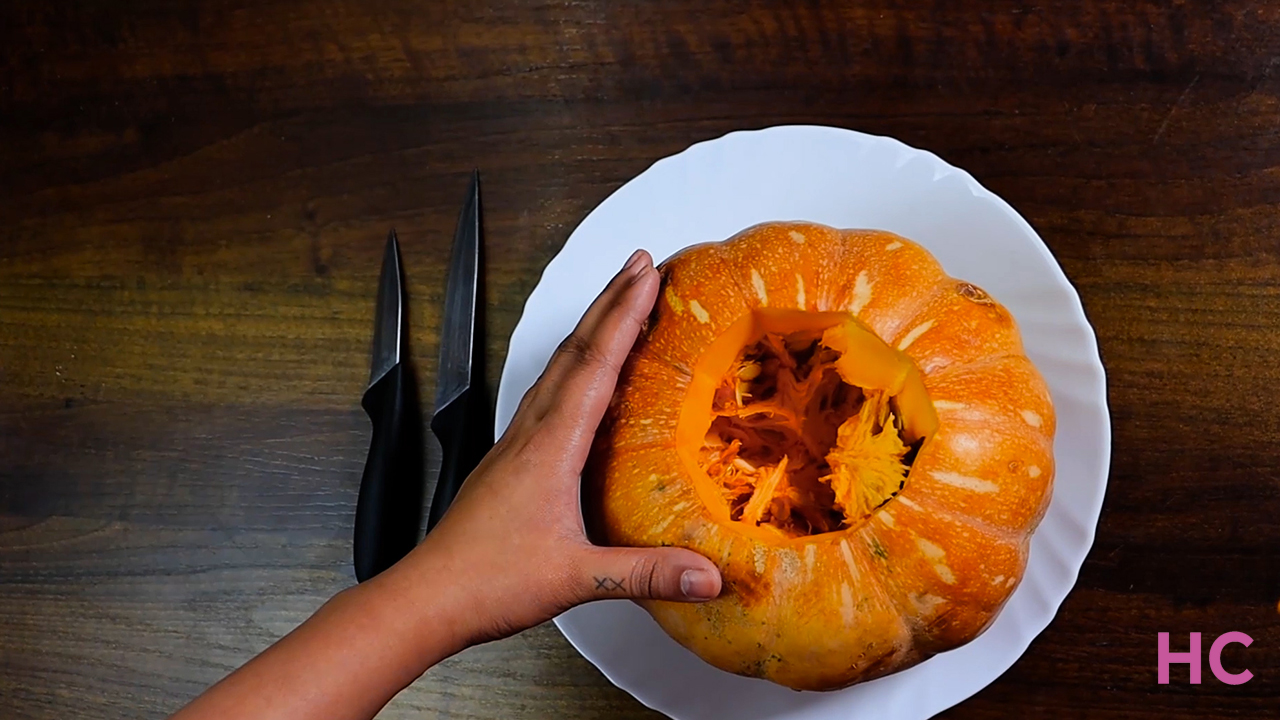
- You need to cut a hole at the top of the pumpkin. Draw a circle around the stem area using the knife, helping you to stay on point as we don’t want to damage the pumpkin
- Remove the top, and scrape the fibers and pulp on the removed portion. We will use it as a lid later
- Then, scrape the insides of the pumpkin. Make sure you get out every bit of fibrous strands, seeds, and pulp
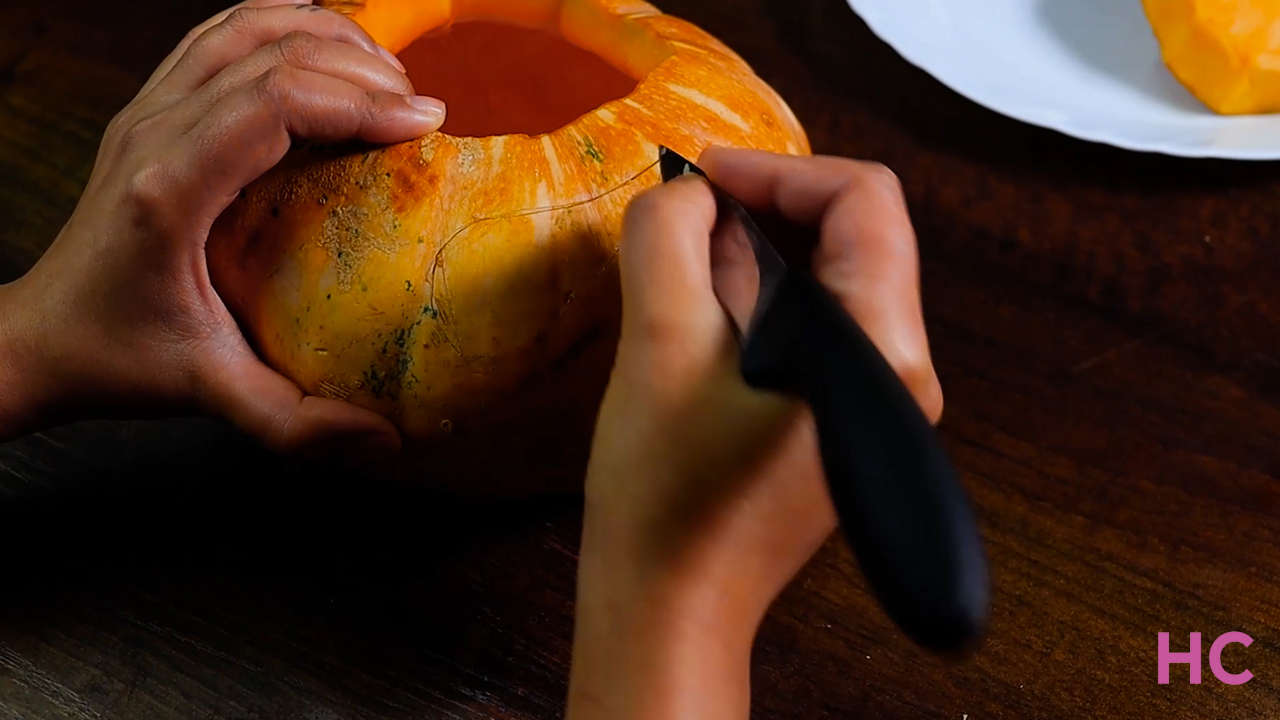
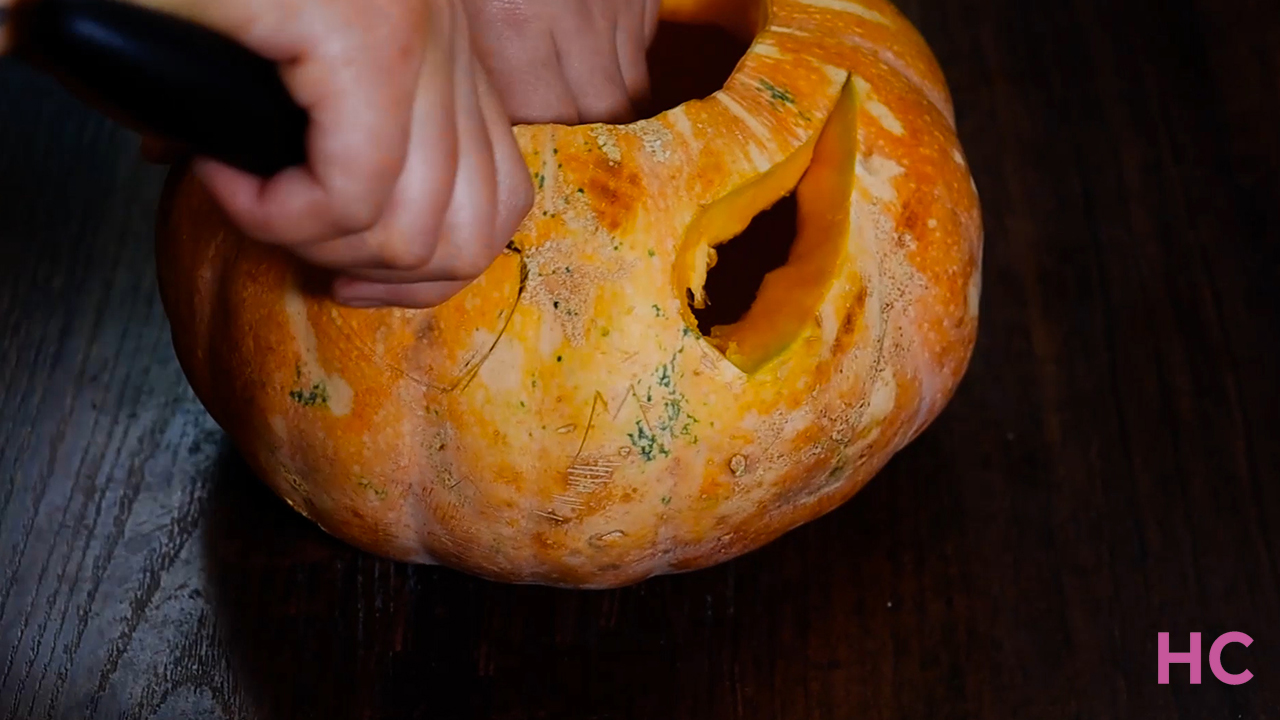
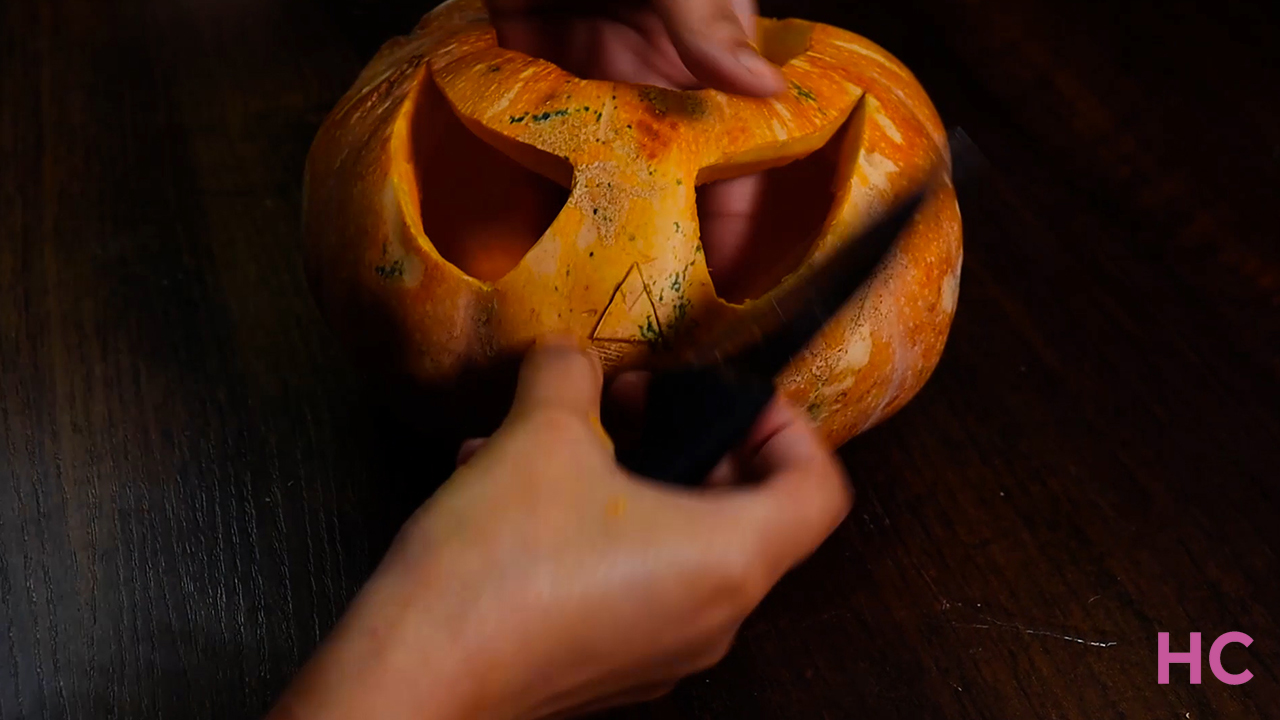
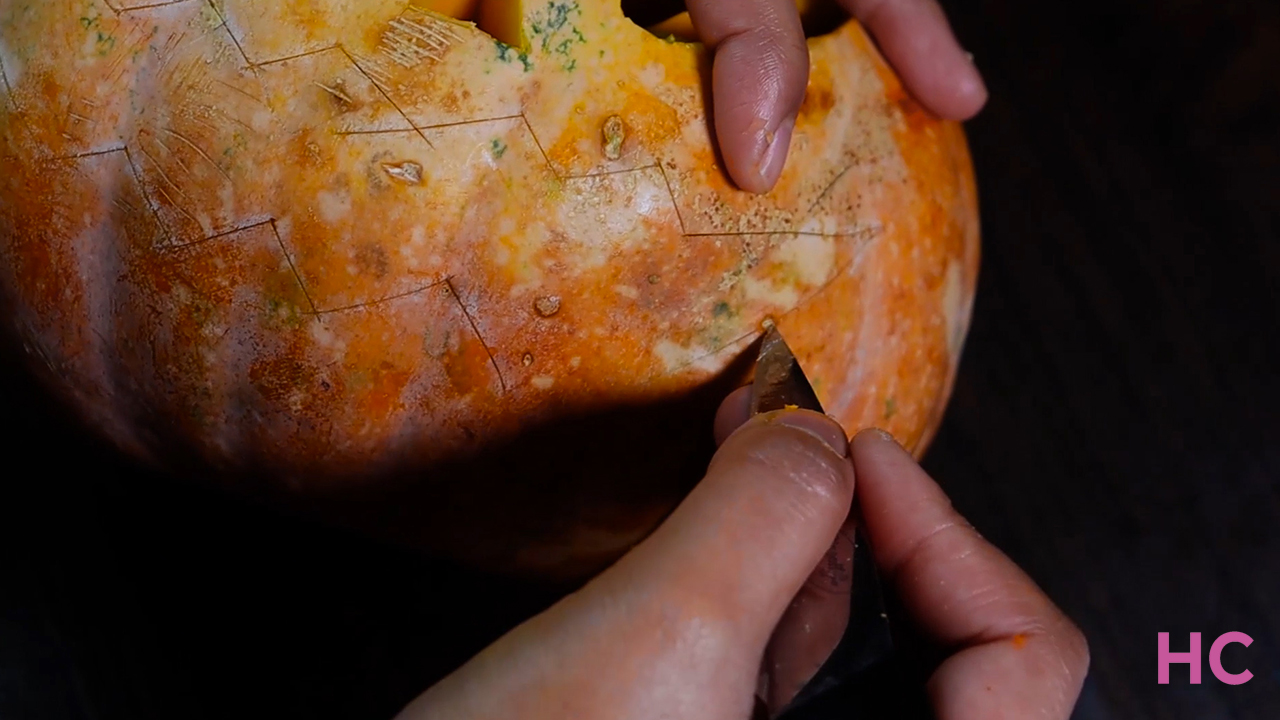
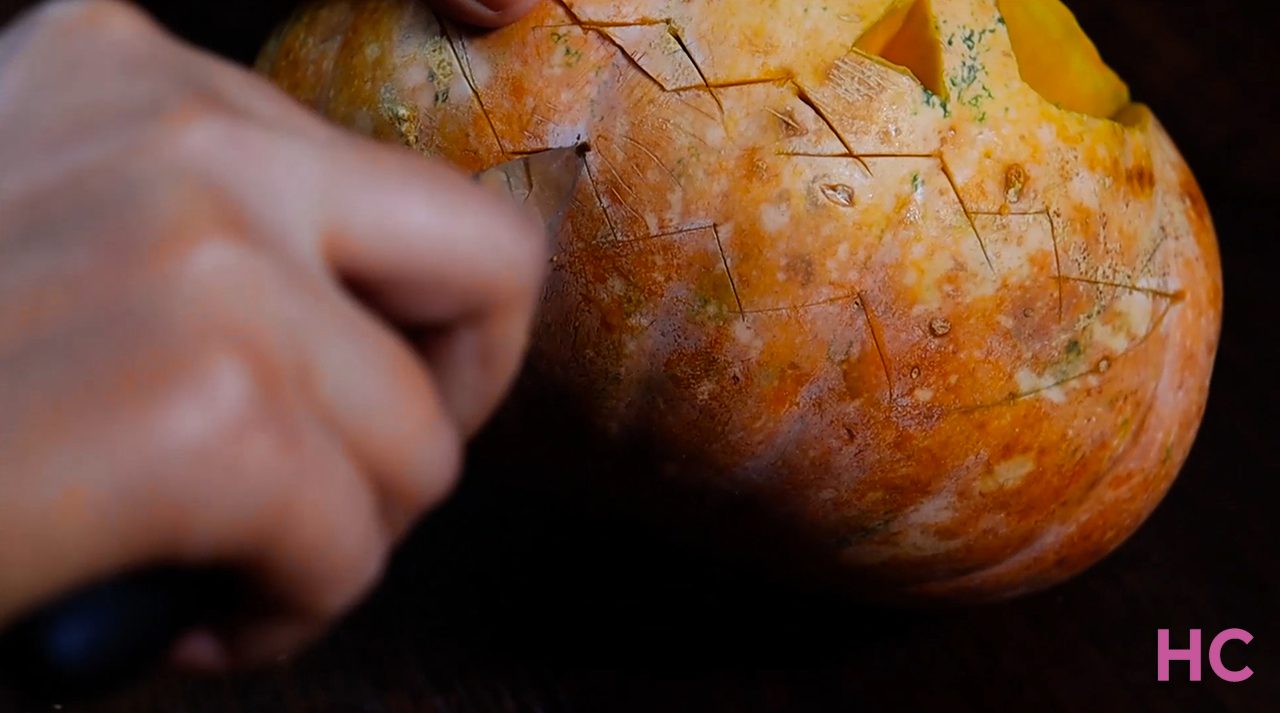
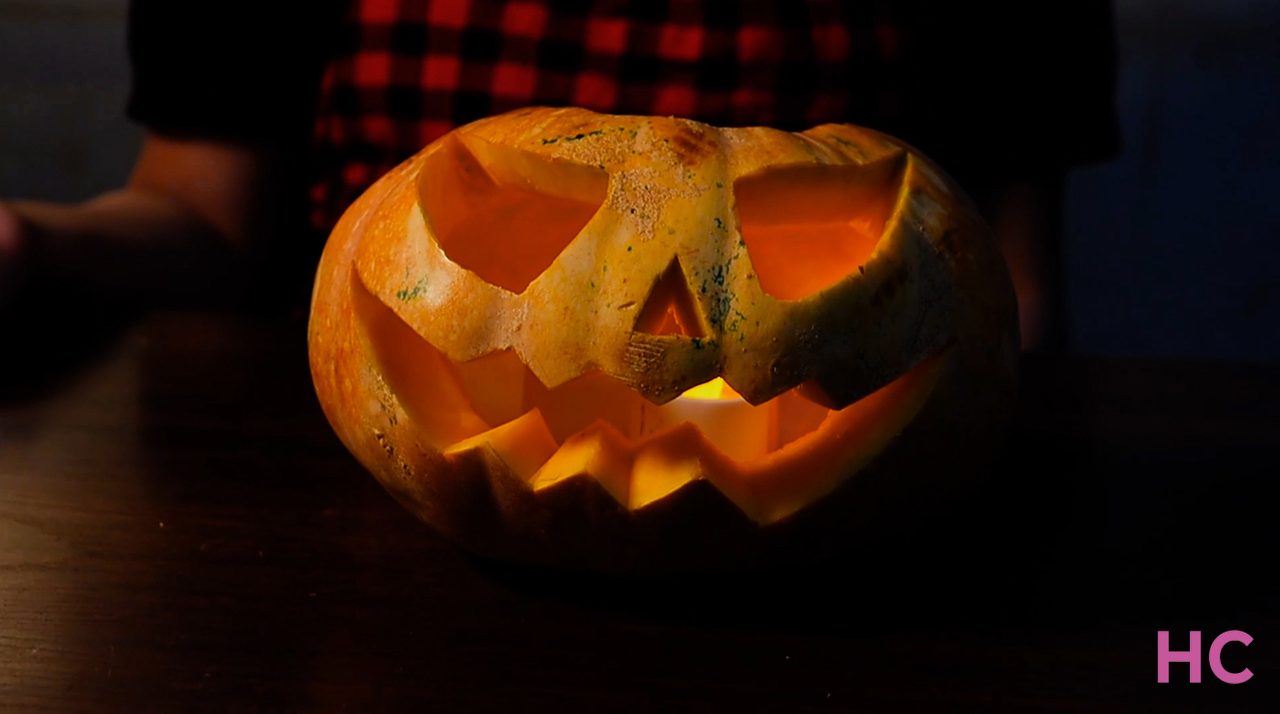
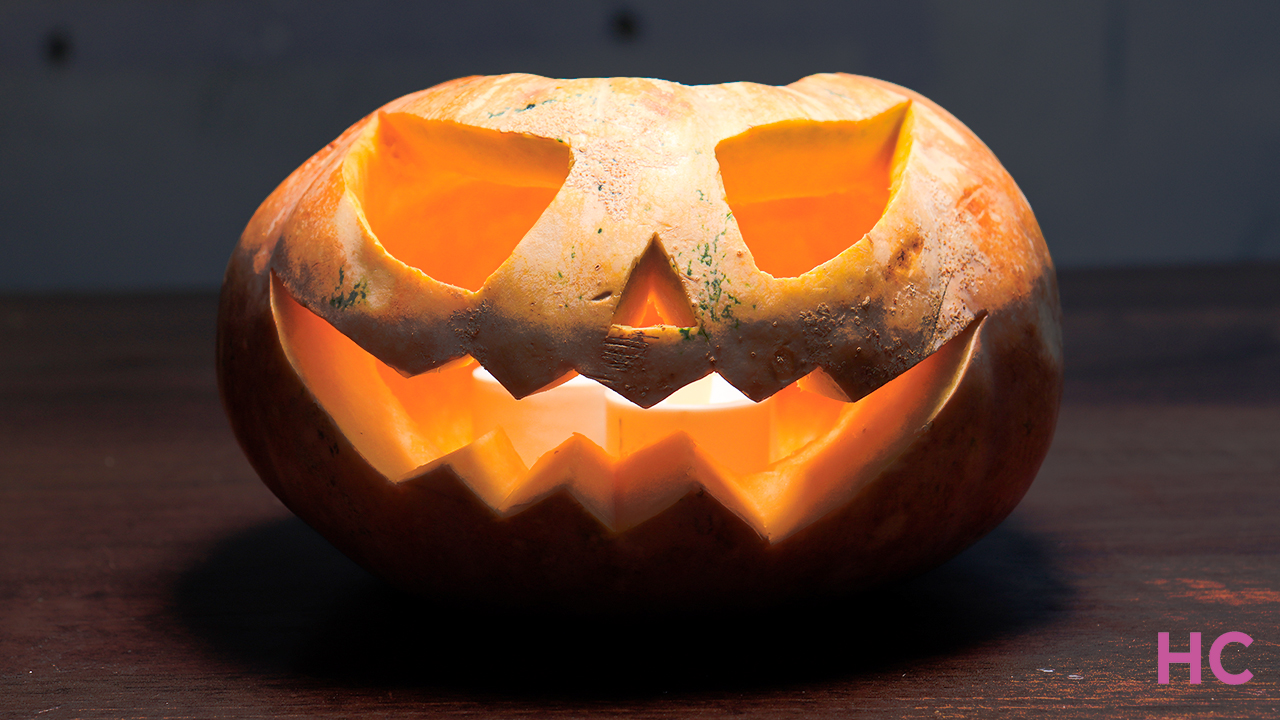
- Once the pumpkin is empty, draw a traditional Jack-o’-lantern pattern on the side. It should have spooky eyes, a mouth with jagged teeth, and a small nose
- Carving the face will come easily as classic patterns are easy and simple
- Once carved, put a couple of tealights inside and add the top lid and that’s it!
Check out the video tutorial for clearer instructions on pumpkin Jack-o’-lantern carving:

Follow Homecrux on Google News!


