Easter is here and – for slackers like me who leave things to the last minute – I have got a quick and cute DIY tutorial on how to make a pom-pom Easter bunny. The task takes less than 30 minutes and requires only a handful of items to make.
Besides, this cute DIY pom-pom Easter bunny will bring you and the kids closer. You can make them in any size; pocket-sized for babies and little kids to play with, and bigger ones to stuff into Easter baskets, or for decorating the house during the holiday. So let’s get started.
Material Required:
- White yarn
- Gray yarn
- Gray felt
- Hot glue gun
- Scissors
- Mini pom poms
- Beads
Also Read: How to Make Delicious Chocolate Easter Eggs at Home
Steps to Make Pom Pom Easter Bunny
To make an Easter bunny at home, take spools of gray and white yarn. Make a thick skein of gray yarn; then add a small portion of the white skein to it.
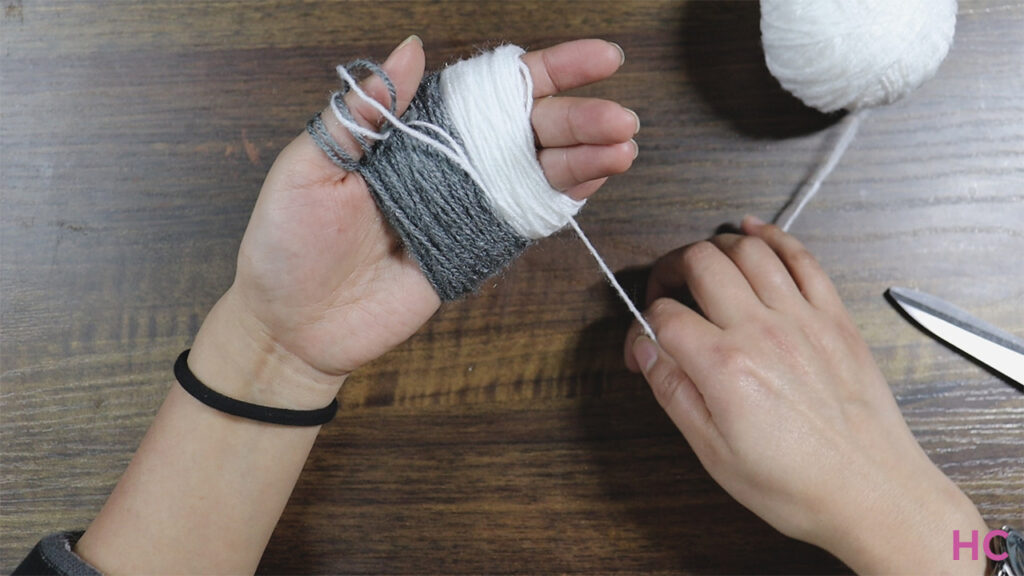
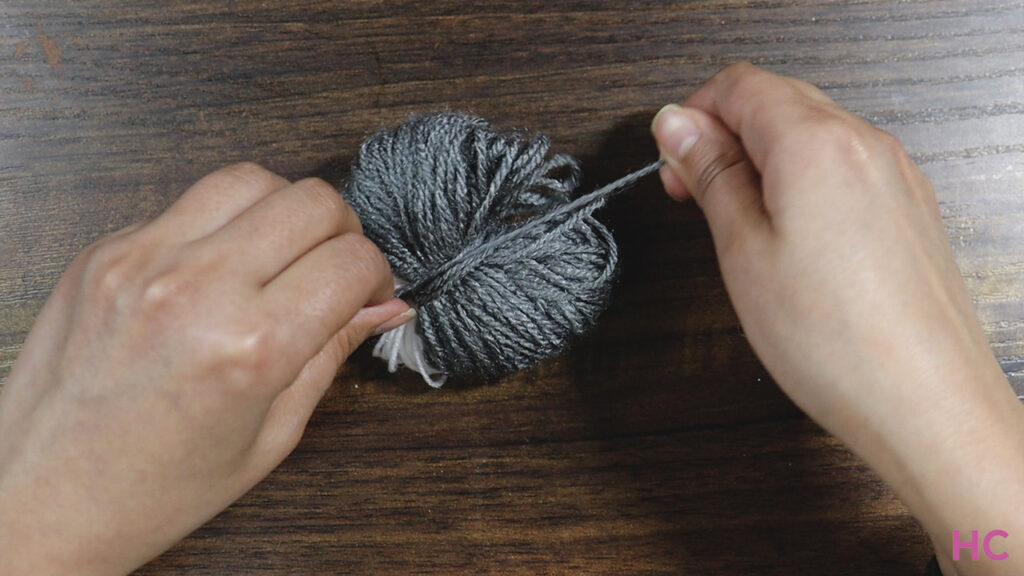
Tie the skeins in the middle tightly and put scissors through the sides and cut them. Then spread the yarn around.
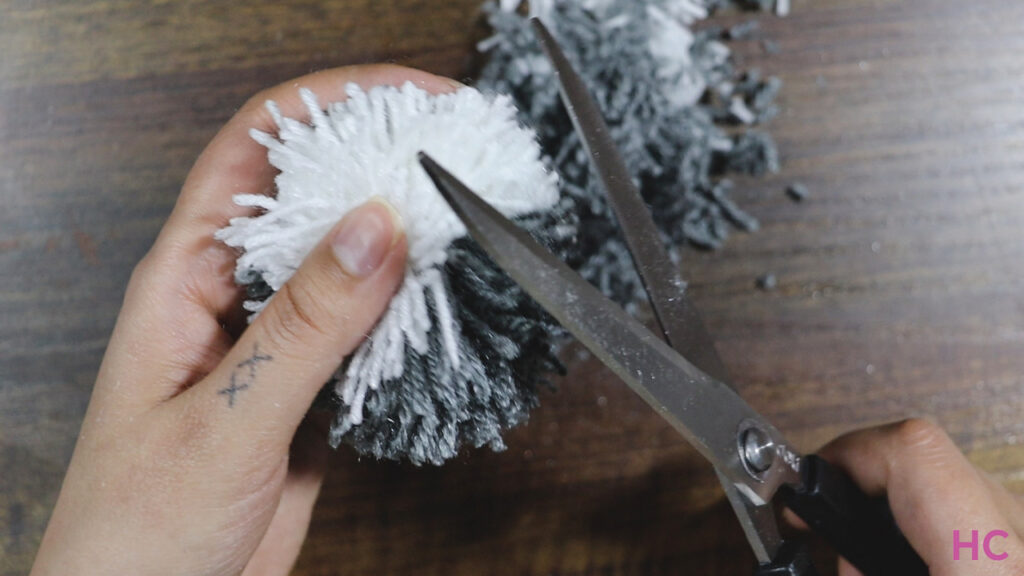
Hold down the pom pom on the tied area and trim down the yarn jutting out until you have a round, fluffy sphere to form the head.
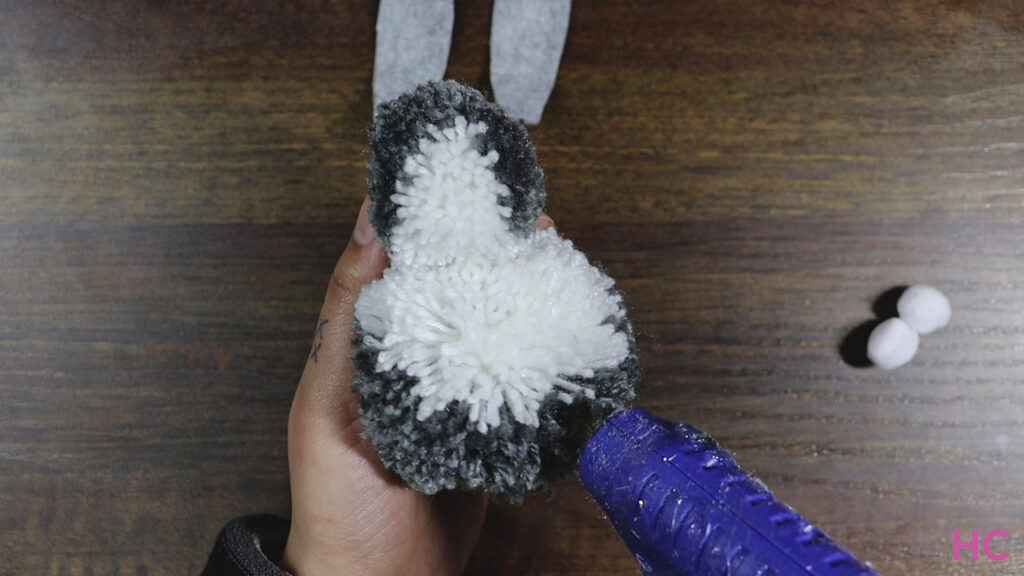
Repeat the process to make a bigger pompom to form the body of the bunny. Then glue the smaller pompom onto the bigger pompom.
Take two stripes of gray felt and cut four long ear-shaped pieces. Then apply glue on one piece, add a craft wire to it, and apply another piece over it to form an ear.
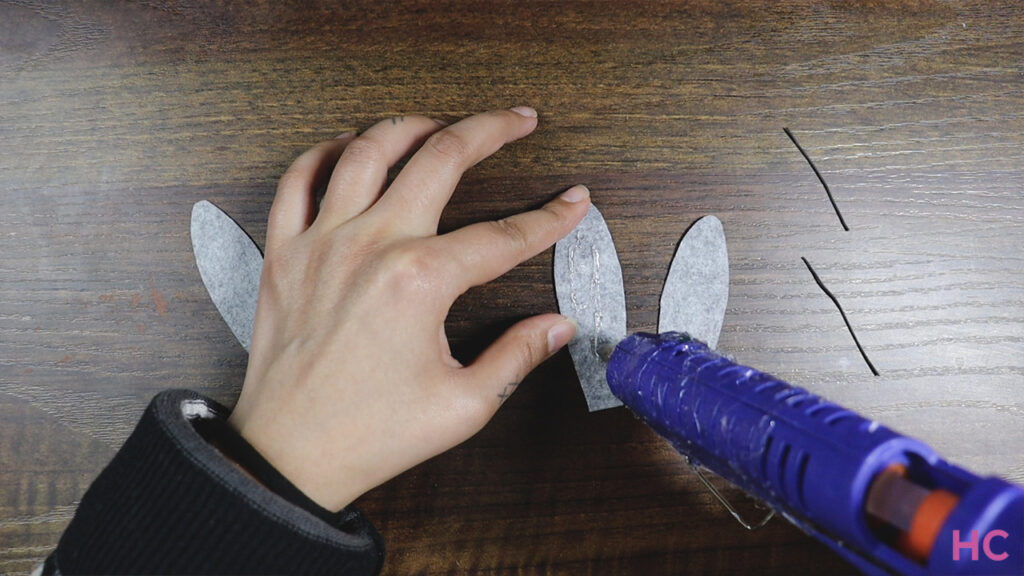
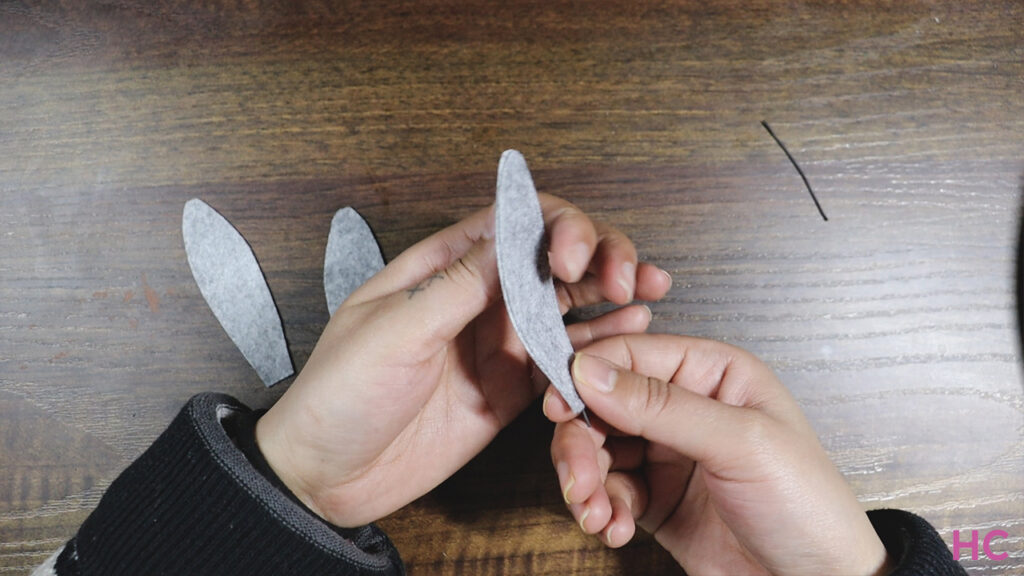
Repeat the process for the second one. Then bend the ears a little, which will be easier because of the craft wire inside.
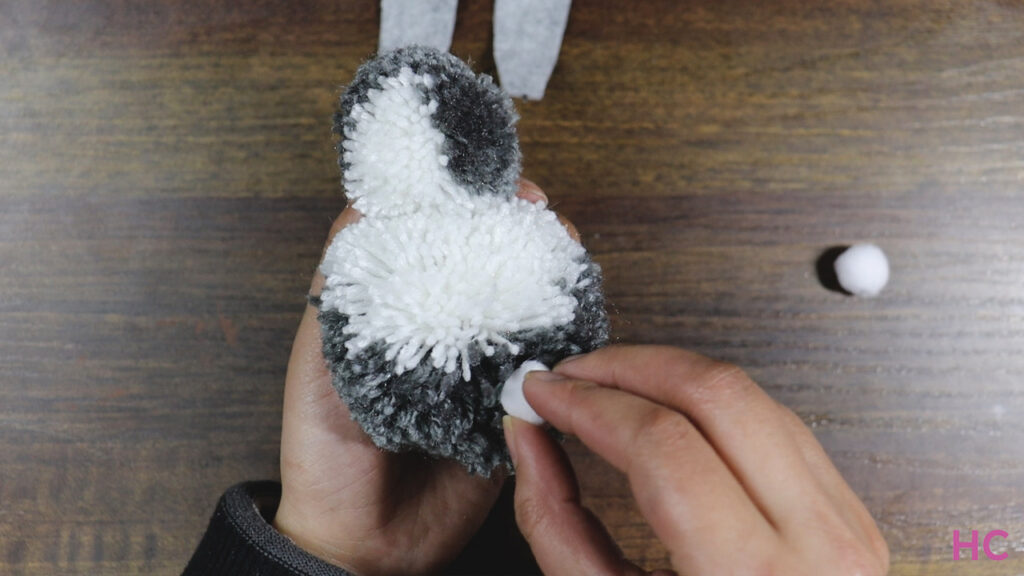
Glue two tiny white pom poms to make the feet and one to form a poofy tail.
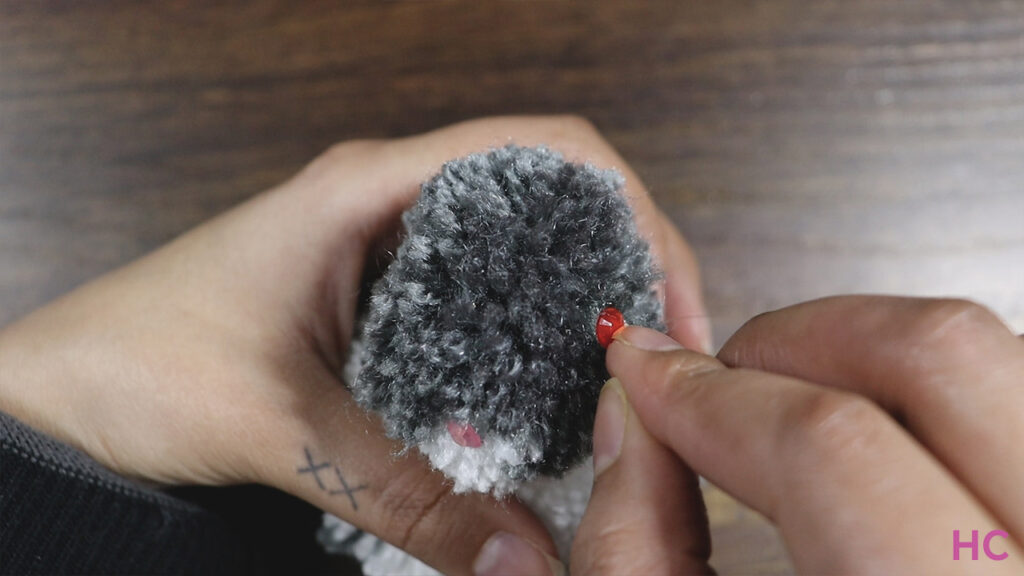
Then glue a pink nose and red eyes using beads.
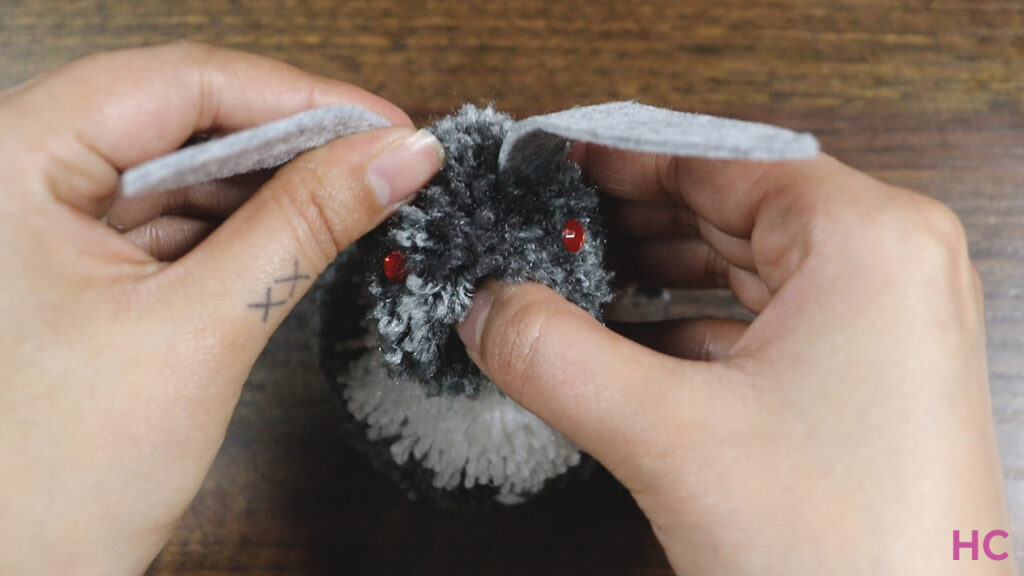
Finish the craft by gluing the ears onto the head. And let your bunny hop.

And that, my friends, is how you create a tiny little pom-pom Easter bunny in 20 minutes.
Follow Homecrux on Google News!


