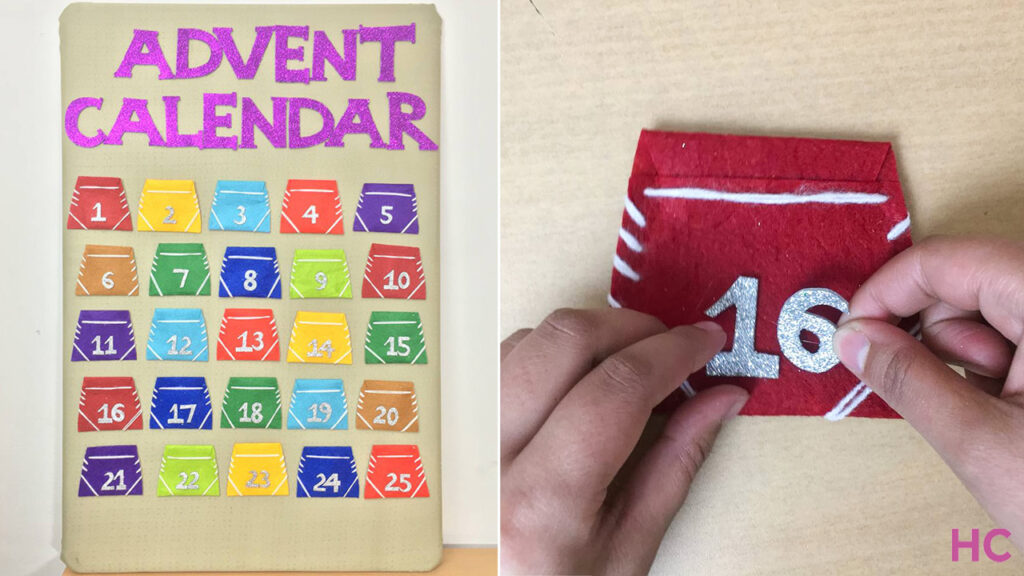
We all eagerly await Christmas. The excitement manifolds as December comes and the countdown begins. This is when homes are decorated with colorful advent calendars. If you want inspiration to create an advent calendar for your abode, I have made an easy tutorial for you to sit down and make a fabric advent calendar with pockets. If you may, you can involve kids in this fun Christmas craft.
Supplies Required:
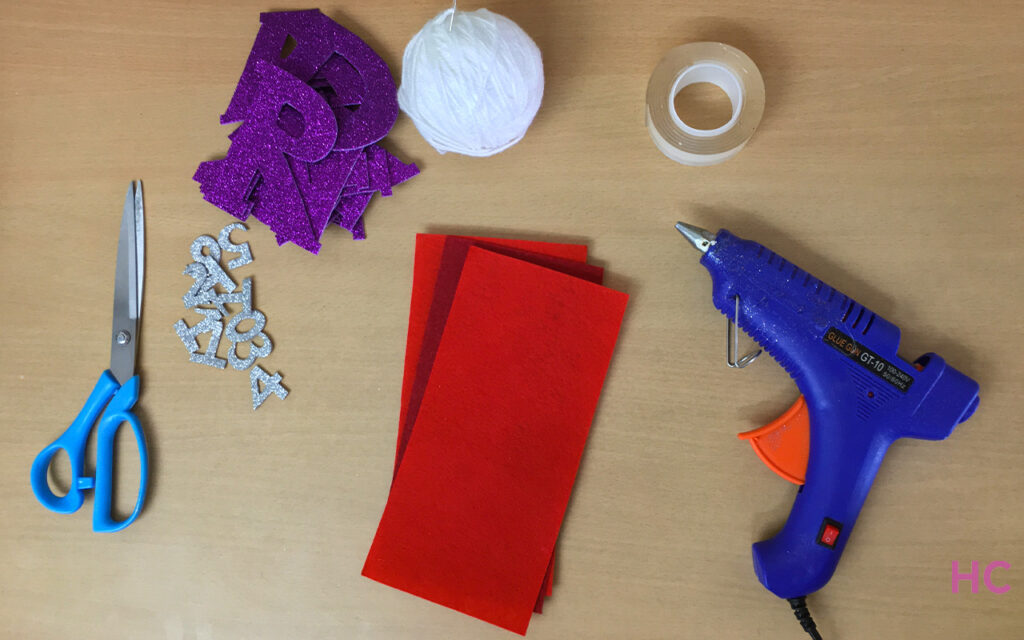
- A board (36” long x 24” wide)
- Plain fabric (40” long x 30” wide)
- Colorful felt sheets (12” long x 8” wide)
- Double-sided tape
- Hot glue gun
- Glitter paper letters
- Glitter paper numbers
- White wool and needle
Also Read: DIY Ornaments for Christmas Tree
DIY Fabric Advent Calendar:
- Chose a clean base fabric of choice and secure it to a board with tape
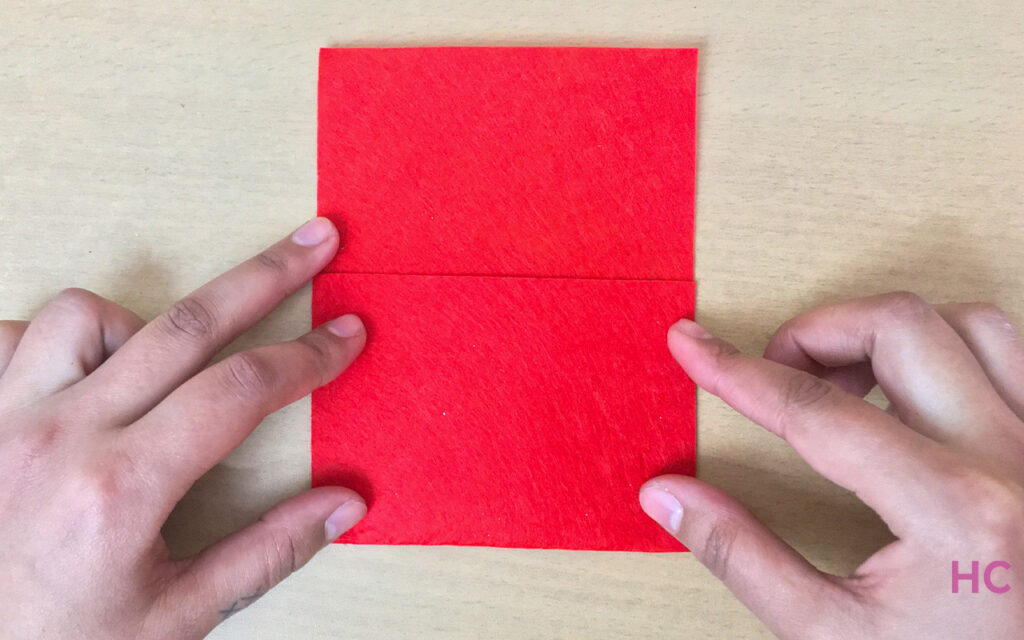
- To make advent calendar pockets, take a felt sheet and cut its length into three equal parts
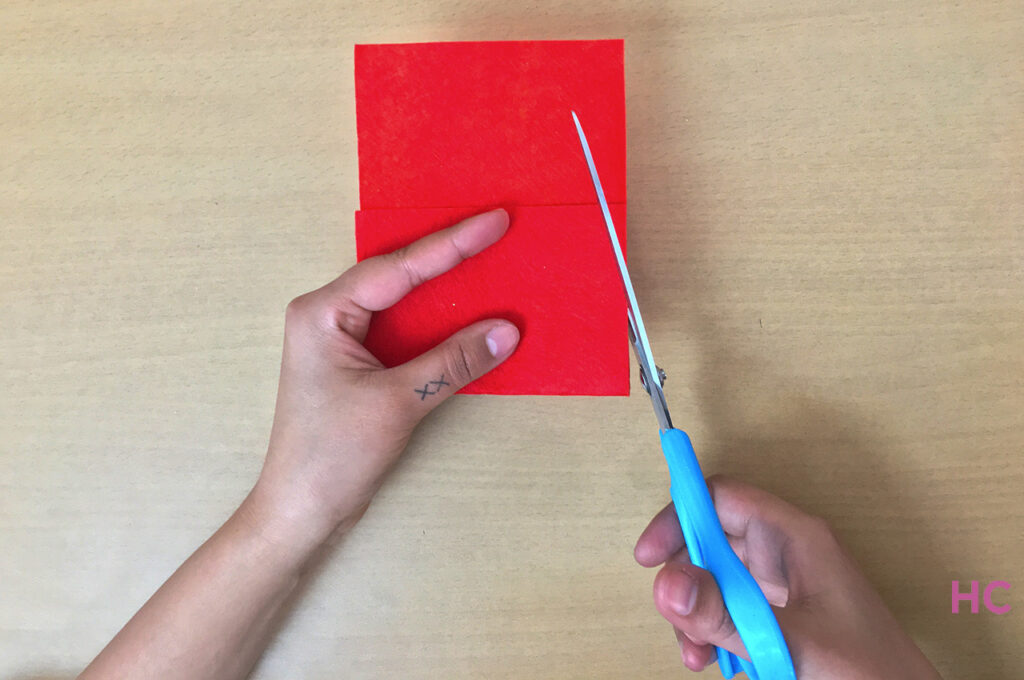
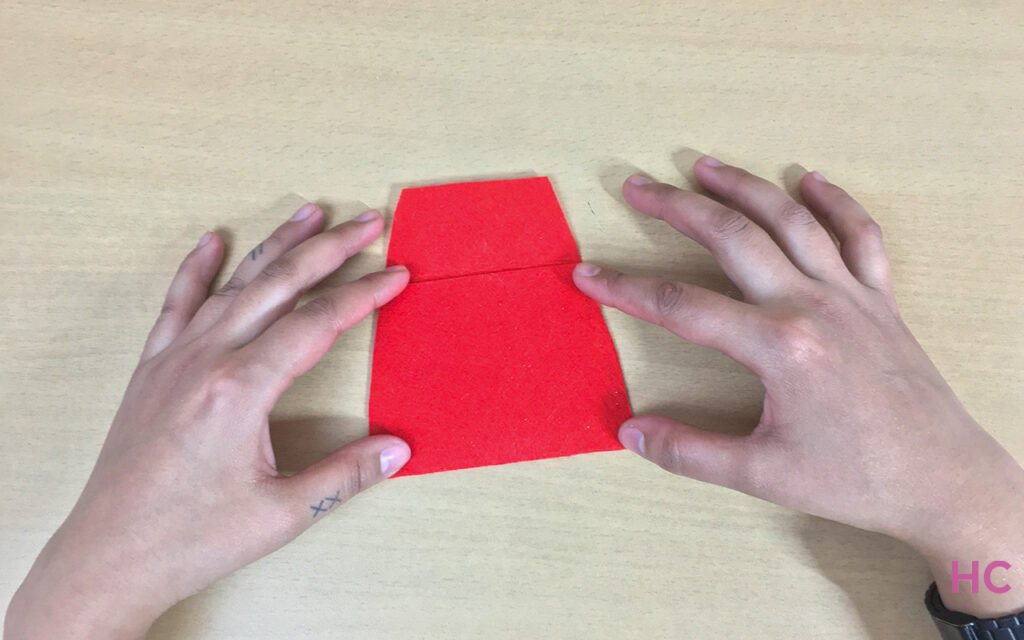
- Each part should measure 4-inches wide and 8-inches long. Fold one piece, dividing the length in 5- by 3-inch ratio. Create slight arches starting from the bottom of the fold to the openings, leaving only 2 and a half inches between them
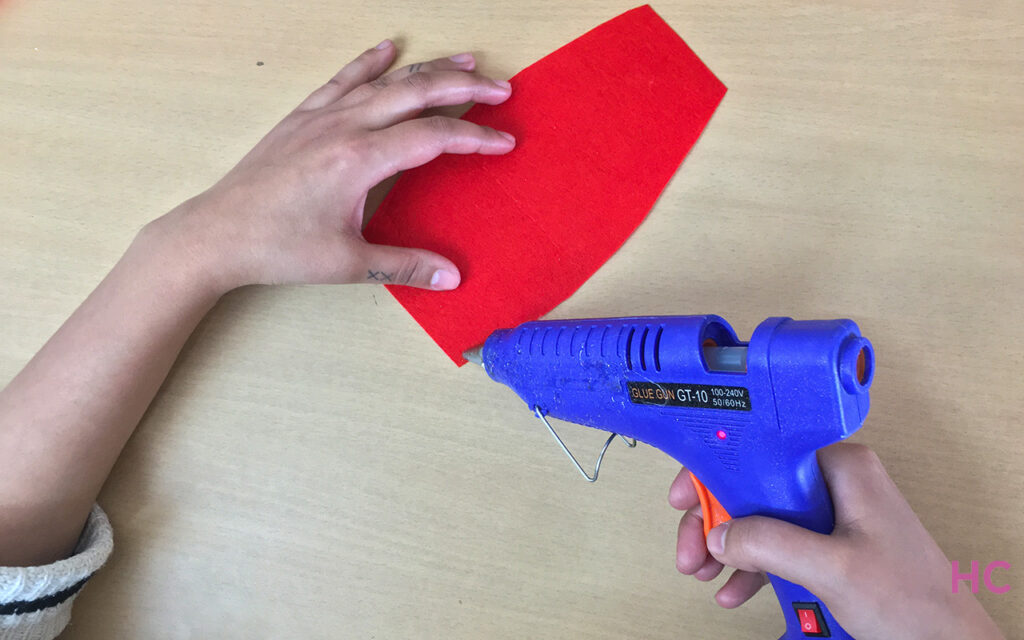
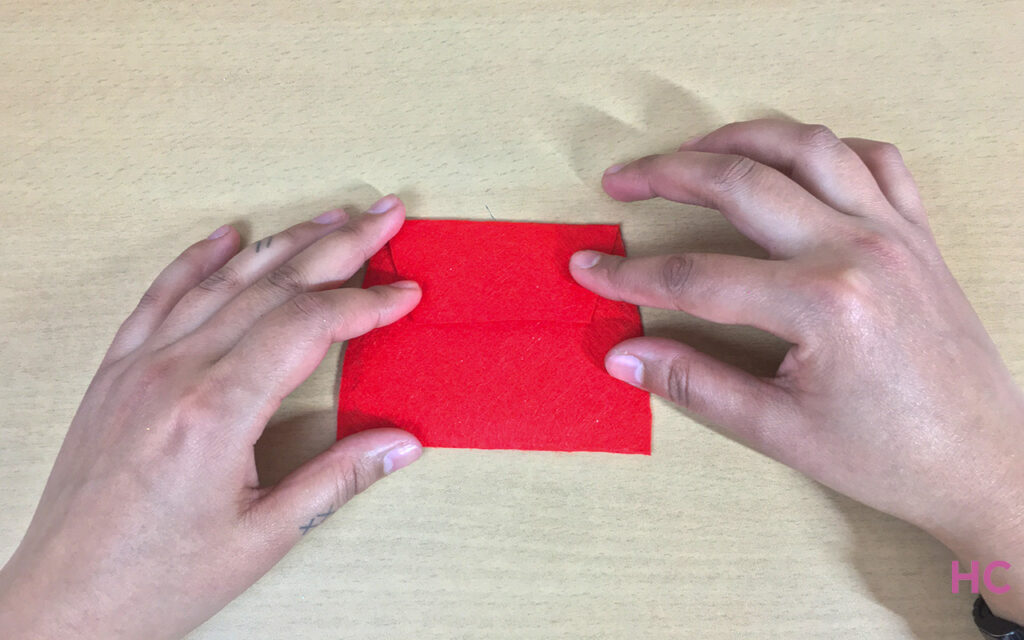
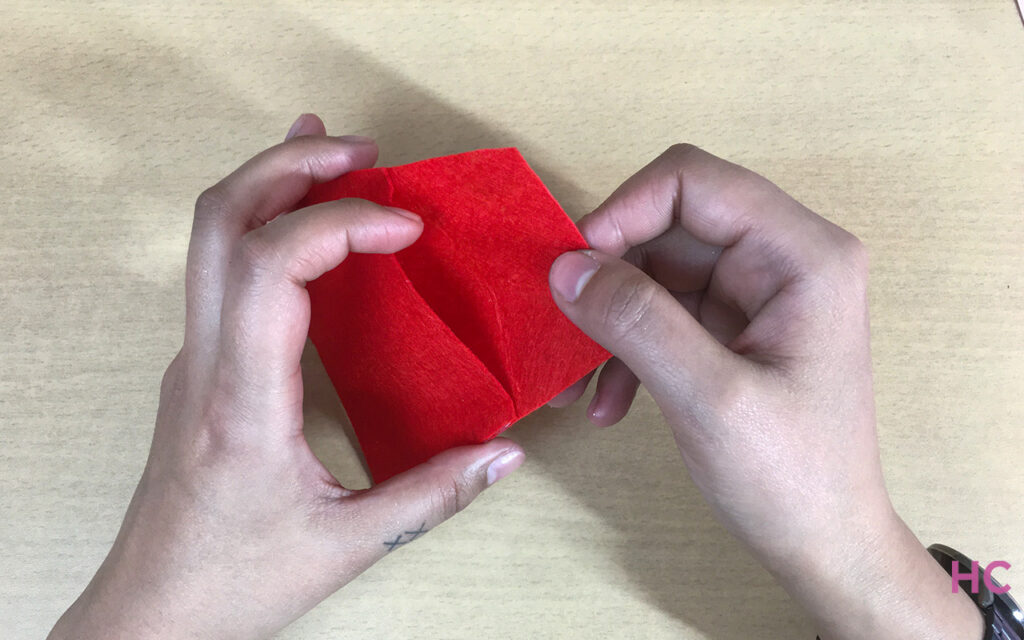
- Now cut along the arch. Glue the sides of the 3-inch fold against the rest of the sheet. It will create a pocket to keep stuff in
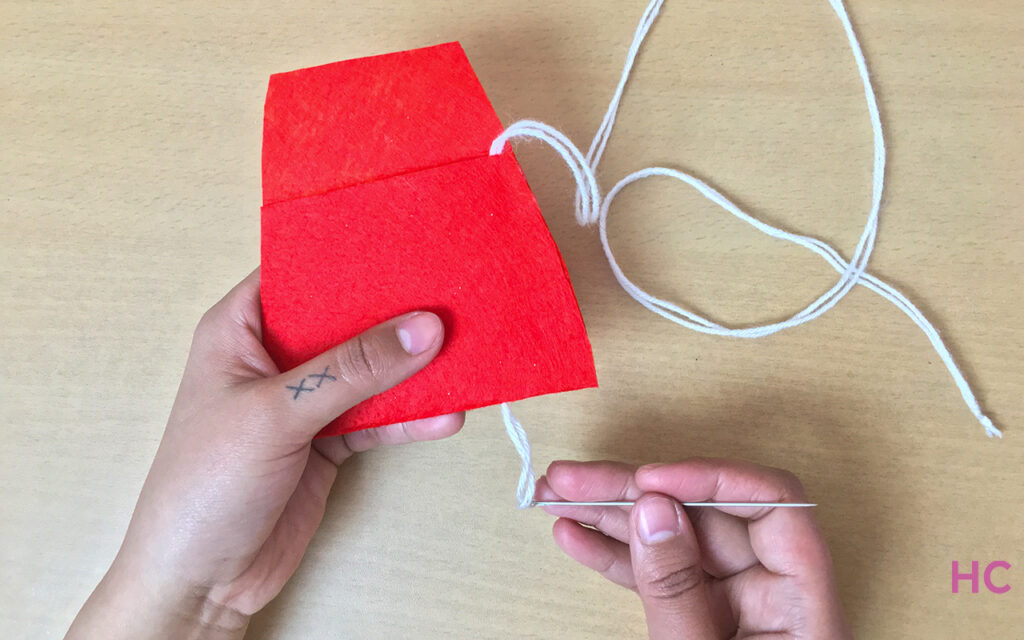
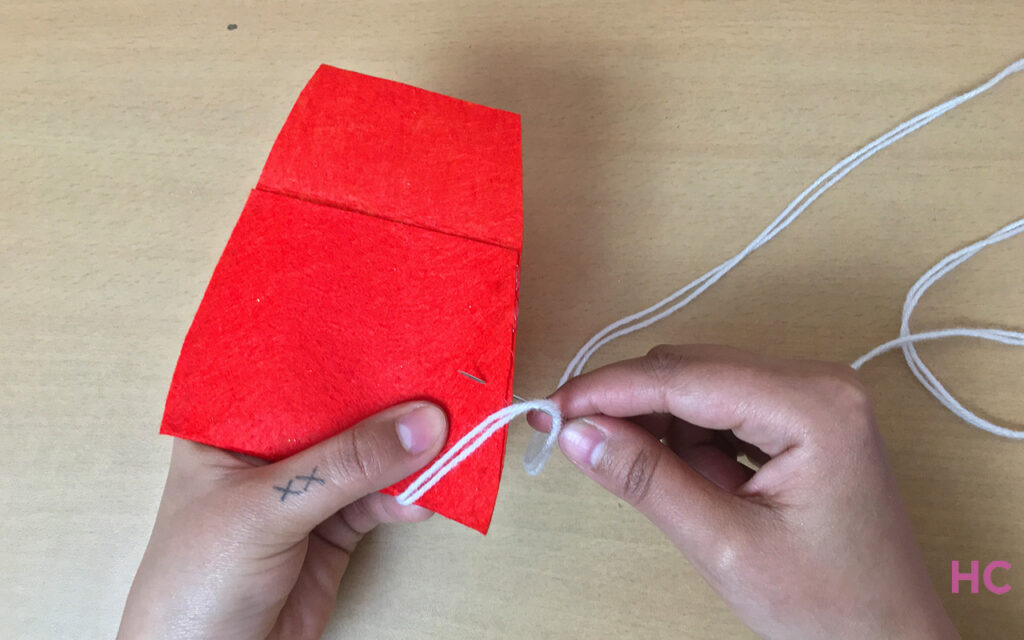
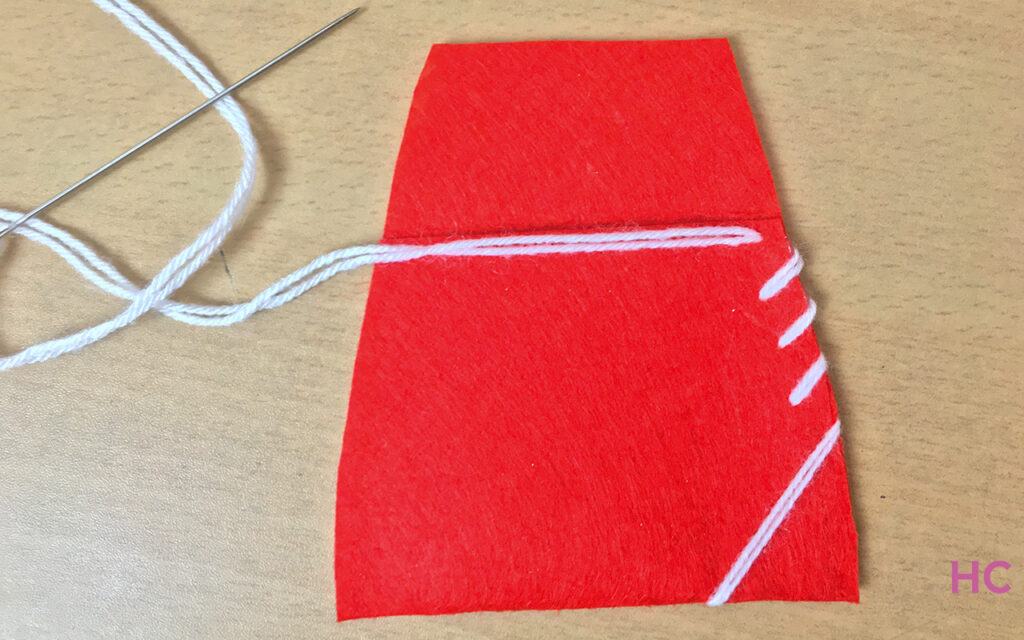
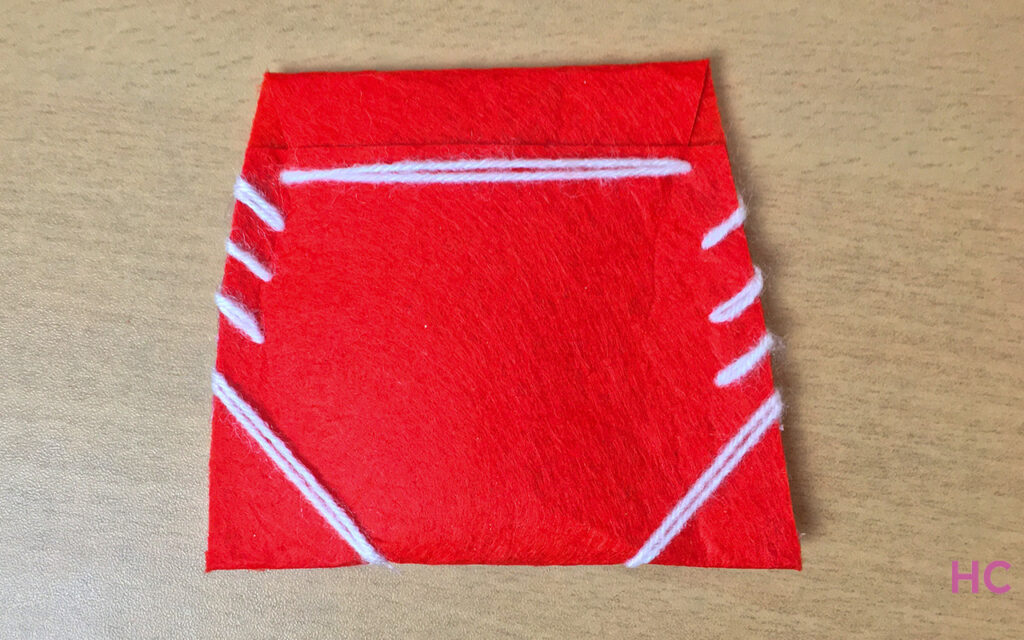
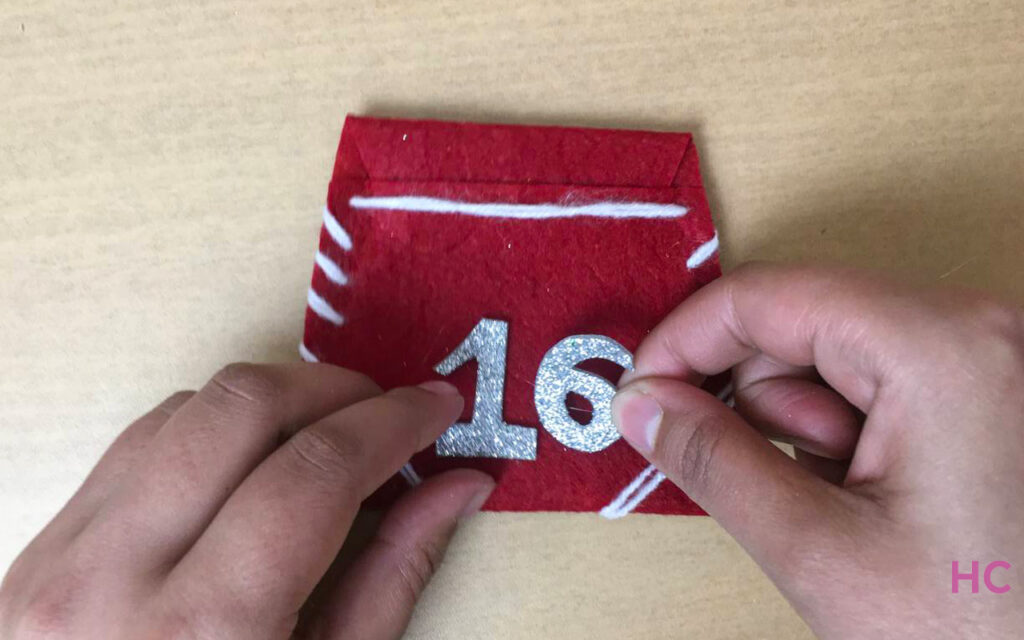
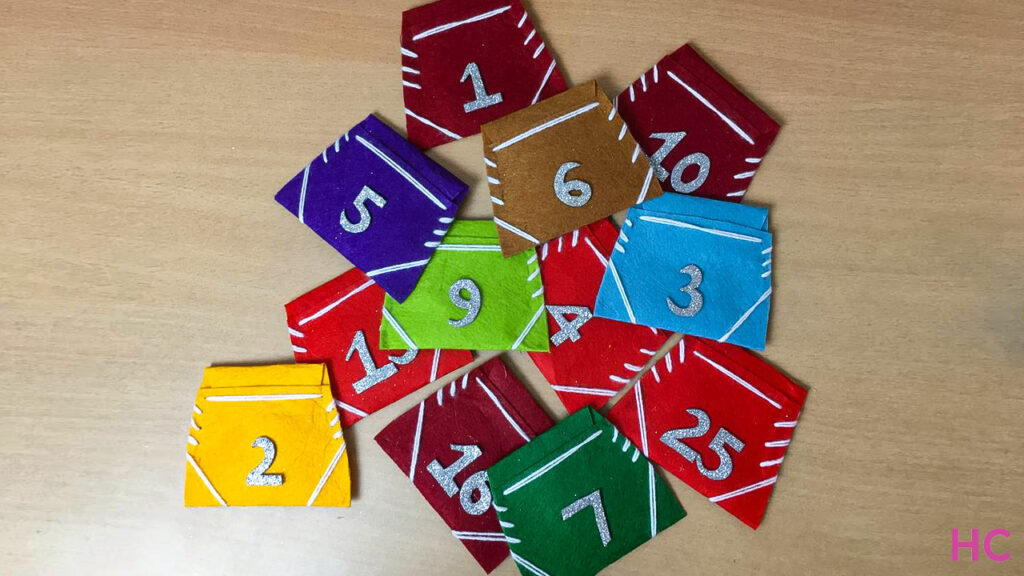
- Take a threaded needle and sew patterns on the sides. Depending on your sewing skills, you can use simple stitches or go for more intricate work. Repeat the process to make 25 such pockets to glue, sew or tape onto the board.
- Glue numbers cut out from glitter paper on pockets to mark the countdown until Christmas
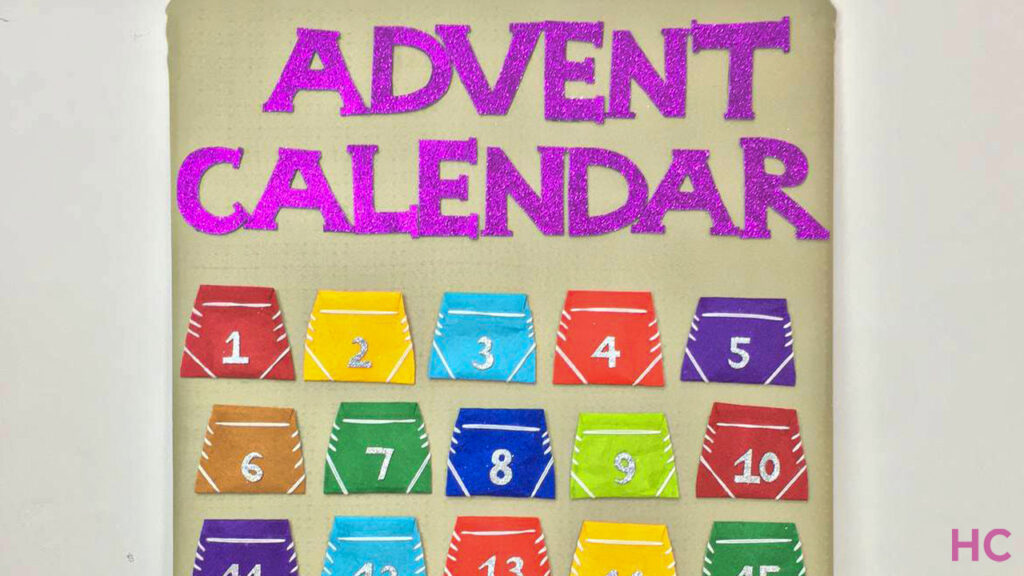
- Once the pockets are ready, cut out the letters of “Advent Calendar” from glitter paper and tape or glue them to the top of the board covered in fabric
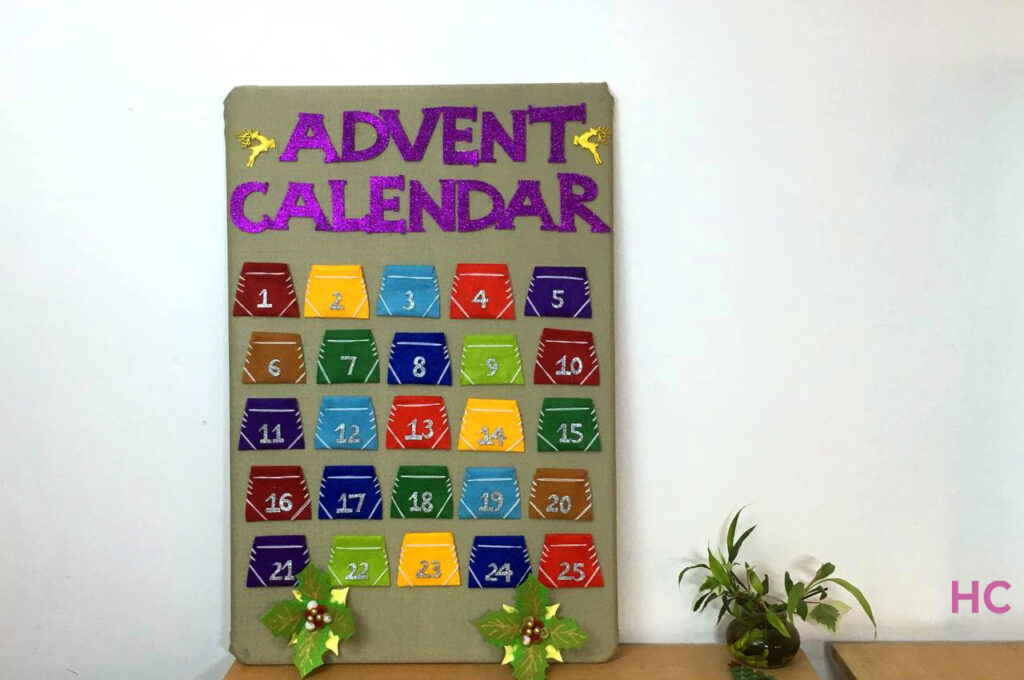
- Now below the Advent Calender, begin taping or gluing the pockets. Leave 2-3-inches gap between them
- Once all the pockets are secured on the board, you can fill them with all sorts of trinkets and adorn the board as well
Check out the process images below:
Merry Christmas, you lovely people!
Follow Homecrux on Google News!


