Pumpkin carving is a Halloween ritual no one shall forgo because it is so fun. Messy, yes, but so fun! People begin carving scary and cute faces on pumpkins when the Day of the Dead is a week away. But in lieu of making a mess while carving huge pumpkins to make Jack-o’-lanterns, let’s try something simple, beautiful, and long-lasting.
This DIY clay Jack-o’-lantern candle holder is a bit tricky but the result is stunning and can be used year after year. You can use a variety of clays, colors, and carving patterns to adorn your Halloween Jack-o’-lantern clay candle holder. Let’s begin, shall we?
Also Read: 70+ Inspiring Pumpkin Carving Ideas You can Pull Off
Materials Used:
- Air-Dry Terracotta Clay
- Acrylic Colors
- Paintbrushes
- Varnish
- Tea Light
How to DIY Clay Jack-o’-lantern Candle Holder?
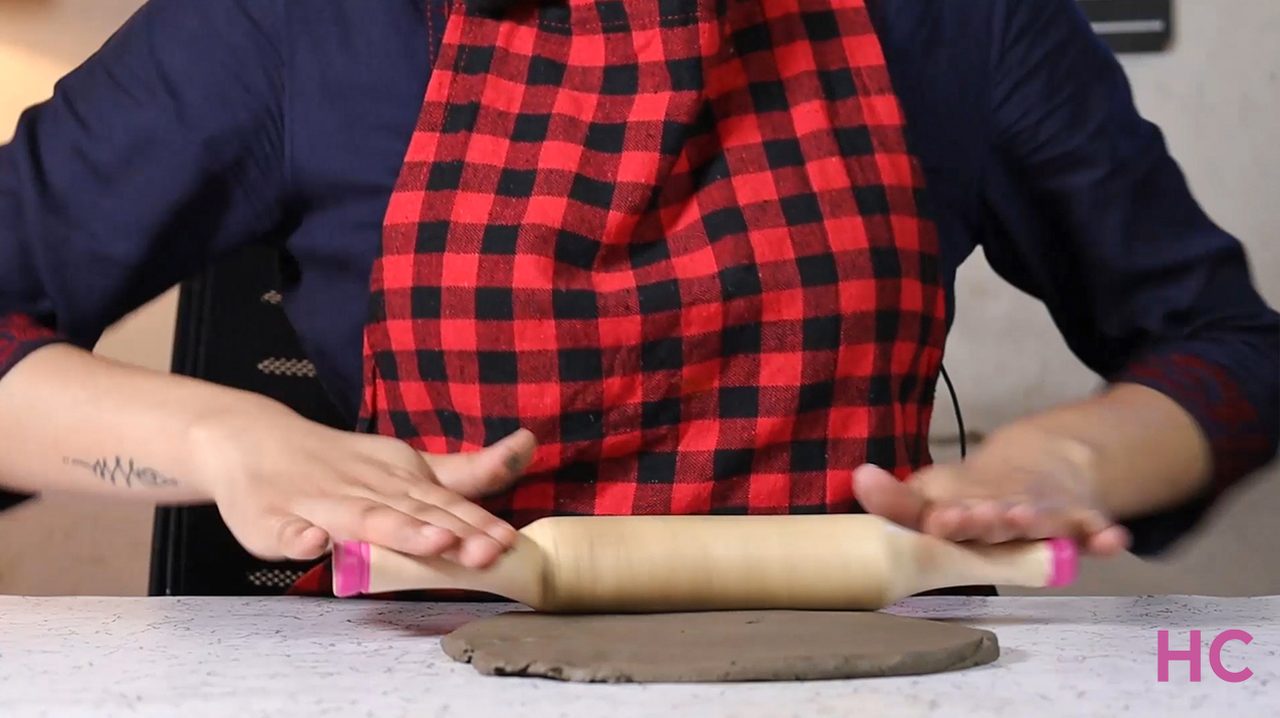
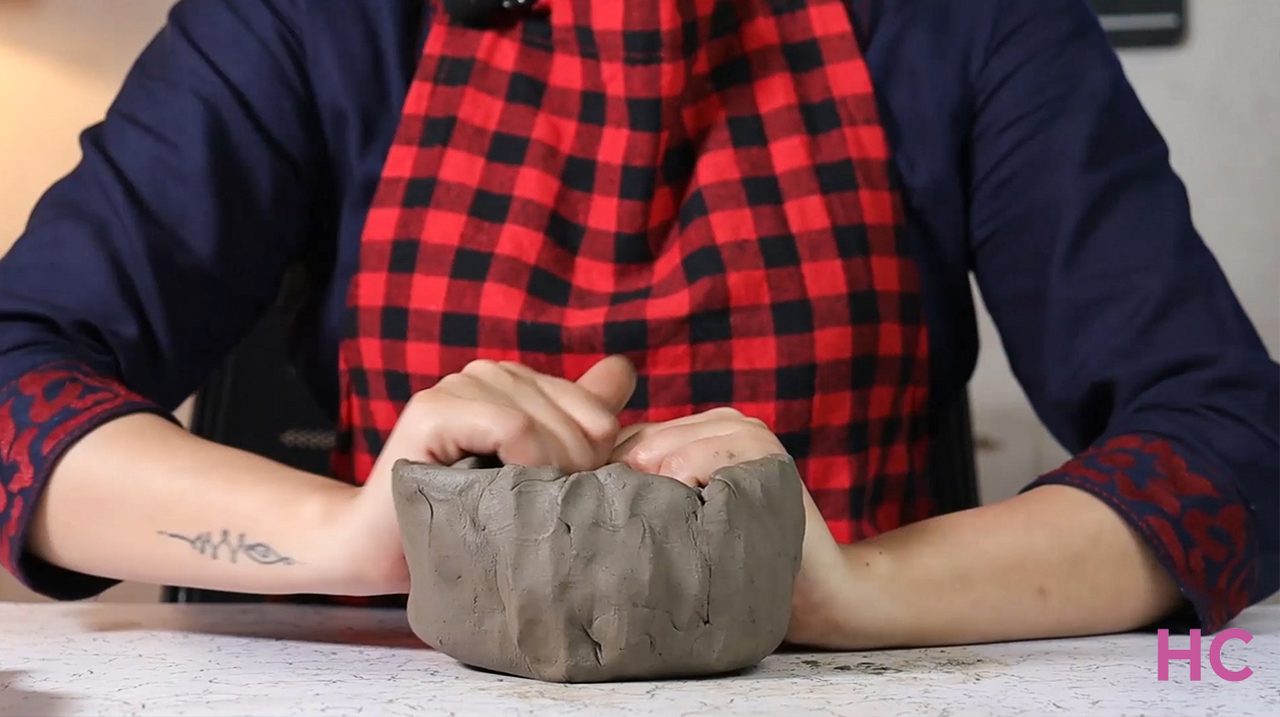
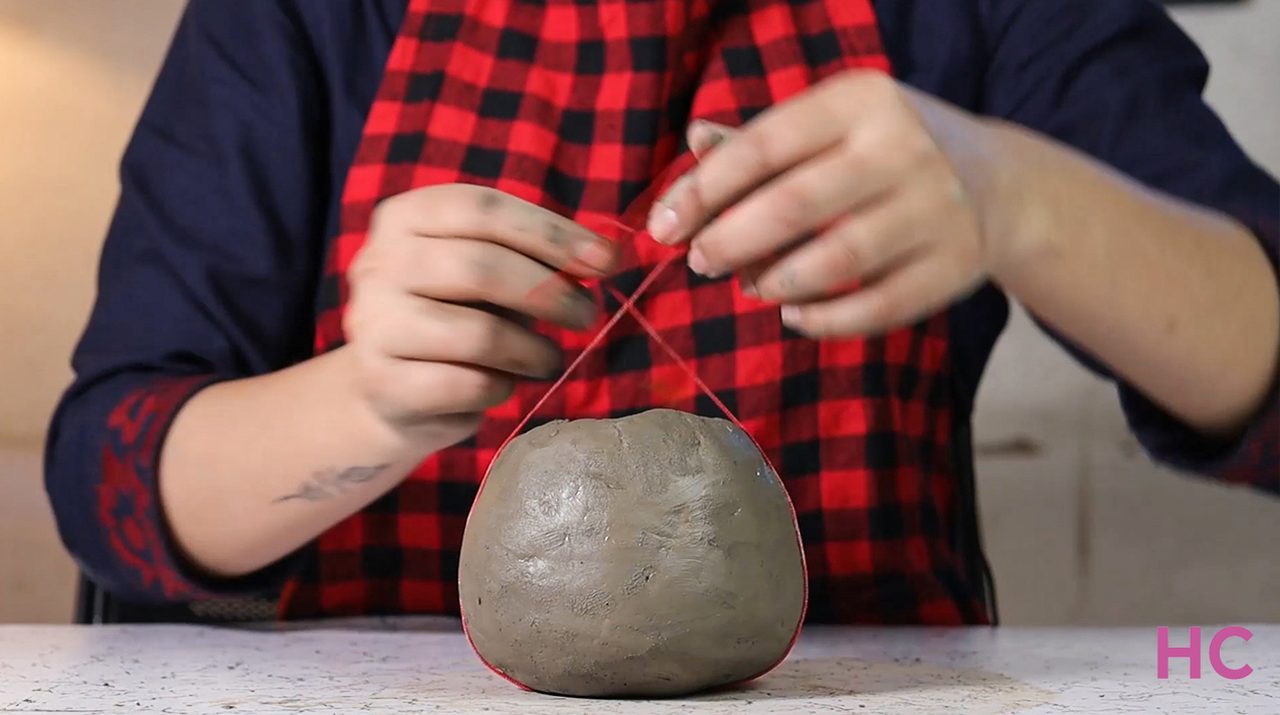
- Begin by rolling out terracotta clay on a flat surface into a half-inch-thick layer
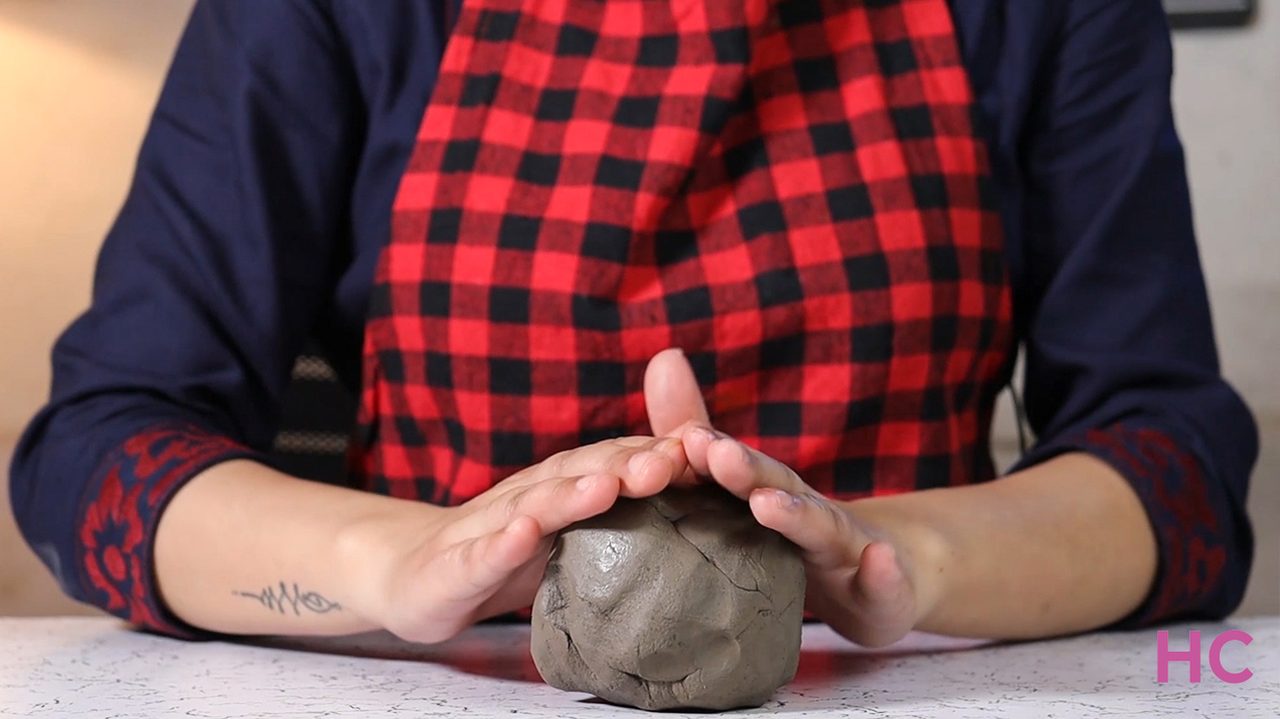
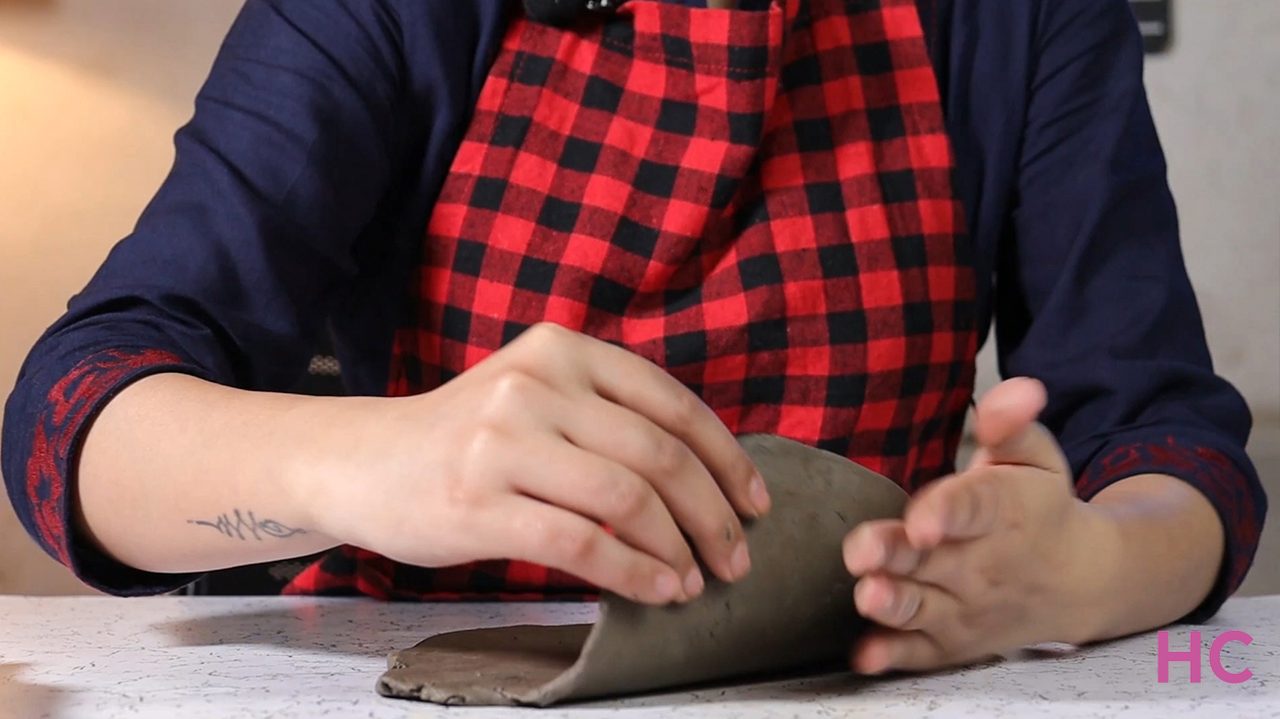
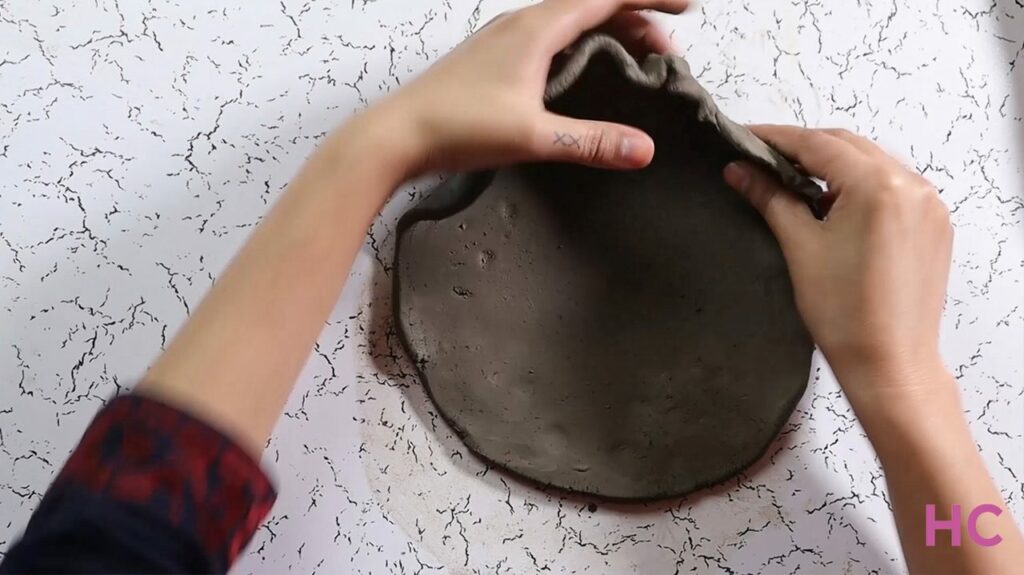
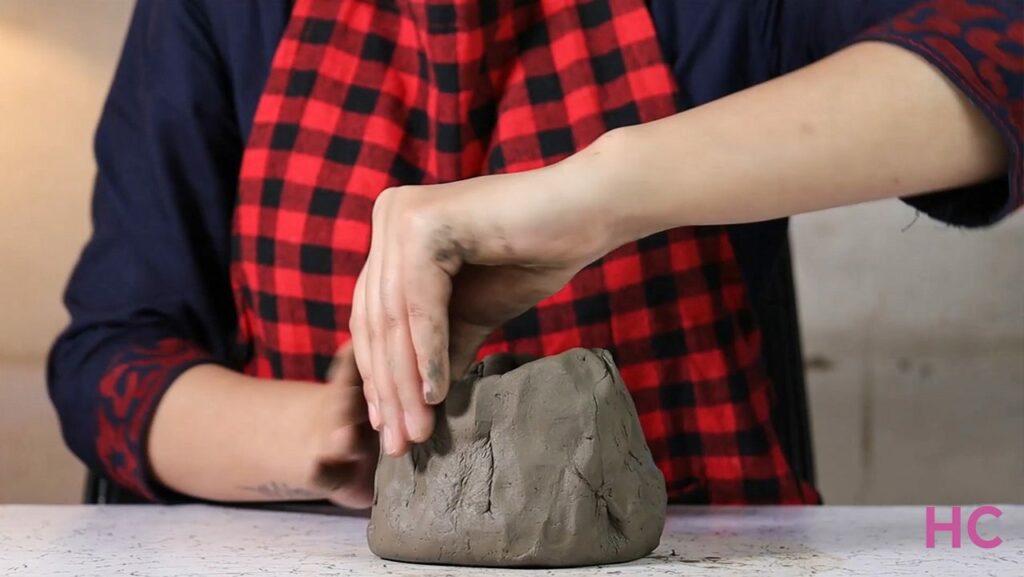
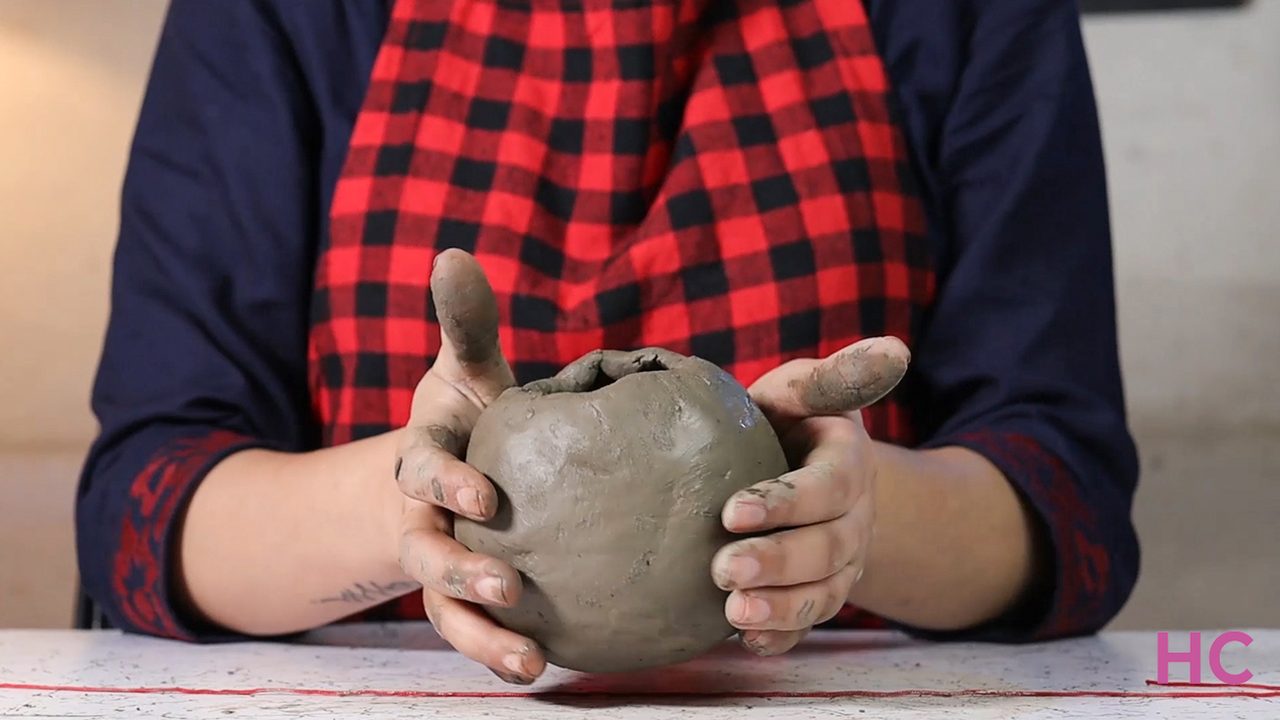
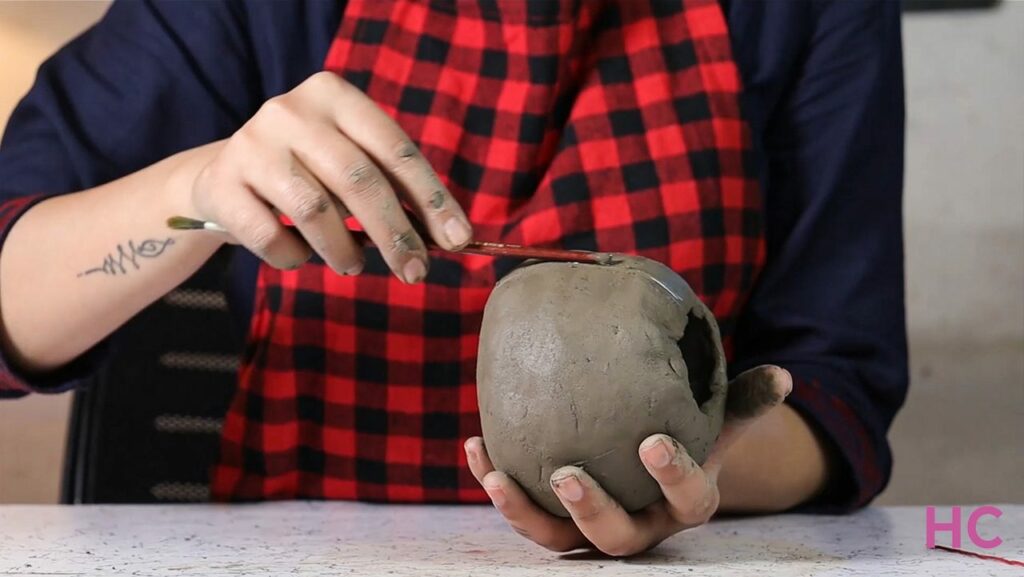
- Then pick up the sides and create a rounded well. You can also create a solid ball of clay and hollow it out as an easier alternative
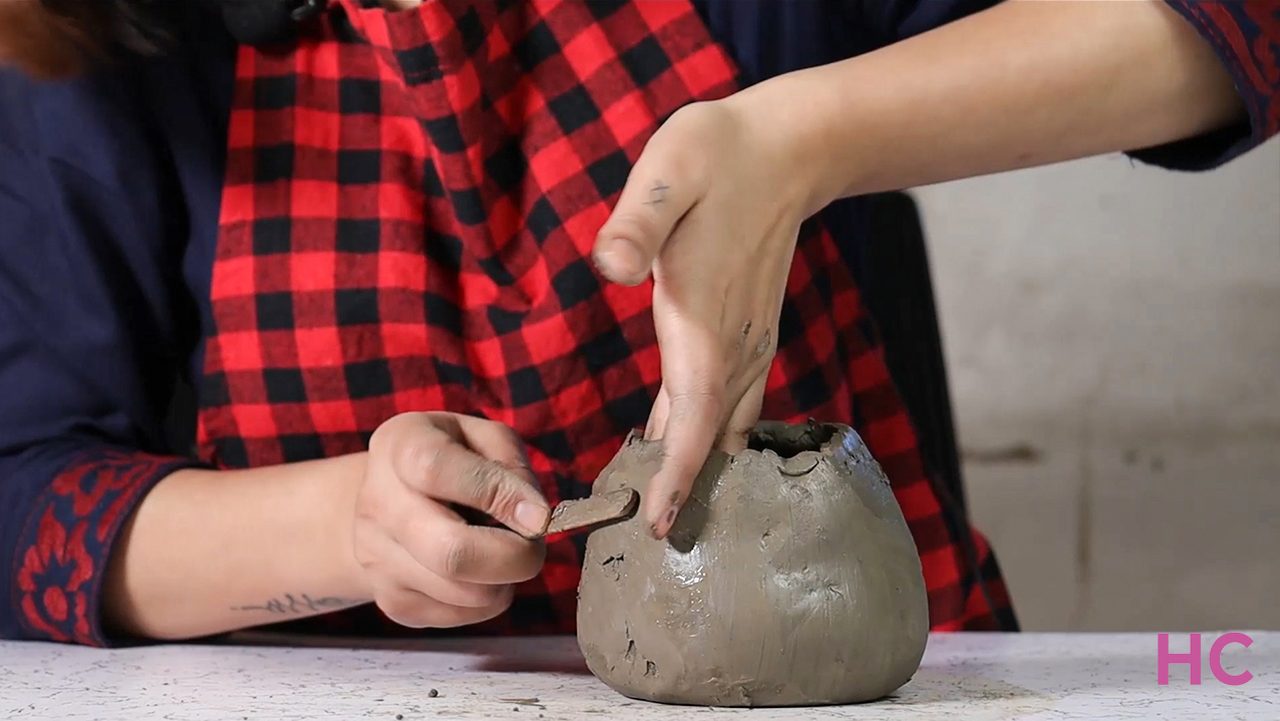
- Smoothen the rough surface using a sponge or a pottery tool you may have
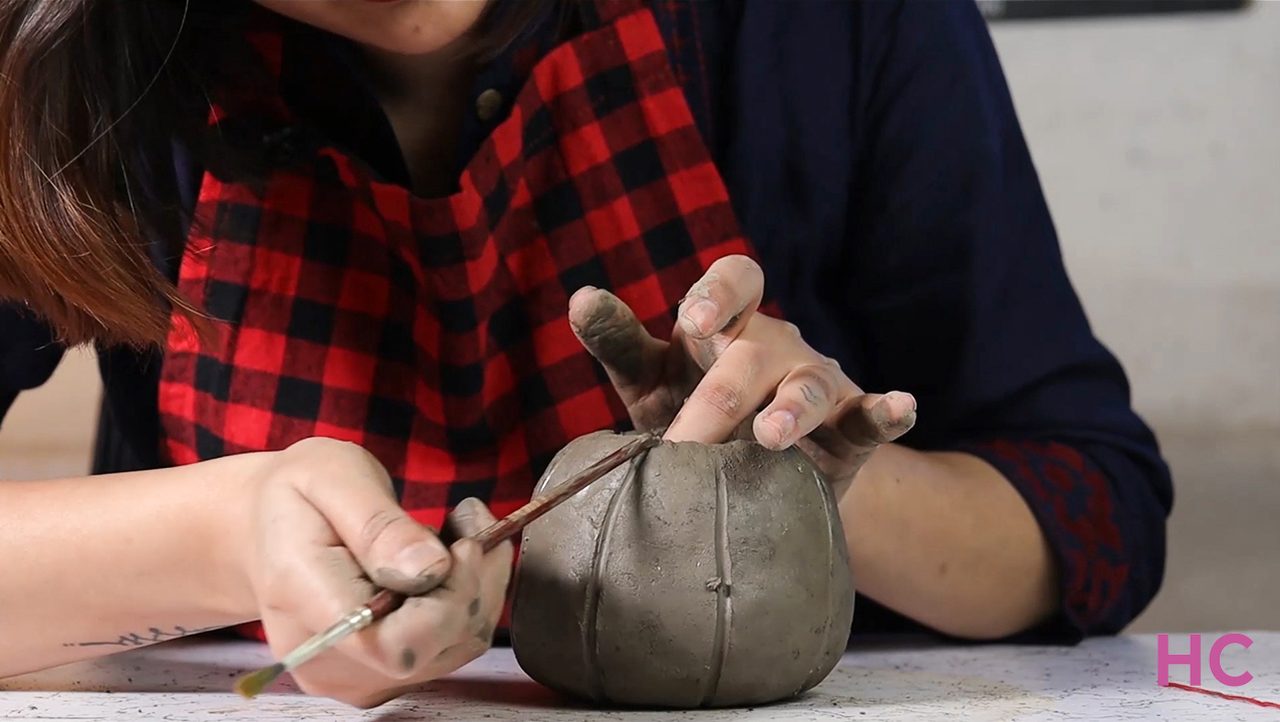
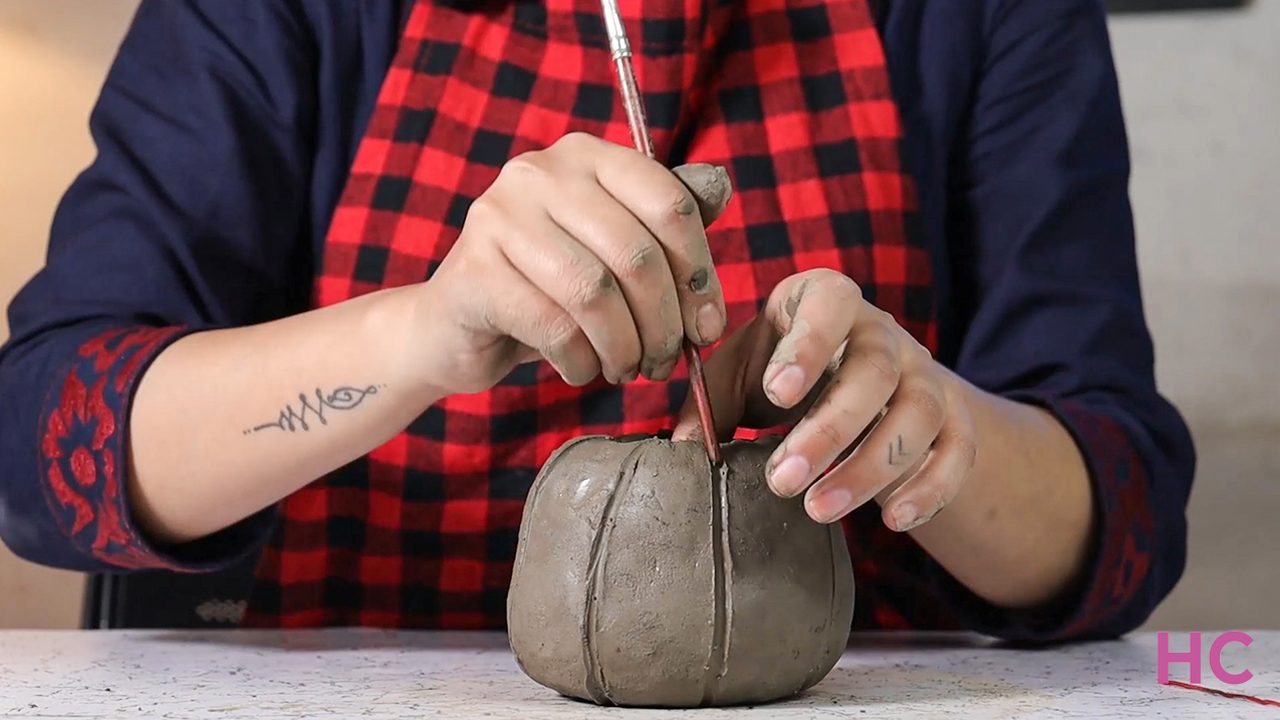
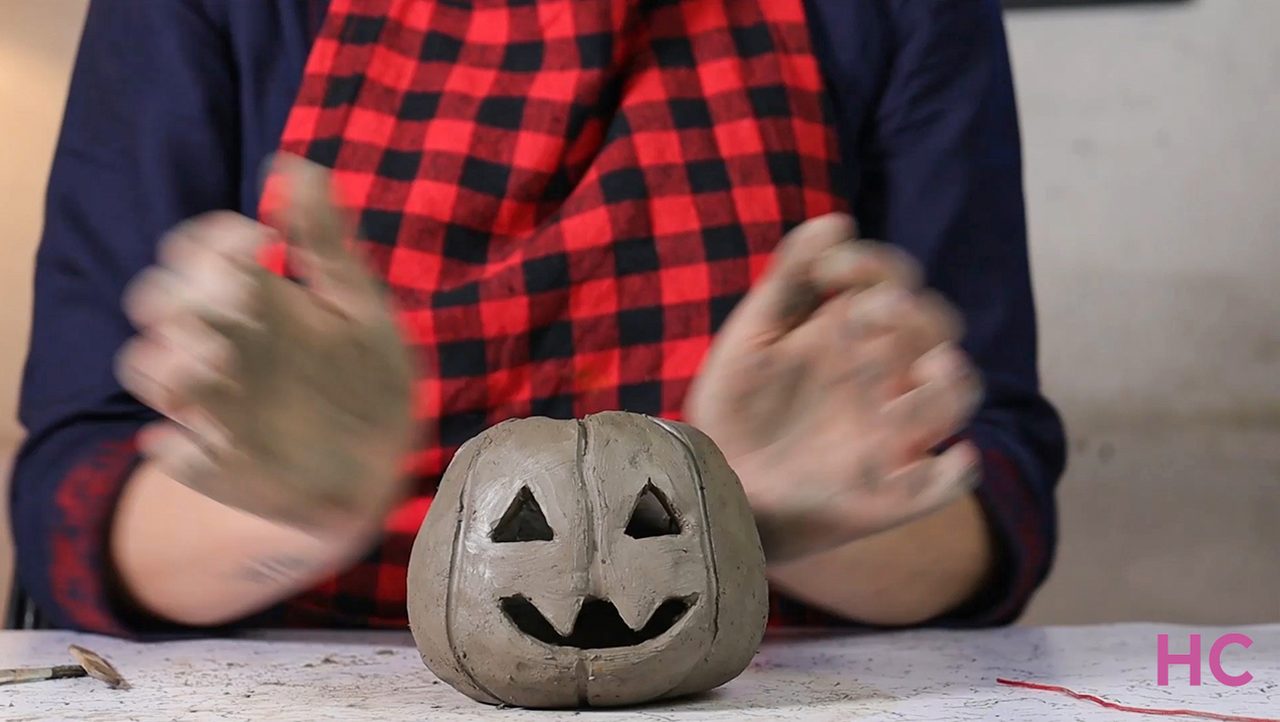
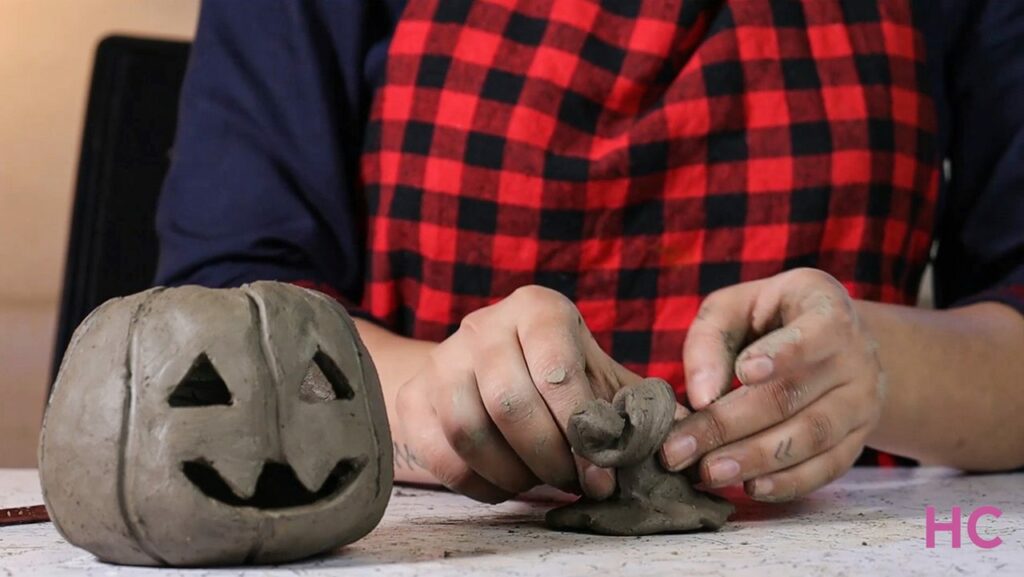
- Create indentations to give a pumpkin shape
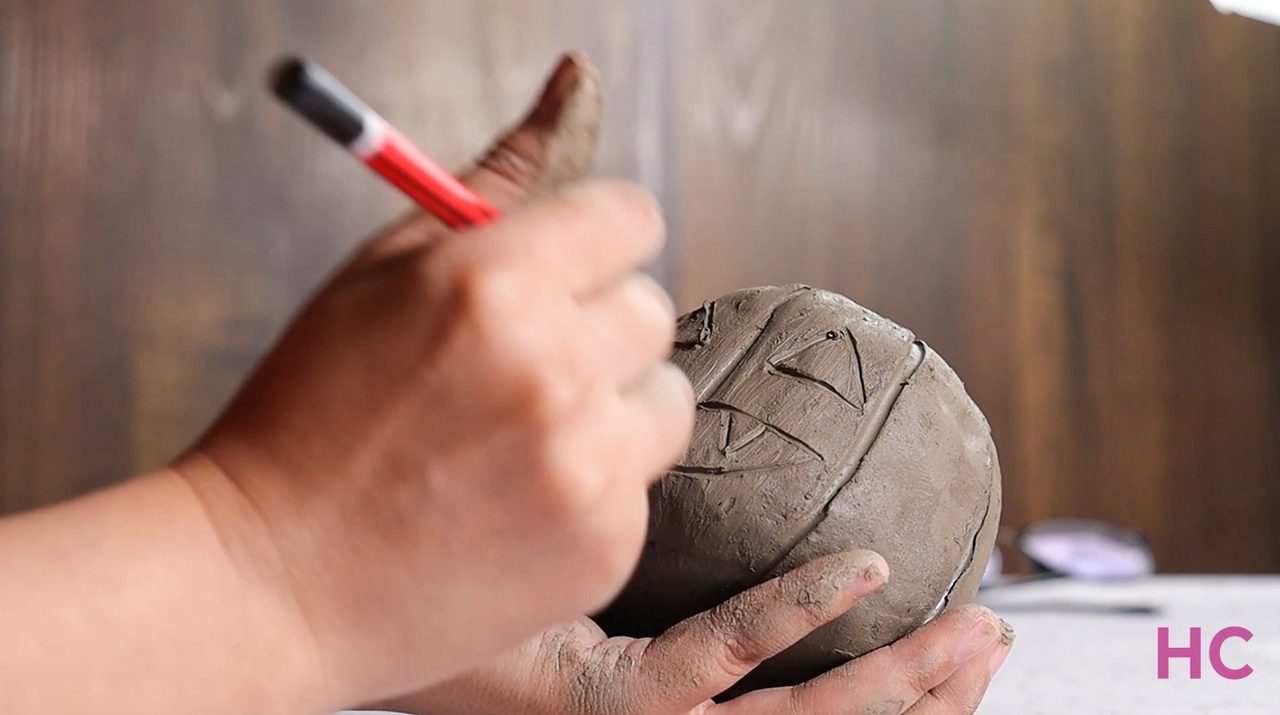
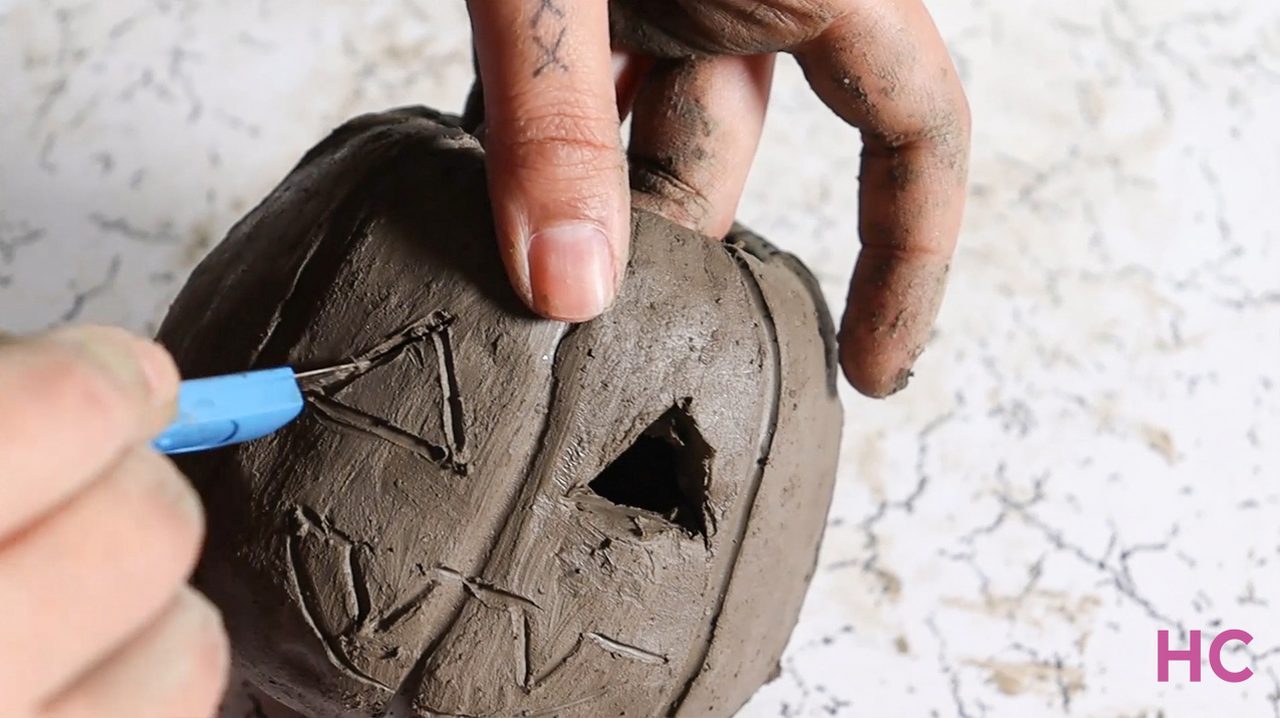
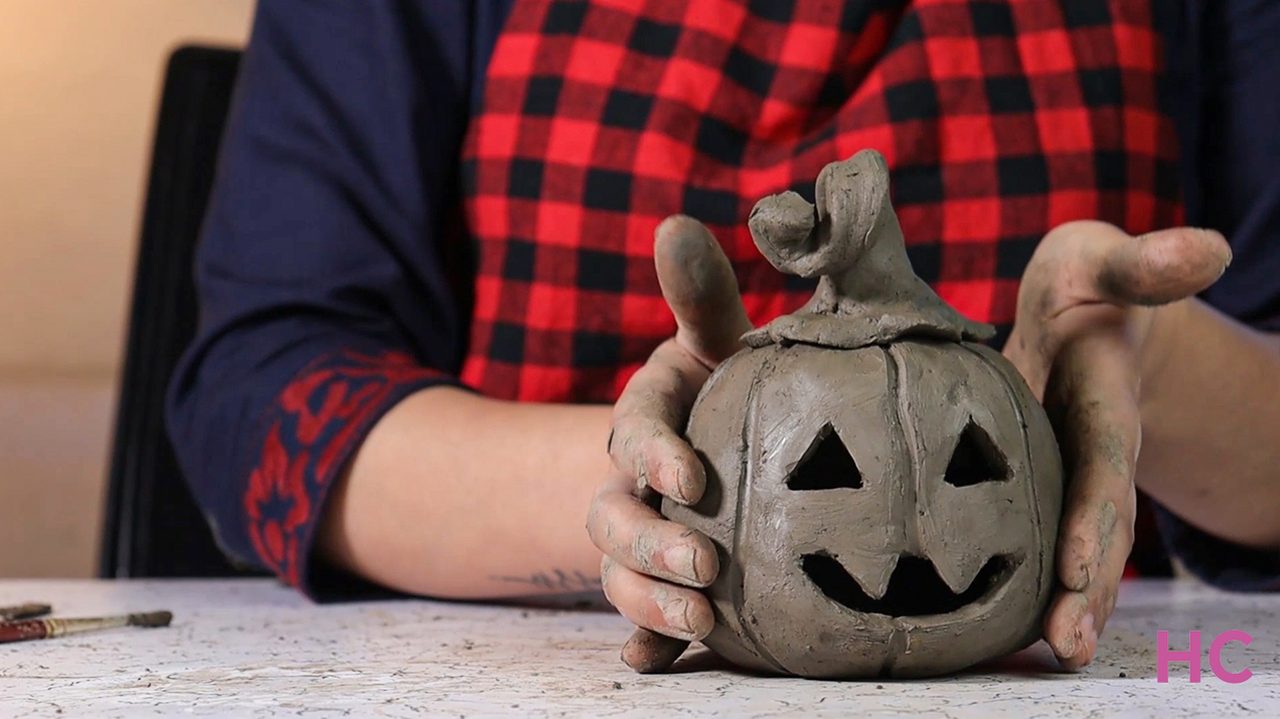
- Then draw eyes and a mouth for the Jack-o’-lantern and carve it
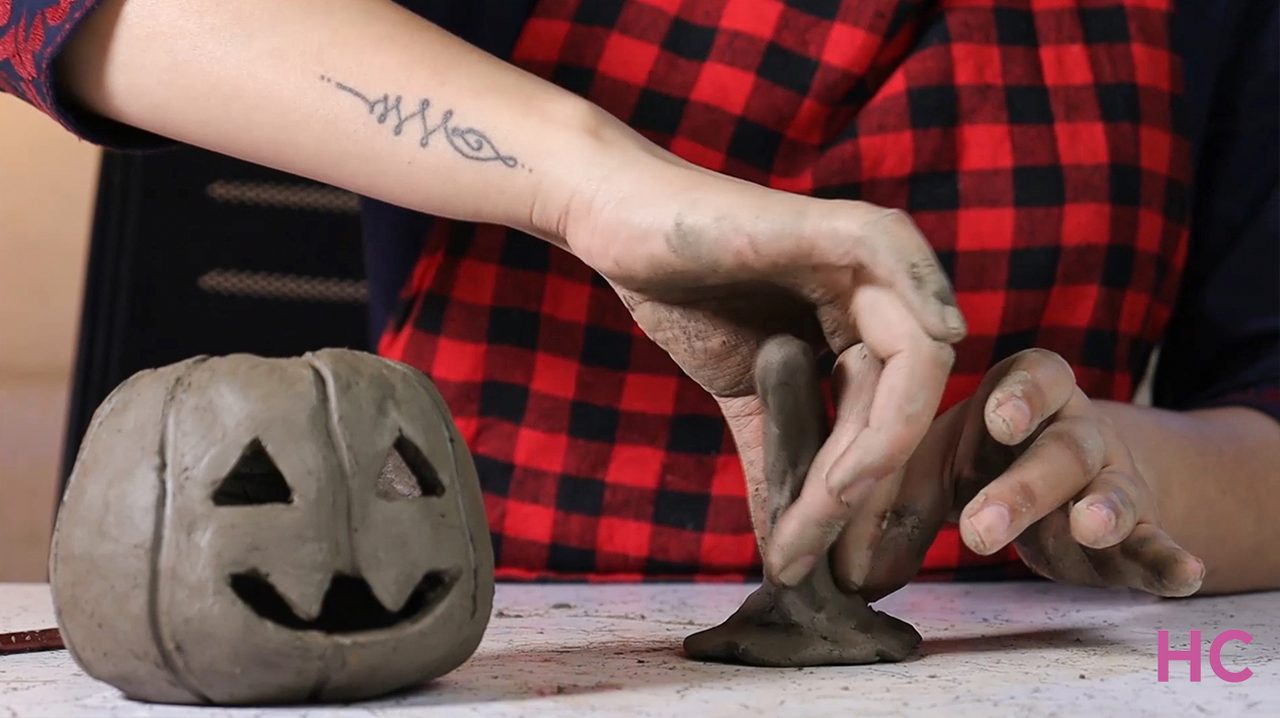
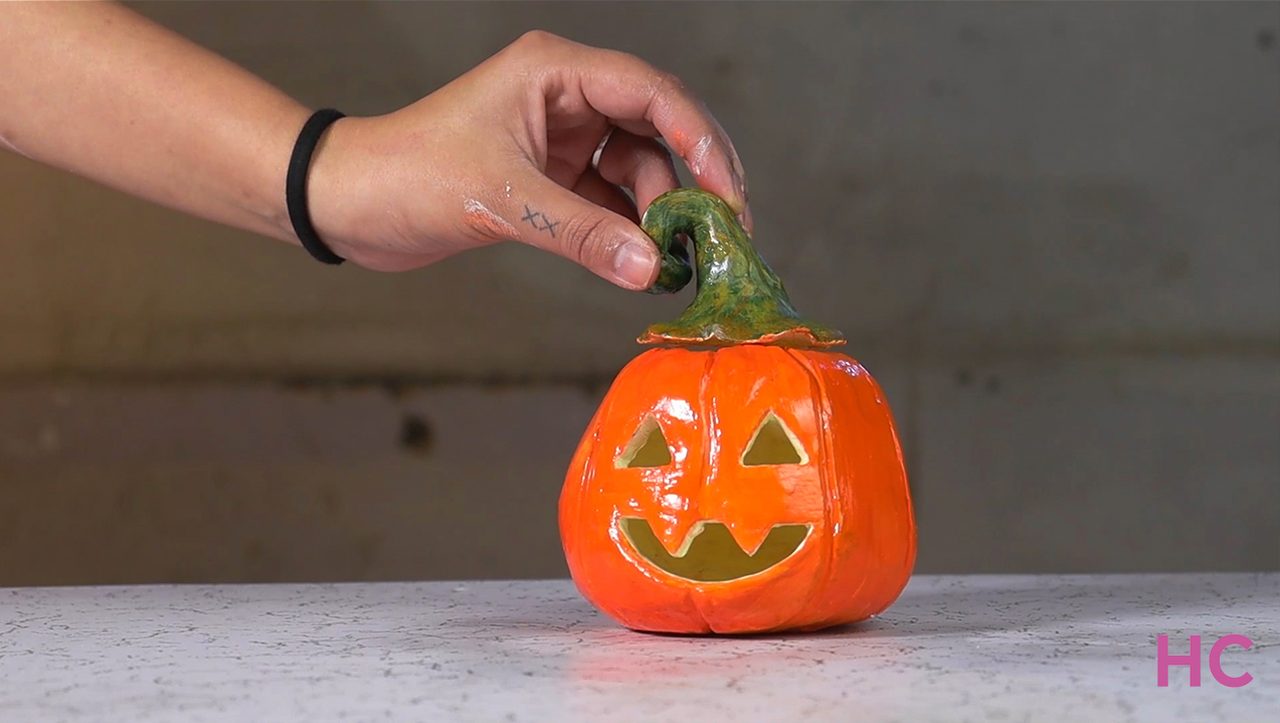
- You can also create a stem for this pumpkin lantern
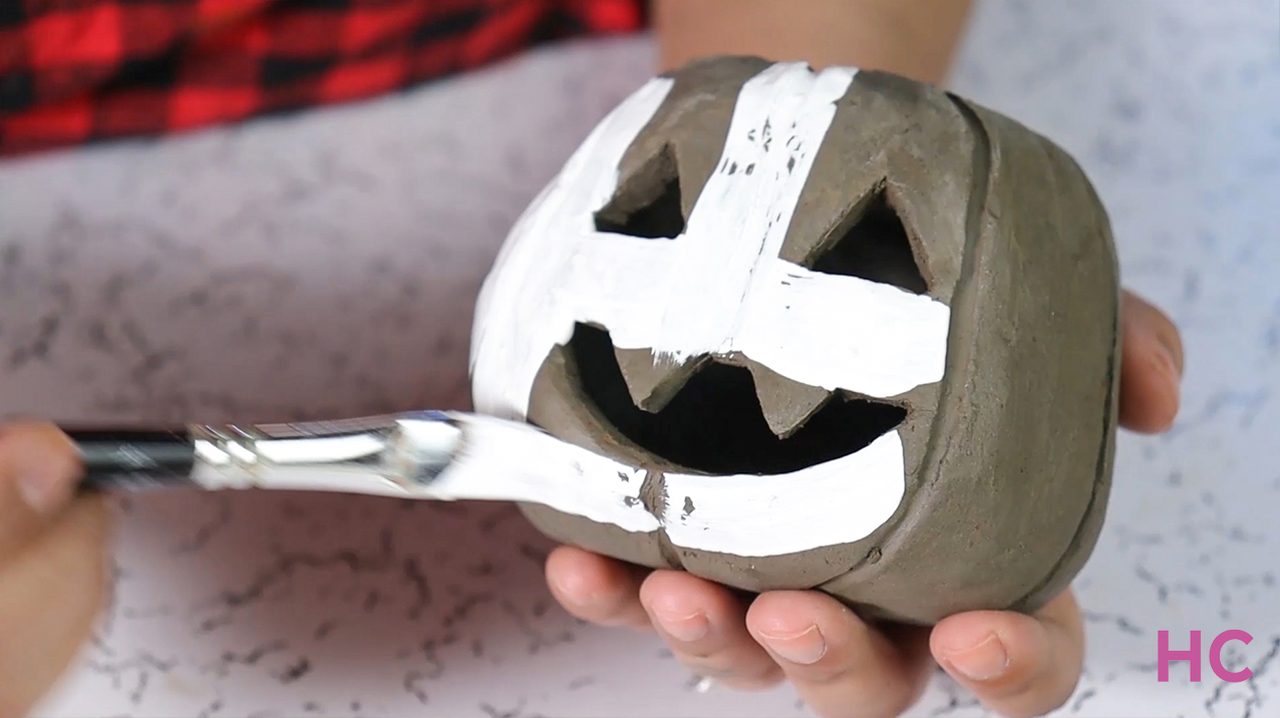
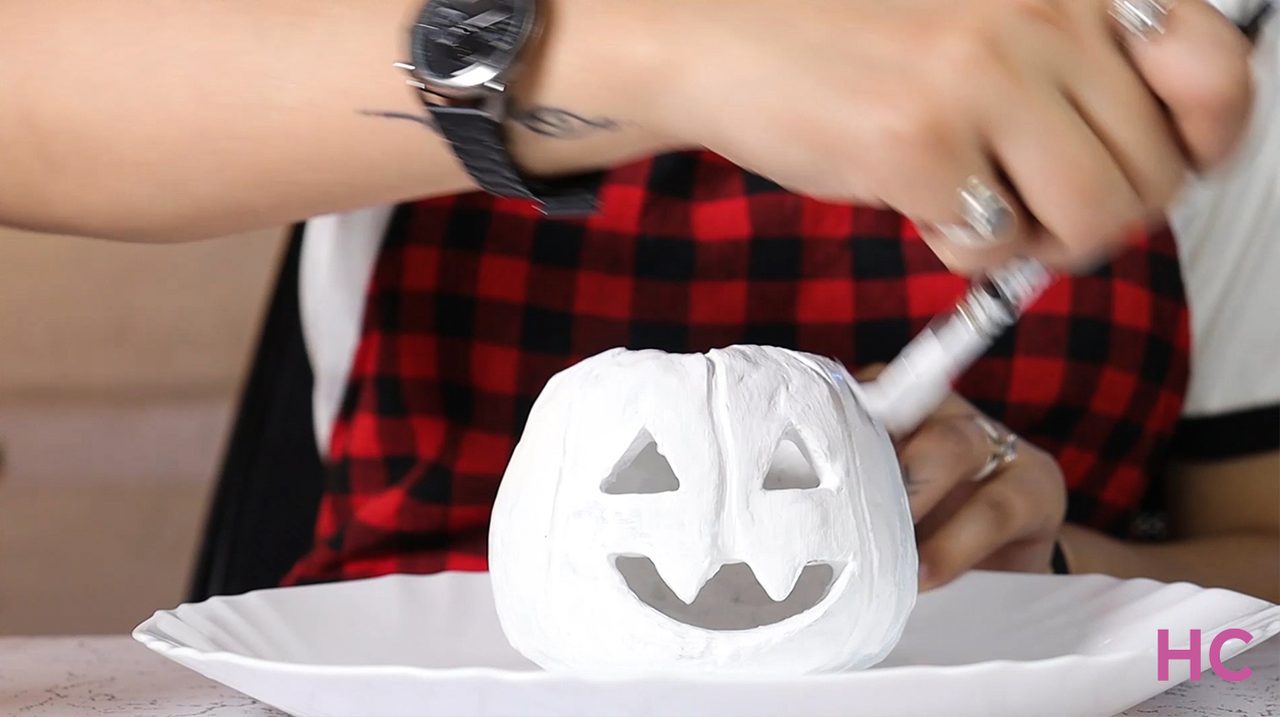
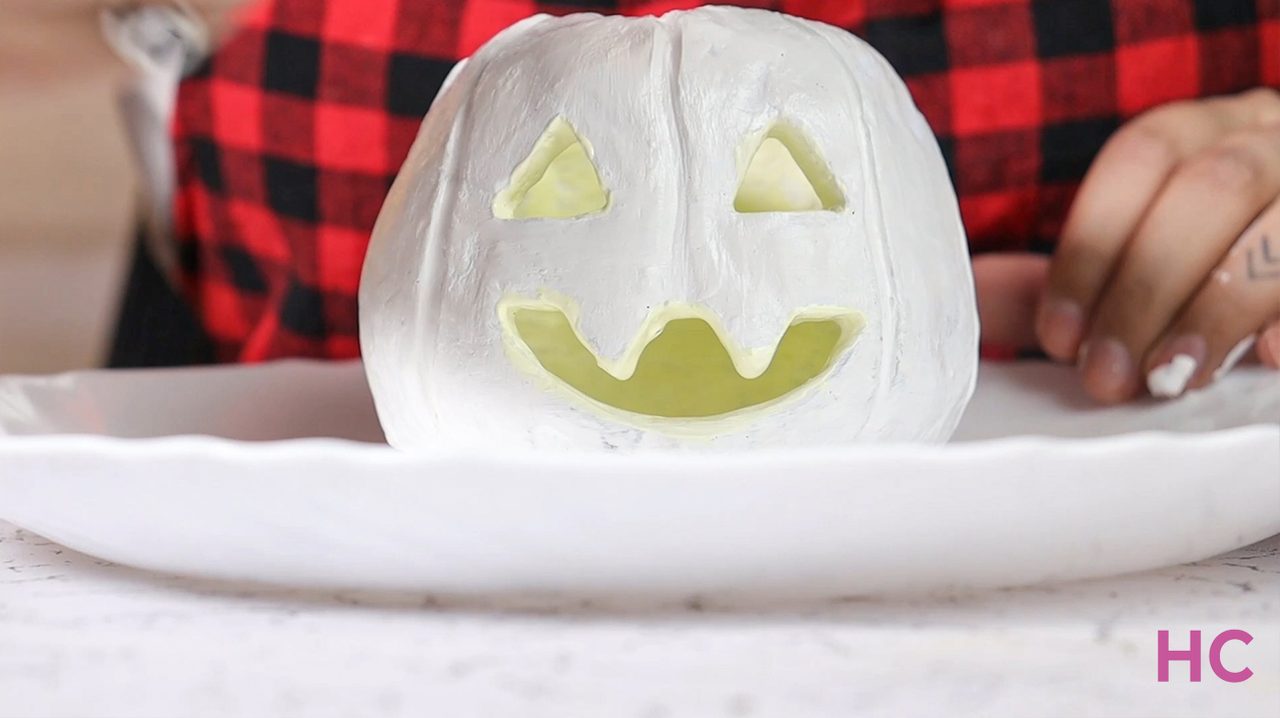
- Let it dry for over 24 hours and then coat it in one layer of white paint inside-out
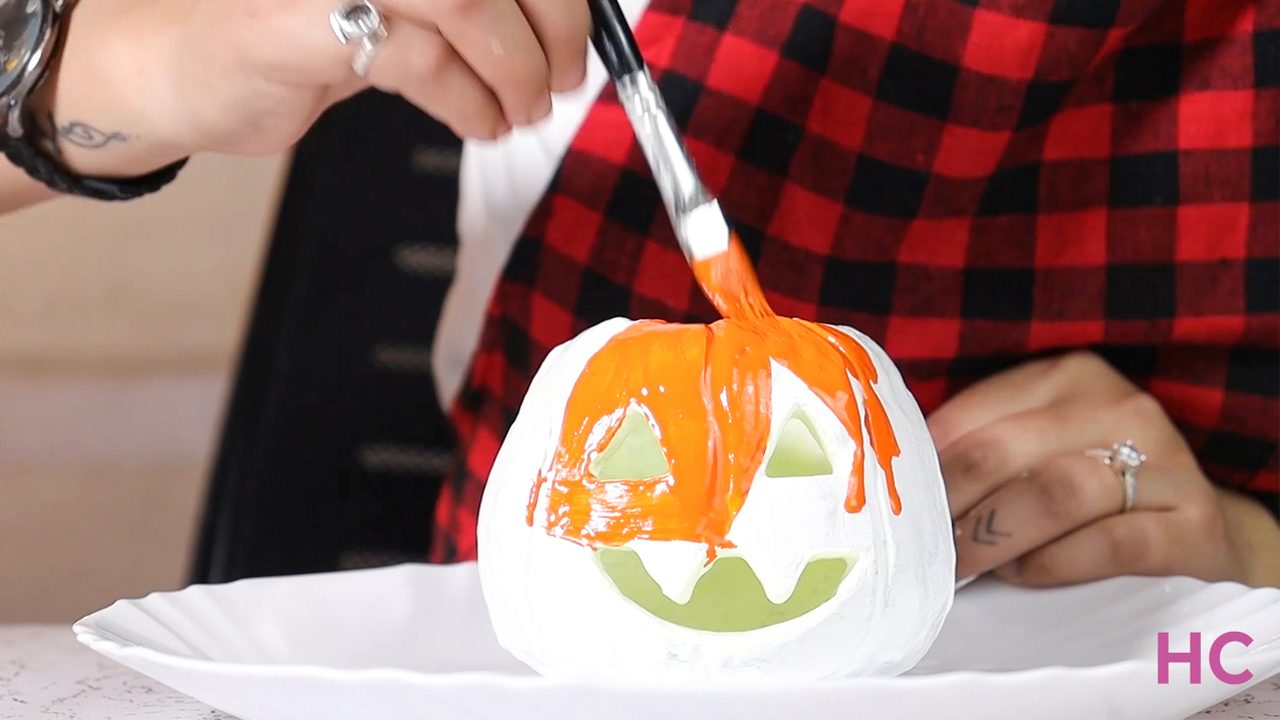
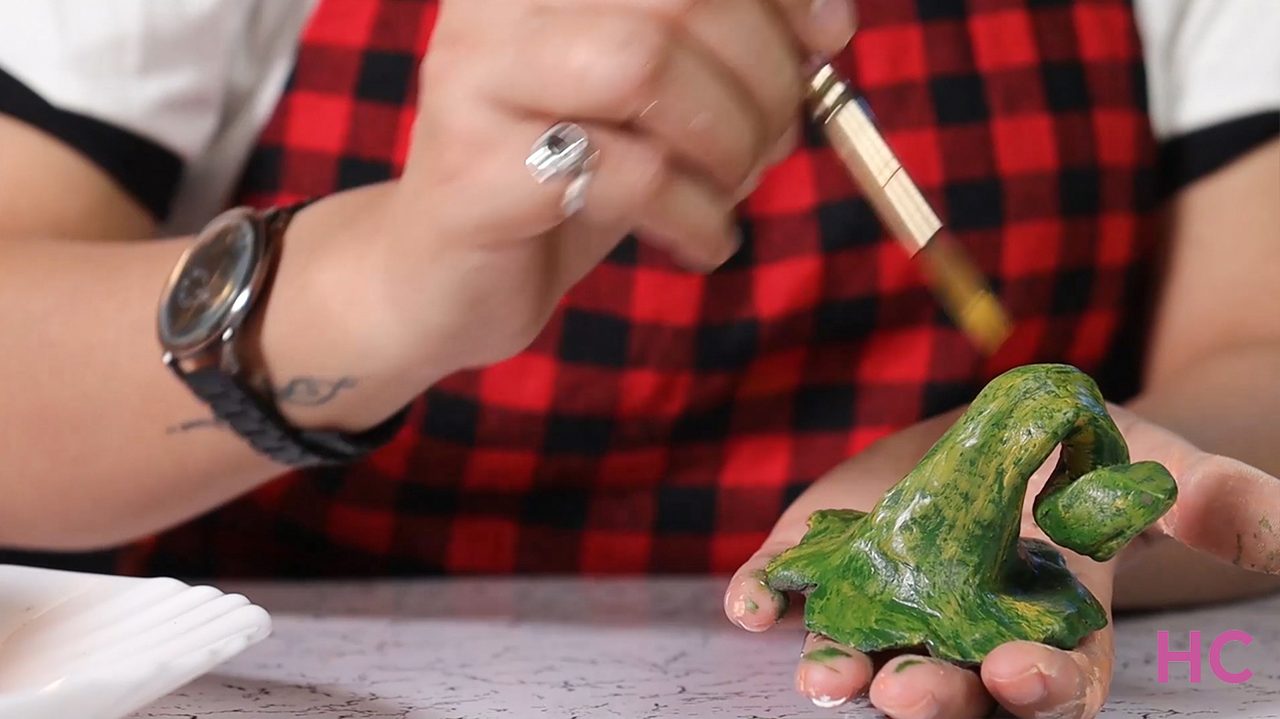
- Now add a layer of orange paint for the pumpkin and greenish-yellow for the stem
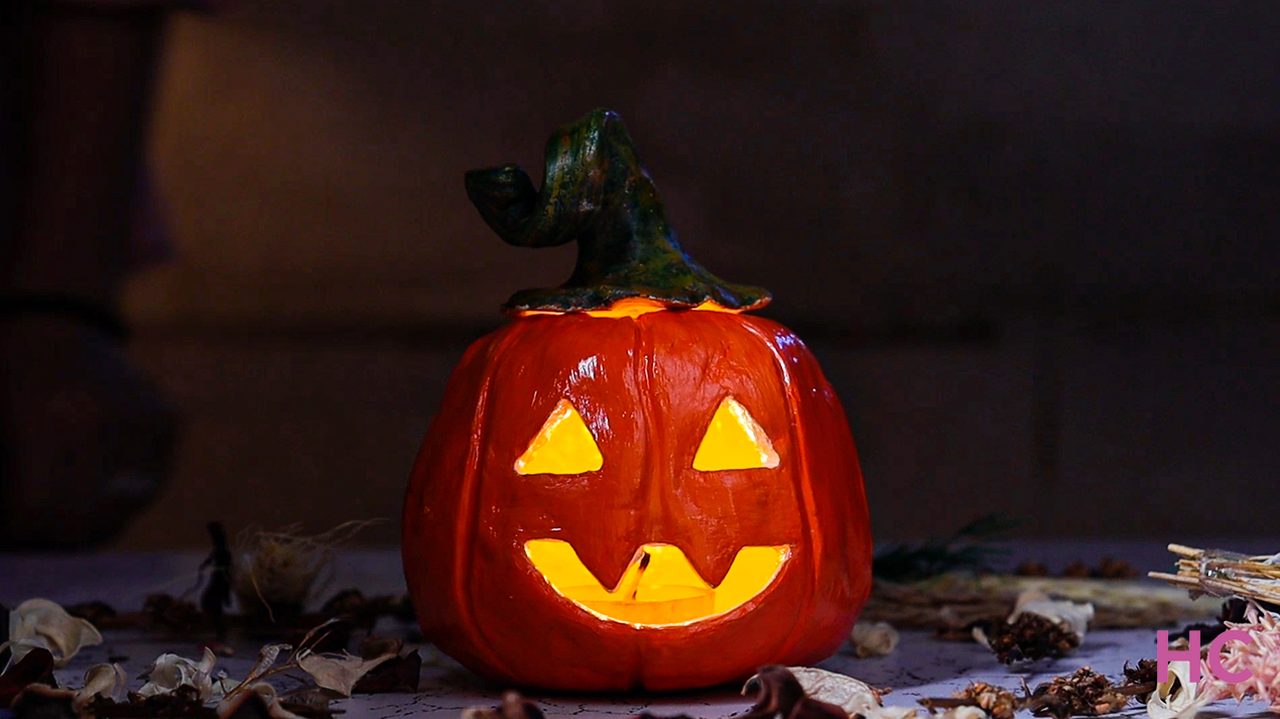
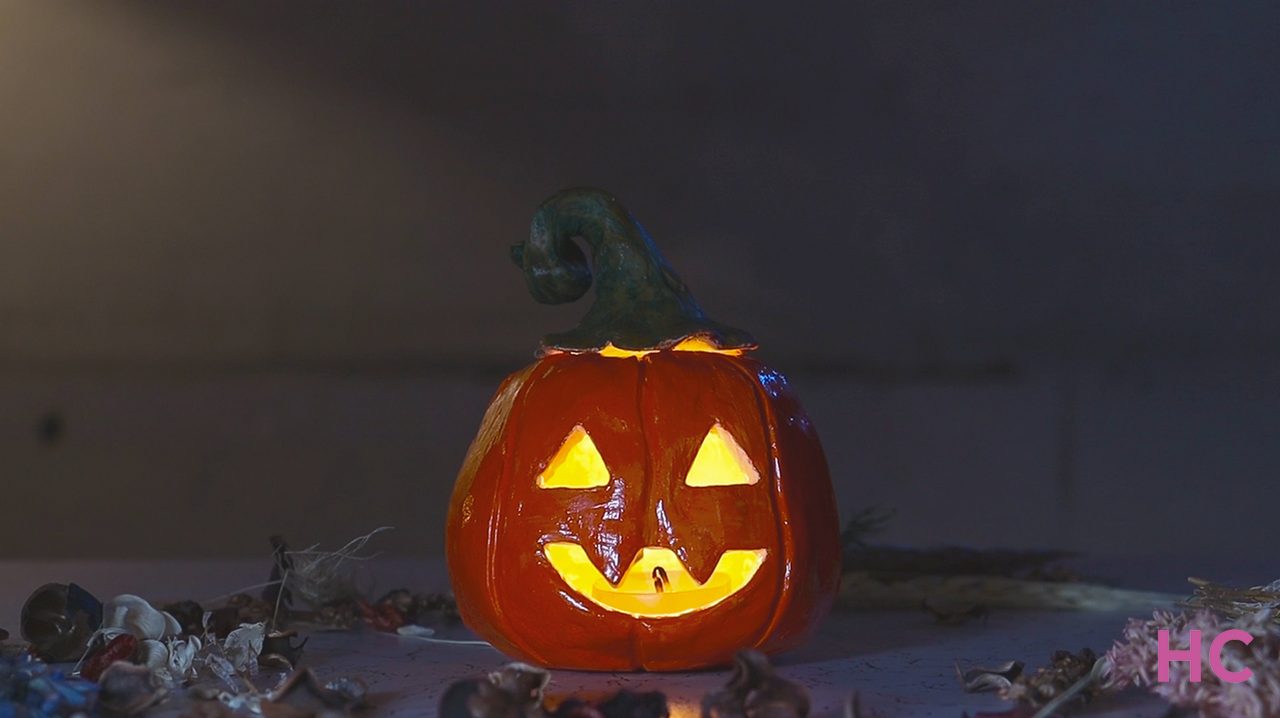
- Paint the inside of the lantern in pale lemon yellow so that light reflects when you place a tea light inside
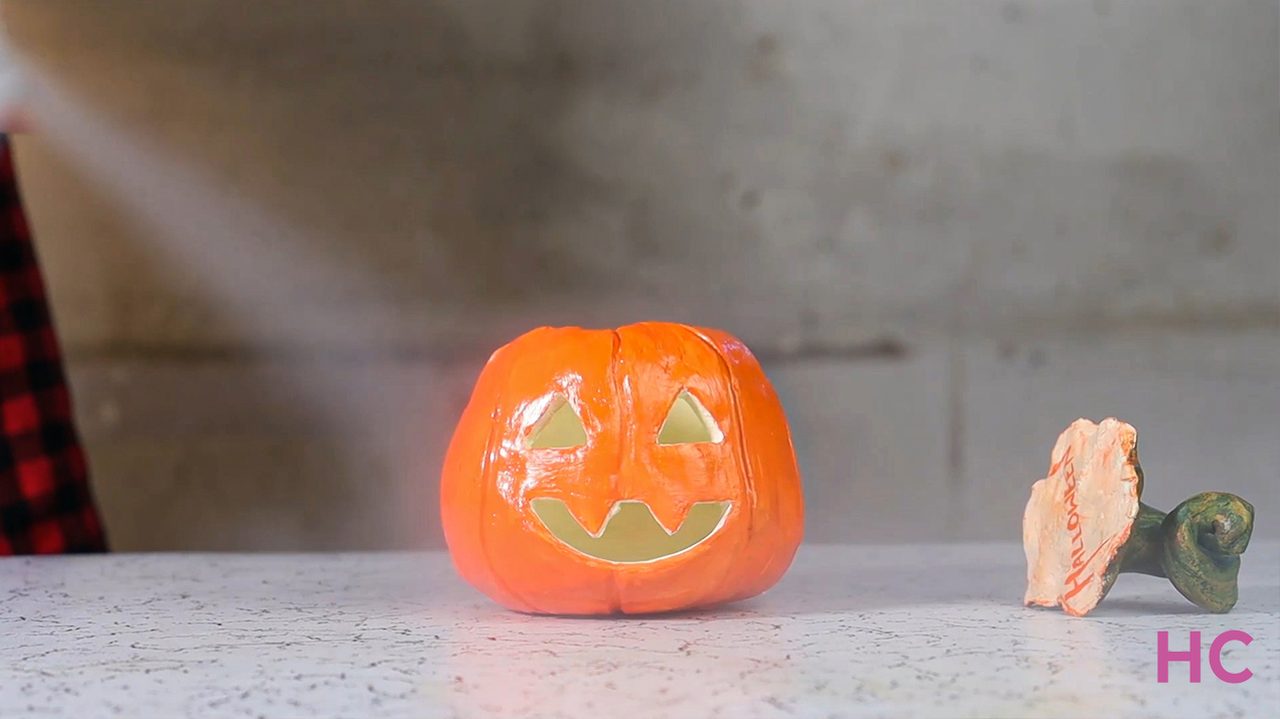
- Once the paint is dry, spray a coat of varnish on the Jack-o’-lantern candle holder
Check out the video tutorial below for a clearer understanding:
Note: Do not use a burning candle inside this holder as the paint can crack and chip away. Prefer a Tealight candle instead.


Follow Homecrux on Google News!

