I’m not an everyday DIYer and clay crafts certainly aren’t my forte. As a self-taught painter with a tact for stitching my own dresses and mincing words for bread and butter, I’ve found solace in quick crafts to keep my imagination dancing. As flavors of pumpkins, apples, and Halloween begin their yearly waltz through the air, I sat down to make clay my companion.
After a few hits and misses with the material, I managed to create five candle holders using clay. You’ve guessed it; these are easy to make and include Pumpkin, Snake, Bat, Ghost, and Jack-o’-lantern candle holders. So, when you finalize your decorations, make your own DIY clay candle holders that fit the Halloween 2023 makeover.
Note: I have not used clay modeling tools, the carving is done with Popsicle sticks.
Materials Required for DIY Clay Candle Holders:
Pumpkin Candle Holder
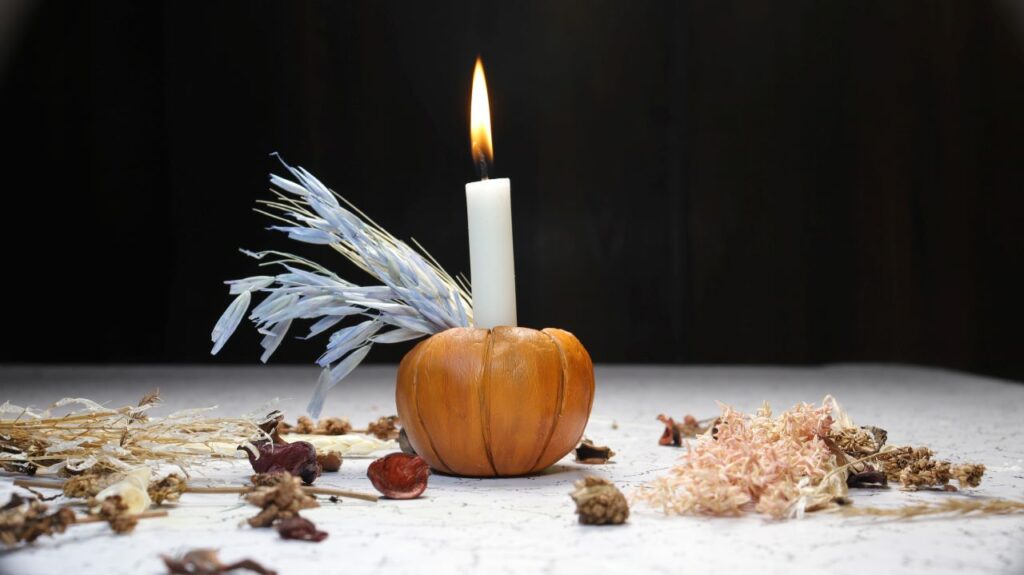
For this DIY pumpkin candle holder, roll the air-dry clay into a ball. Form indentations of a pumpkin to give it a perfect shape using a thread and then hollow out the innards of the ball. Arrange the indentations if they get blurred and smooth out any irregularities. Leave the clay pumpkin for 24 hours to dry completely, and then paint it in a bright orange color. Place the candle inside the holder and light it up. Follow the complete tutorial in the video below:
Snake Candle Holder
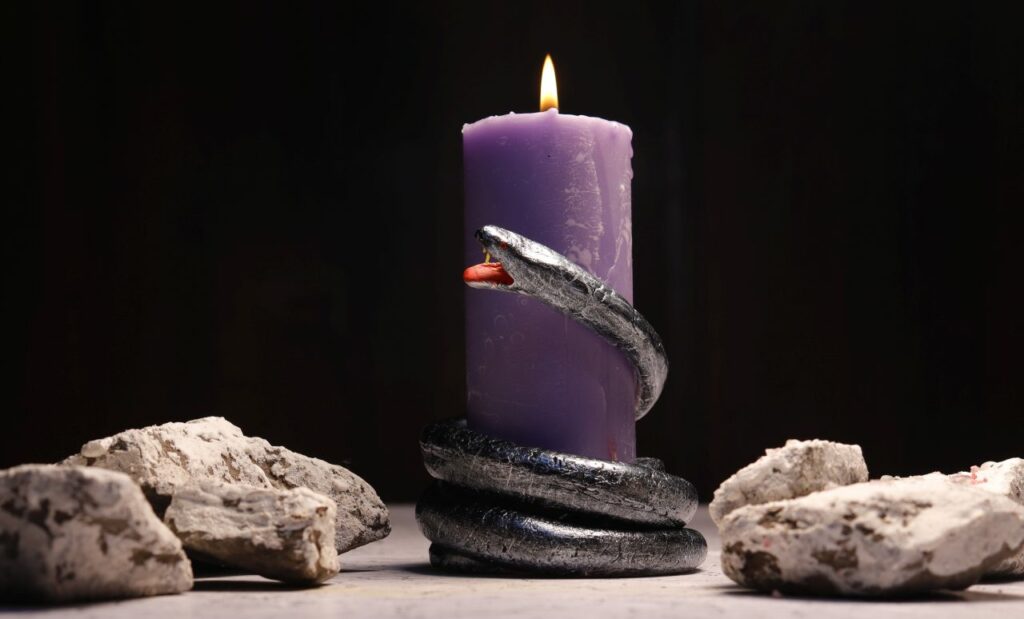
This one is a little tricky but the result is beautiful and spooky. Begin by rolling the clay into a long tube-like shape. Create the tail and the head of the snake and coil it around. You can add nose, teeth, and eyes to complete the form. I wanted to make a snake candle holder for pillar candles so I used one to coil my clay snake around it. Arrange the snake around the candle of choice; you may need to stick some pins in the candle to hold the heavy snake structure and leave it to dry for 24 hours. When completely dry, paint it in a color shade of your liking. Follow the set-by-step instructions in the following video:
Bat Candle Holder
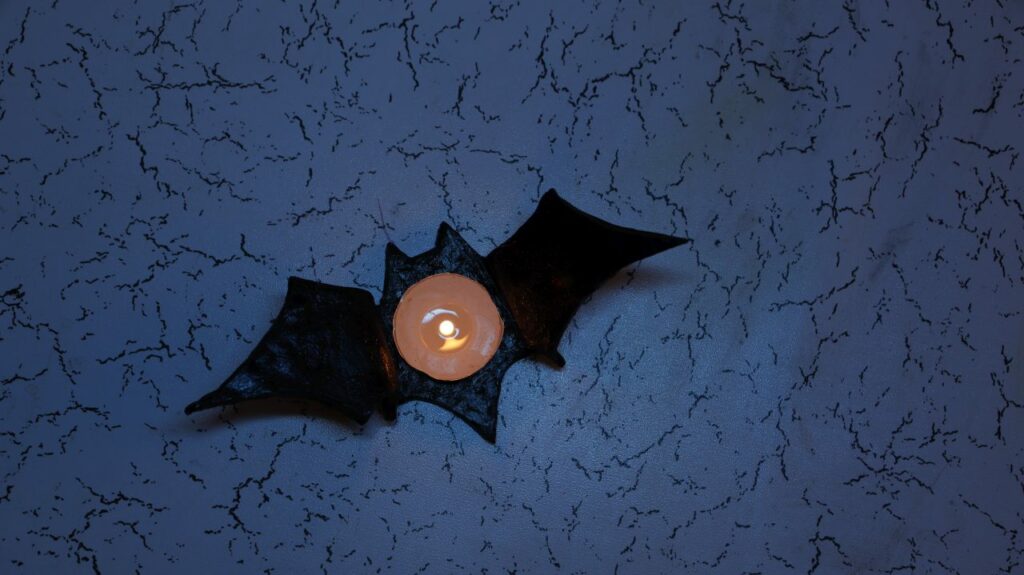
One of the most effortless DIY clay candle holders for Halloween, the bat candle holder also starts with the same routine: Roll air-drying terracotta clay on a flat surface. Draw a bat shape on the rolled-out model and cut it in shape. Now prop the wings up. As the clay is still wet, holding the wings up is a task. You can use candles to keep them up as if in flight mode. Leave it for 24 hours and then paint it black. Follow the instructions in the video and let me know how it turns out:
Ghost Candle Holder
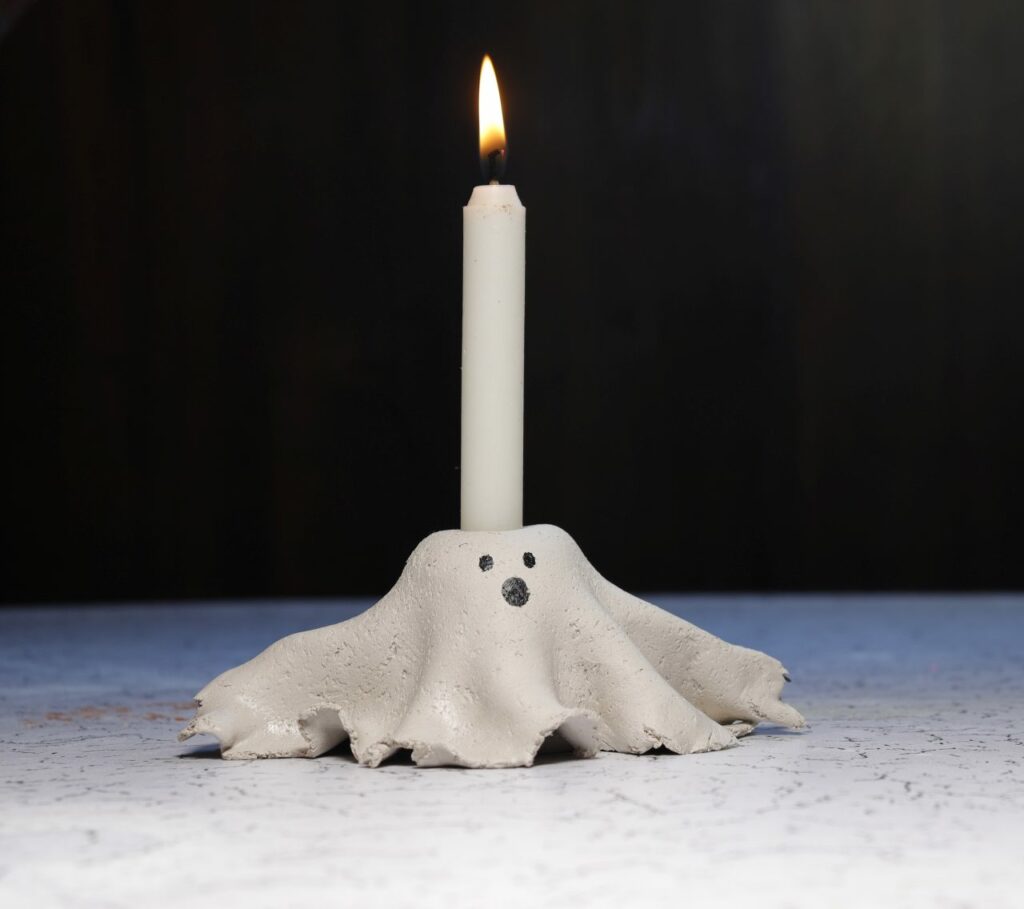
My cute favorite Halloween clay candle holder is this ghost I made in under 30 minutes. I divided the air dry clay into two equal pieces. I turned one into a cylinder, while the other was flattened on a surface with a rolling pin. Then I stuck craft wires in the cylindrical roll of clay at one-third of its height and sprawled the flattened piece on top of it. The access clay was removed and the bottom was arranged in order to give it a sheet ghost appearance. After leaving it dry, I painted googly eyes and a mouth on it. Follow the DIY and thank me later:
Jack-o’-Lantern Candle Holder
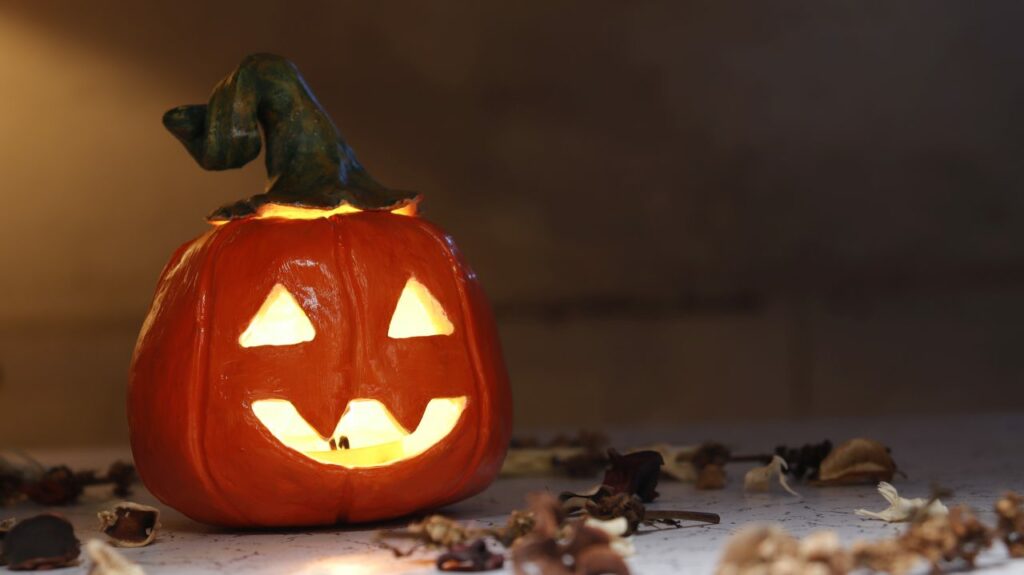
Jack-o’-lantern DIY clay candle holder is trickier to make than the others discussed above. Begin by rolling out terracotta clay on a flat surface into a half-inch thick layer. Then pick up the sides and create a rounded well. Smoothen the rough surface using a sponge or a pottery tool you may have. Then draw eyes and a mouth for the Jack-o’-lantern and carve it. You can also create a stem for this pumpkin lantern. Let it dry for over 24 hours and then coat it in one layer of white paint. Now add a layer of orange paint for the pumpkin and greenish-yellow for the stem. Paint the inside of the lantern in pale lemon yellow so that light reflects when you place a tea light inside. Check out the video tutorial below for a clearer understanding:
PS: If you try one or all of these DIY clay Halloween candle holders, let me know how it goes. Happy Halloween!
Follow Homecrux on Google News!


