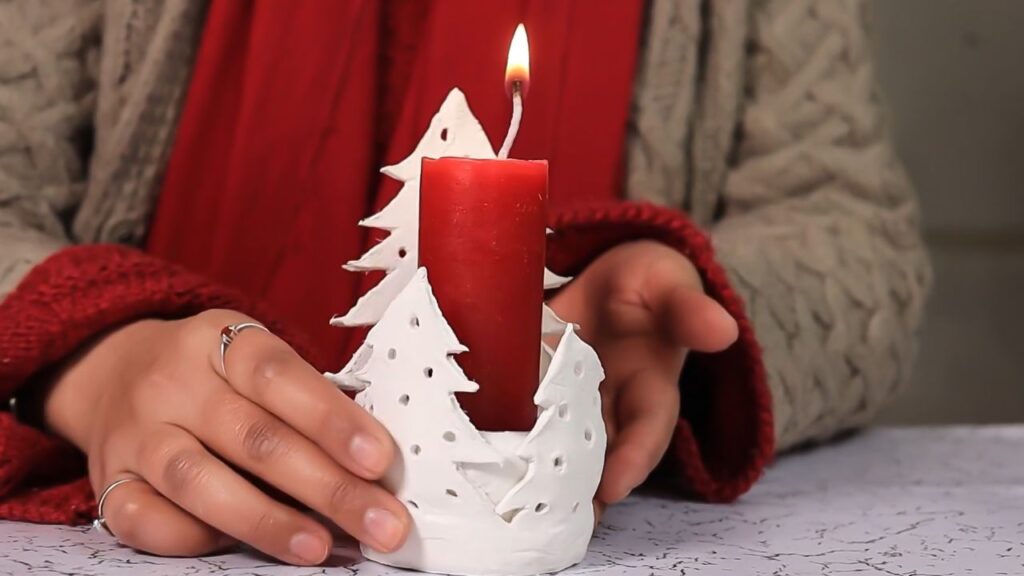
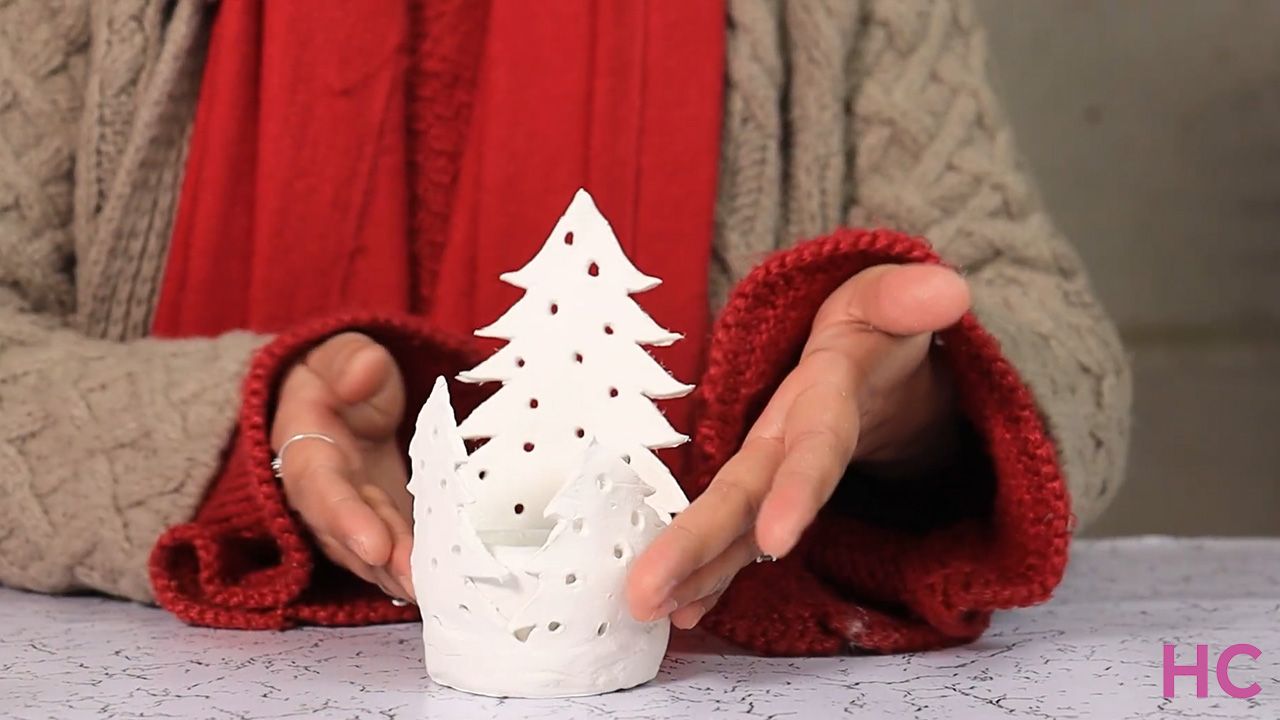
If you ask someone what they love about Christmas, you will probably get answers like decorations, holiday food, or family gatherings. But if you ask a DIY enthusiast, their reply will be crafting things for decorations. For such folks, we present this holiday-themed tree clay candleholder that can be easily replicated. This DIY Christmas tree clay candleholder requires a few materials that will cost you less than $15 and a bit of time on your hands so it’s better to do this on a weekend.
Here is the full video tutorial:
Materials:
- Air dry clay
- Clay tools
- Christmas tree paper cutouts
- Rolling pin
- Paper cutter
Prep time: 5 minutes
Active Time: 30 minutes
Total Time: 35 minutes
Difficulty Level: Medium
Clay Drying Time (Inactive Time): 24 hours
How to Make a DIY Christmas Tree Clay Candleholder
Start by gathering all the materials you need to create this DIY.
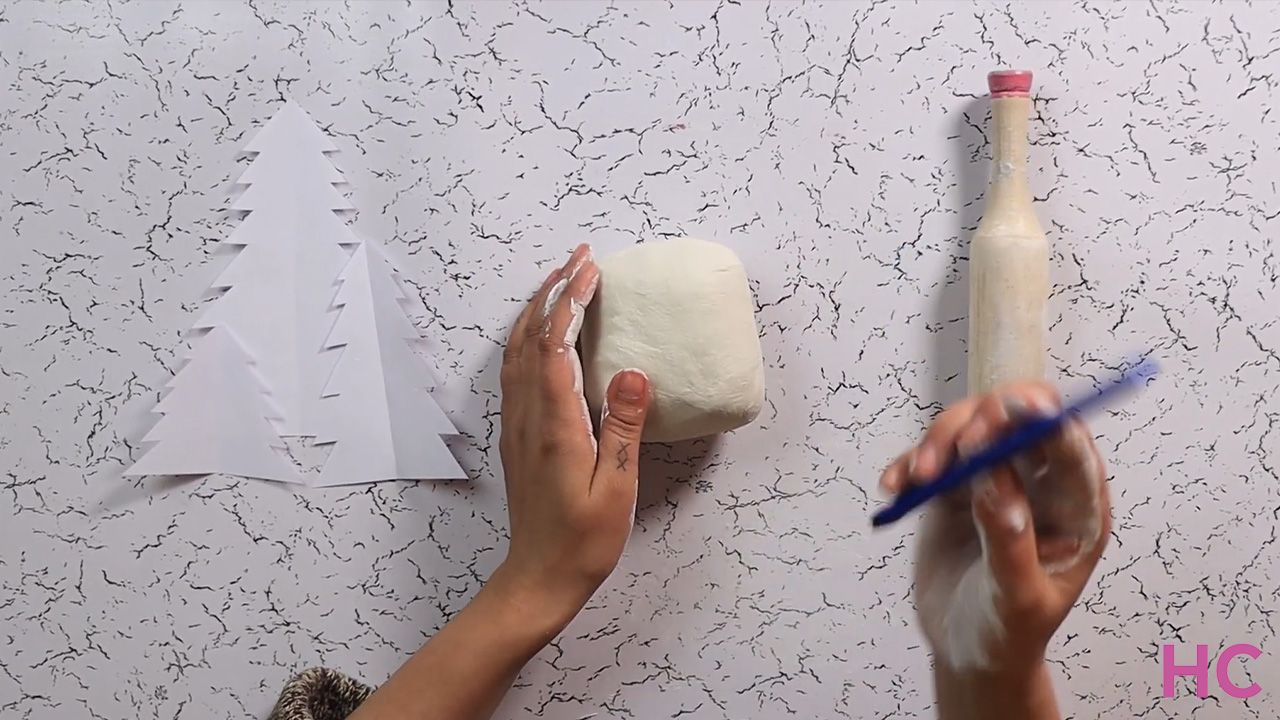
Then, take a chunk of clay and keep working with your hands until you get a bowl-shaped structure. This is where you are going to place your candle.
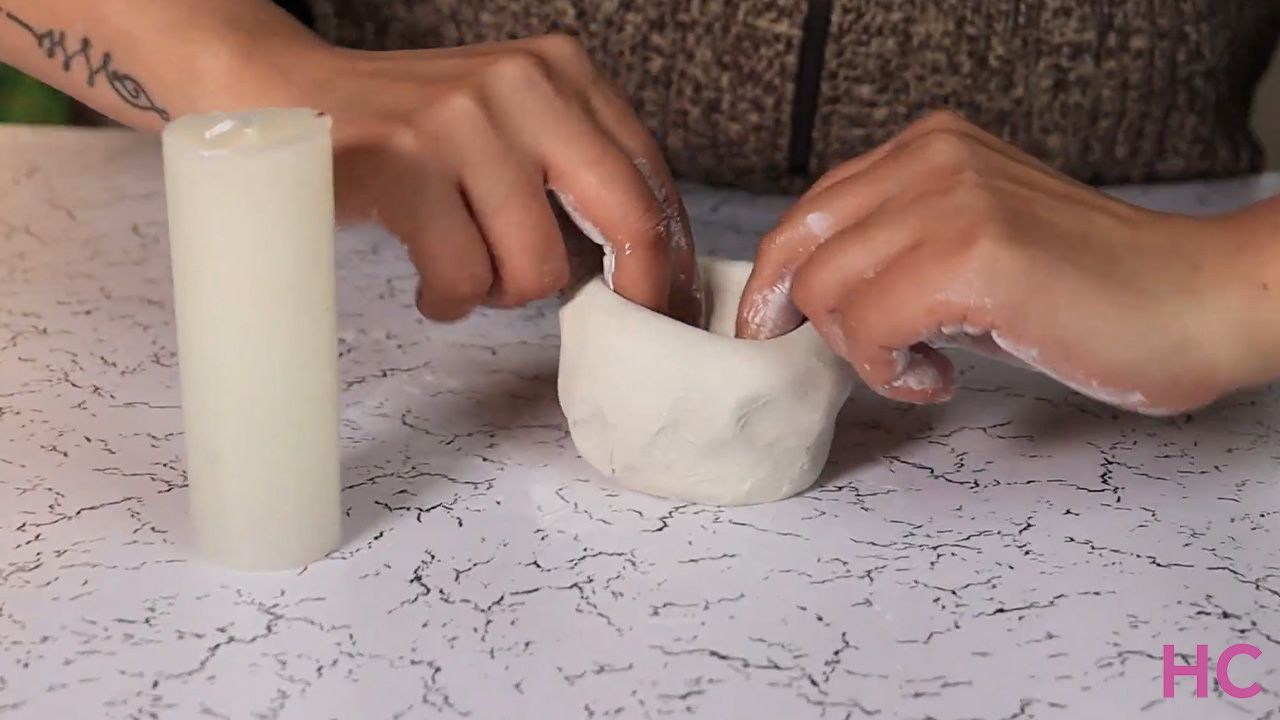
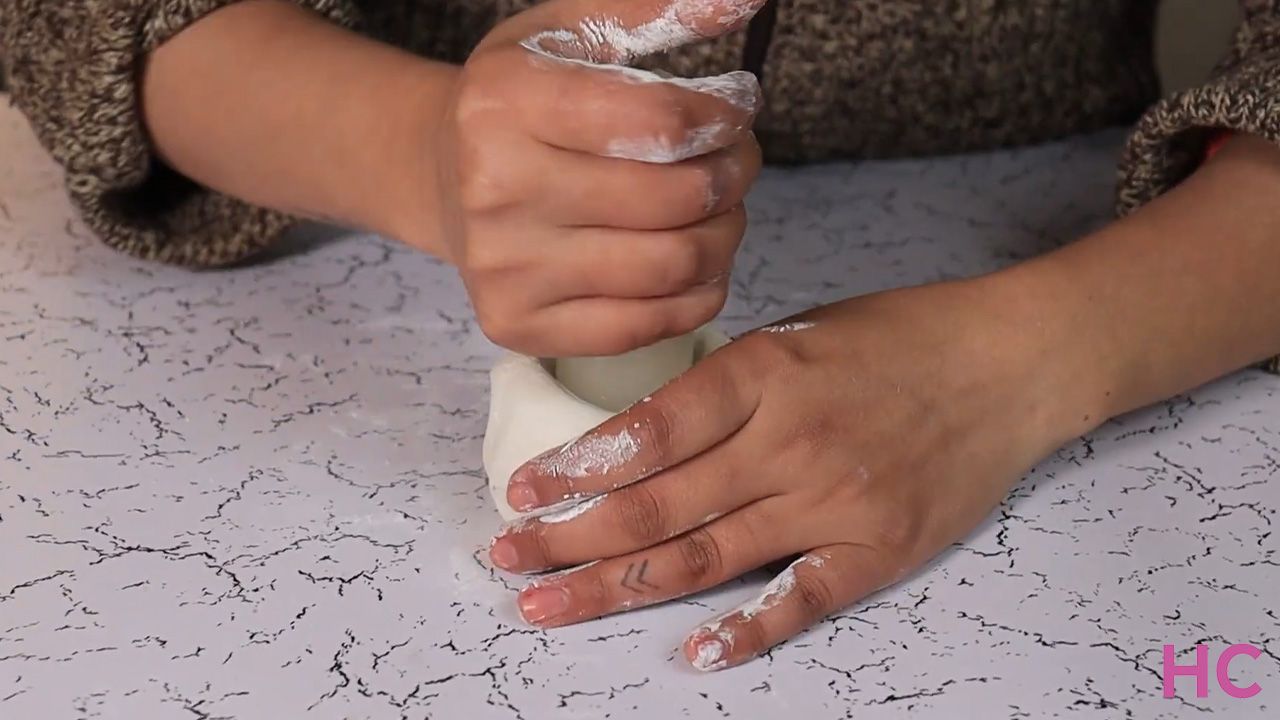
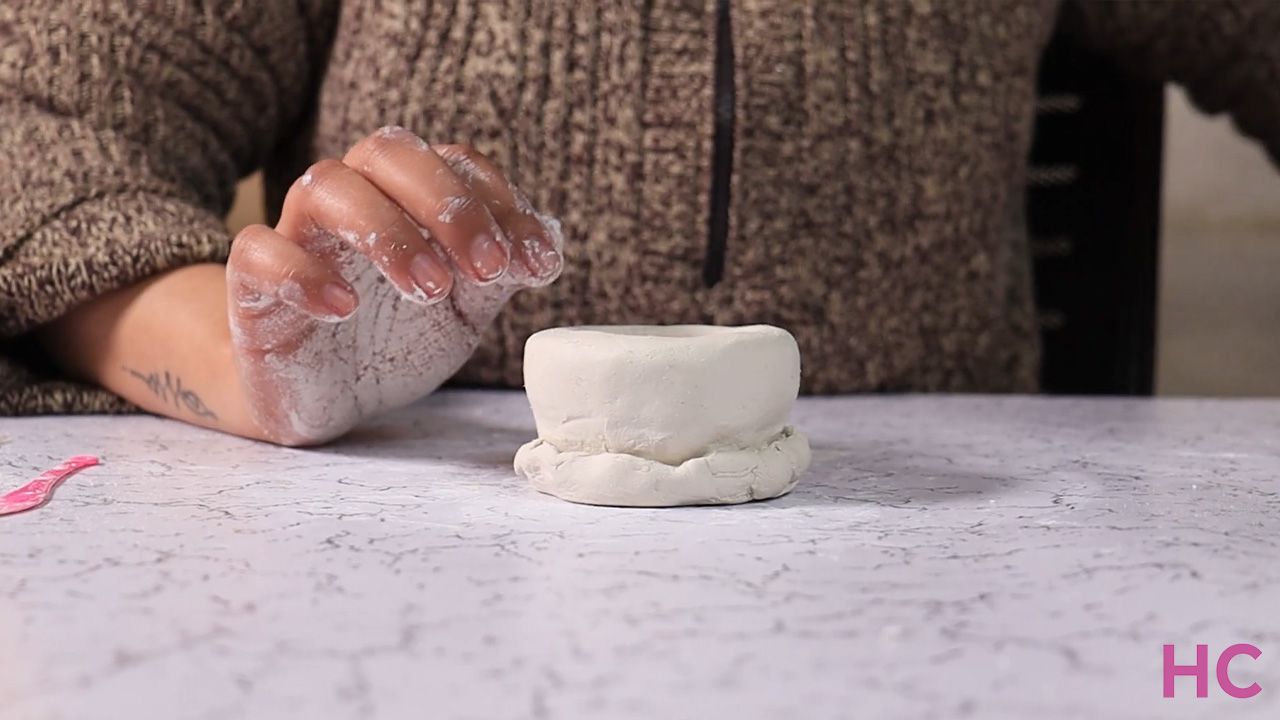
Once you have the structure, you can chisel the excess on the sides using a cutter to create a saucer where your tree cutouts will be attached.
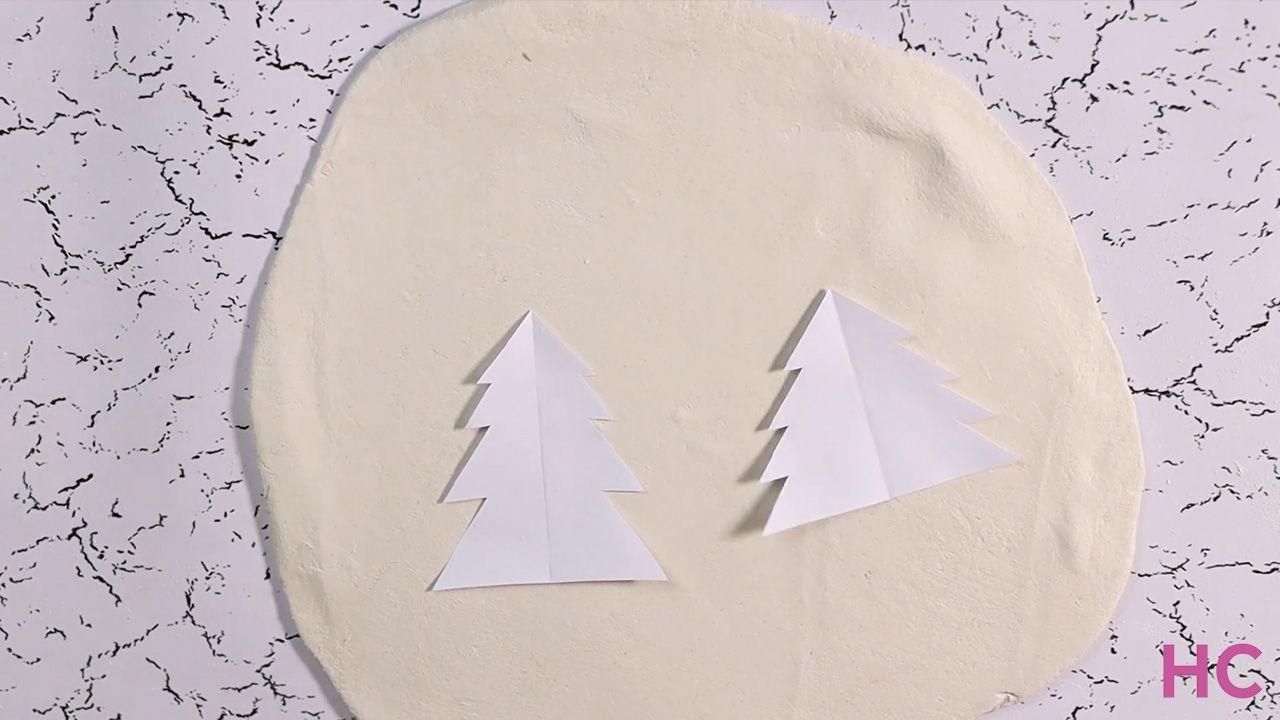
Now, flatten more clay using the rolling pin. Then place your Christmas paper tree cutouts and use them as stencils. Create an outline and cut the shapes out with the help of the cutter.
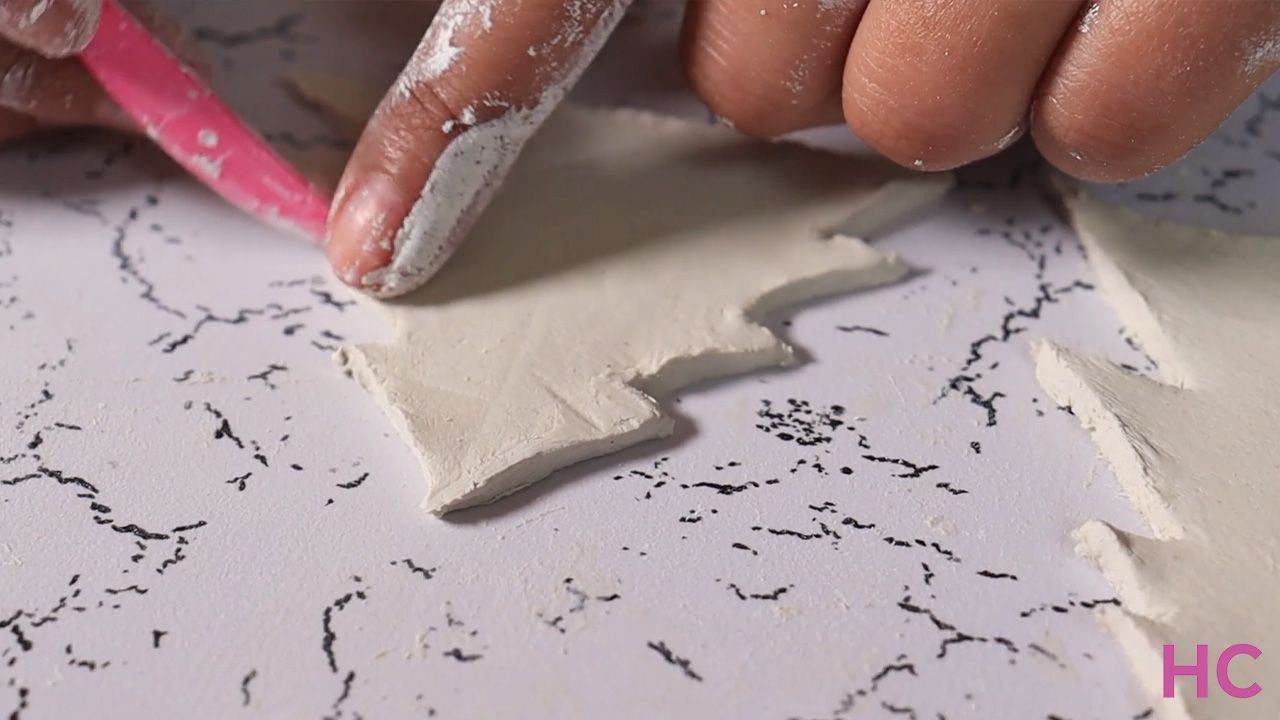
Once you have the shapes, don’t forget to smoothen out all the rough edges and make holes with a toothpick. Holes will allow the light from the candle to pass through for a dramatic touch.
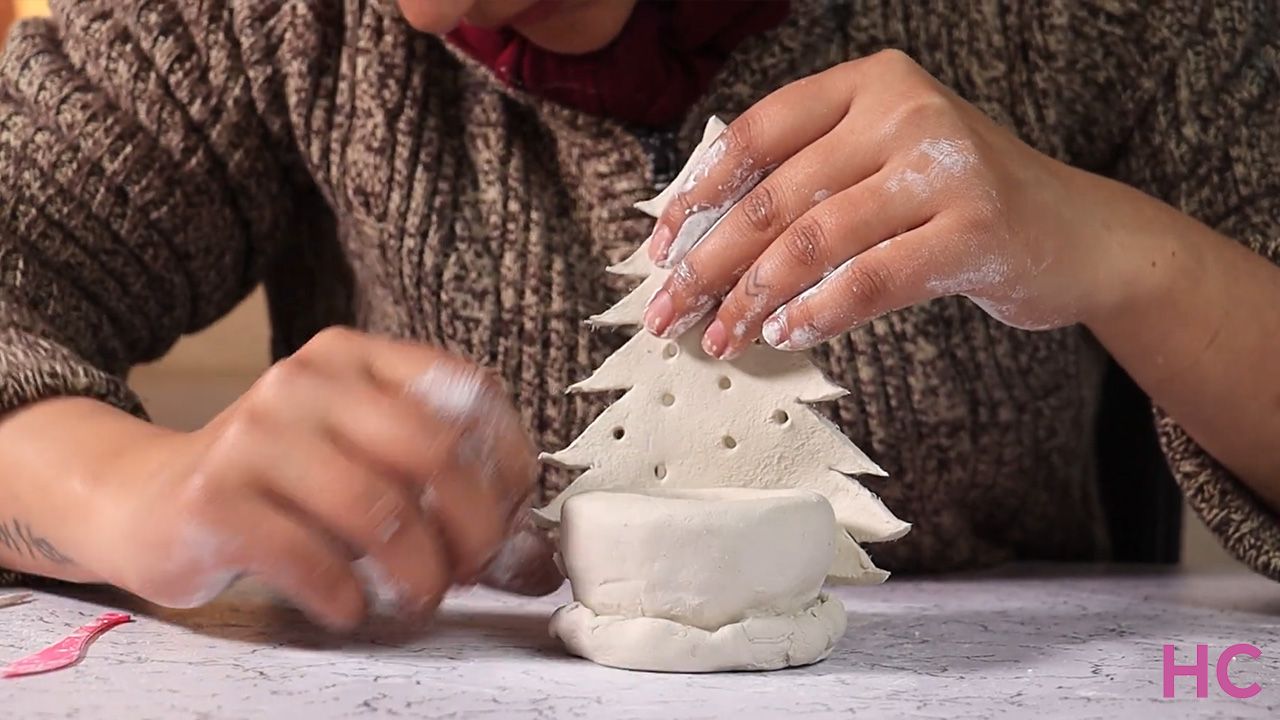
Next, take your trees and attach them around the saucer that you have created on the bottom. Make sure you blend the clay perfectly at the bottom with clay tools to hold your trees in place once they have dried.
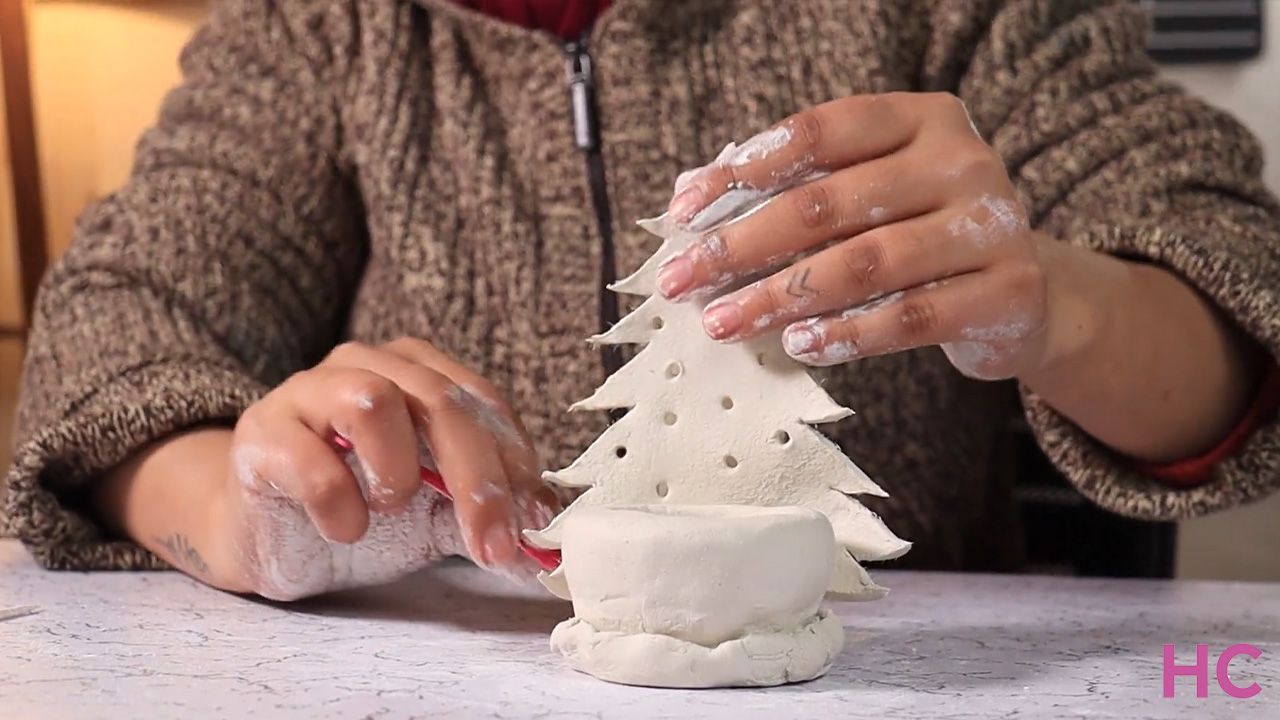
For the final step, let it dry for 24 hours. And, that’s it! Your Christmas tree clay candleholder is complete. You can leave it as it is, or you can paint it for a festive look.
Give it a try and share your thoughts with us. Merry Christmas!
Follow Homecrux on Google News!
