Halloween is fun, but Christmas is merrier. All of us eagerly await that first snowfall so we can begin decorating for Christmas. The wafting fragrances of hot cocoa, fresh pine boughs, sweet pies, roasted chestnuts, and the overall merriment all around can even put the Grinch in the mood for Christmas. So to commence the festivities of the merry season, I am creating a DIY Christmas poinsettia wreath tutorial, which is easy, affordable, and effortless.
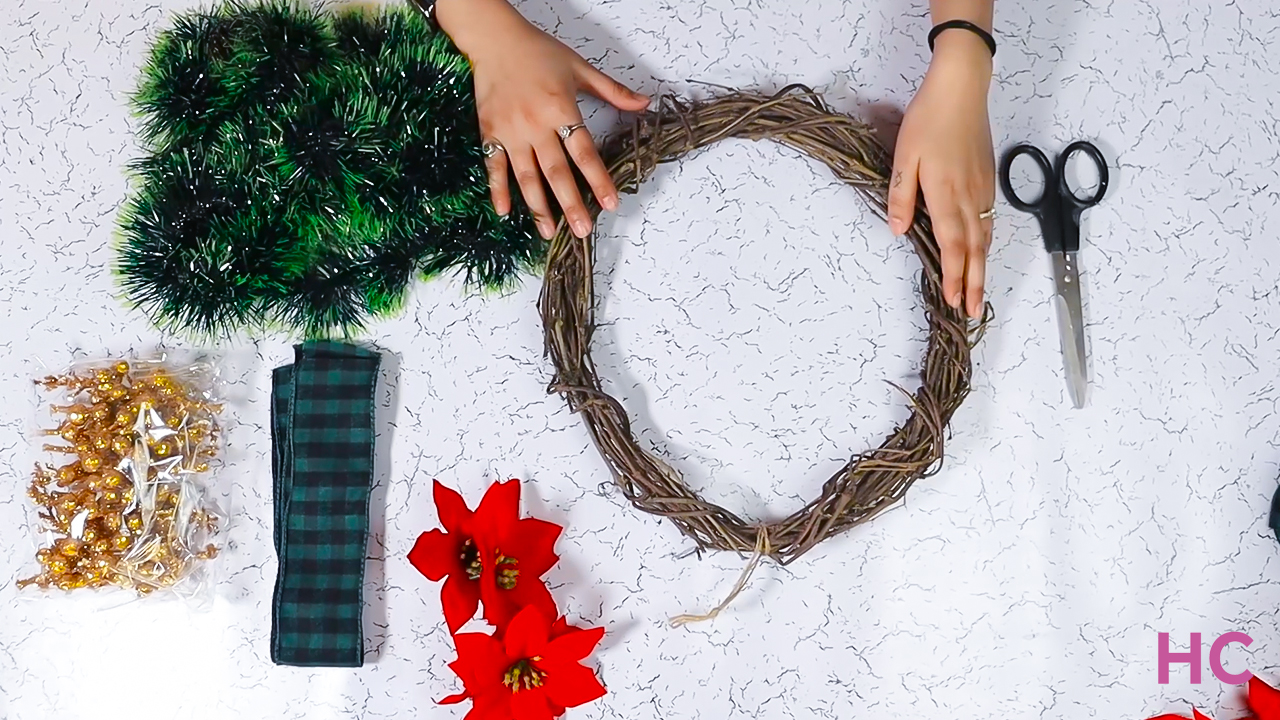
This DIY wreath is simple but beautiful. It is also dotted with the classic holiday palette of green, red, and gold. All you need for this craft is a grapevine wreath base, faux green garland, red velvet poinsettia, green plaid ribbon, and golden berries. Let’s follow the step-by-step tutorial for creating a gorgeous DIY Christmas poinsettia wreath.
Also Read: 30+ DIY Christmas Wreath Ideas to Try This Festive Season
Materials Used:
- Vine wreath (which I made in the jungle)
- Faux green garland (Buy)
- Red velvet poinsettia with longer stems (Buy)
- Green plaid ribbon (Buy)
- Golden berries (Buy)
Beginner’s Guide to Making Christmas Poinsettia Wreath
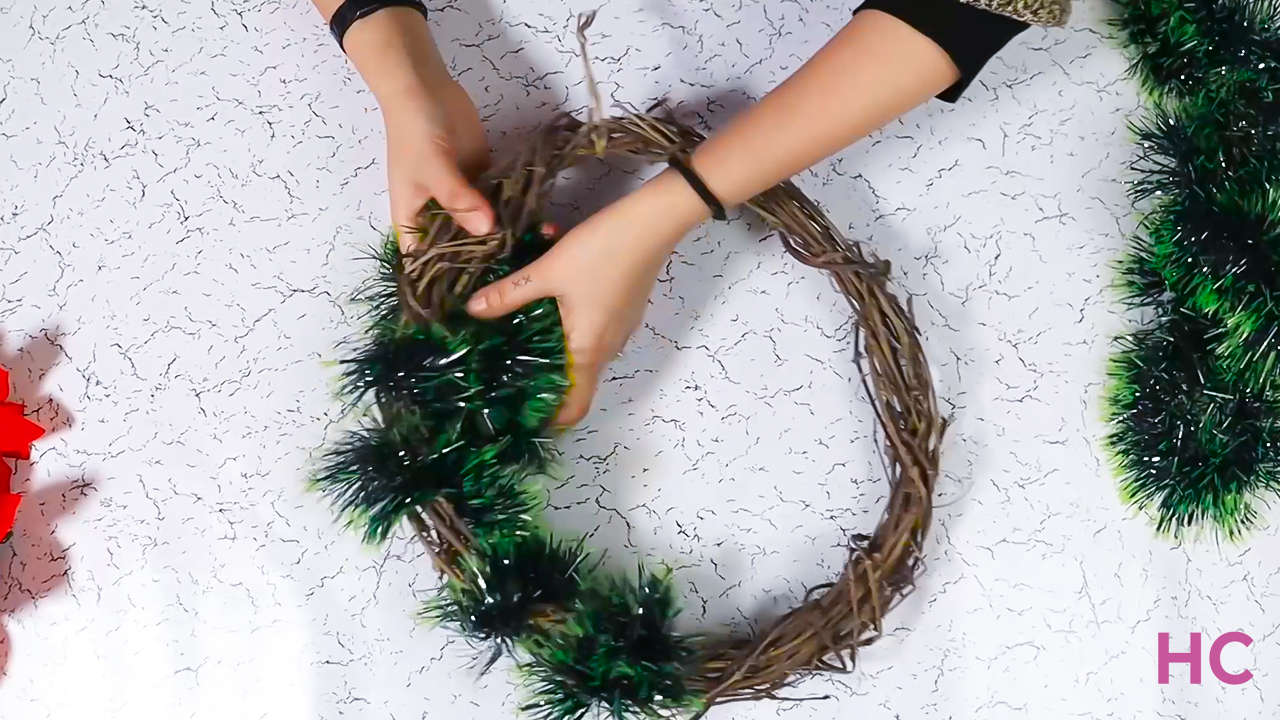
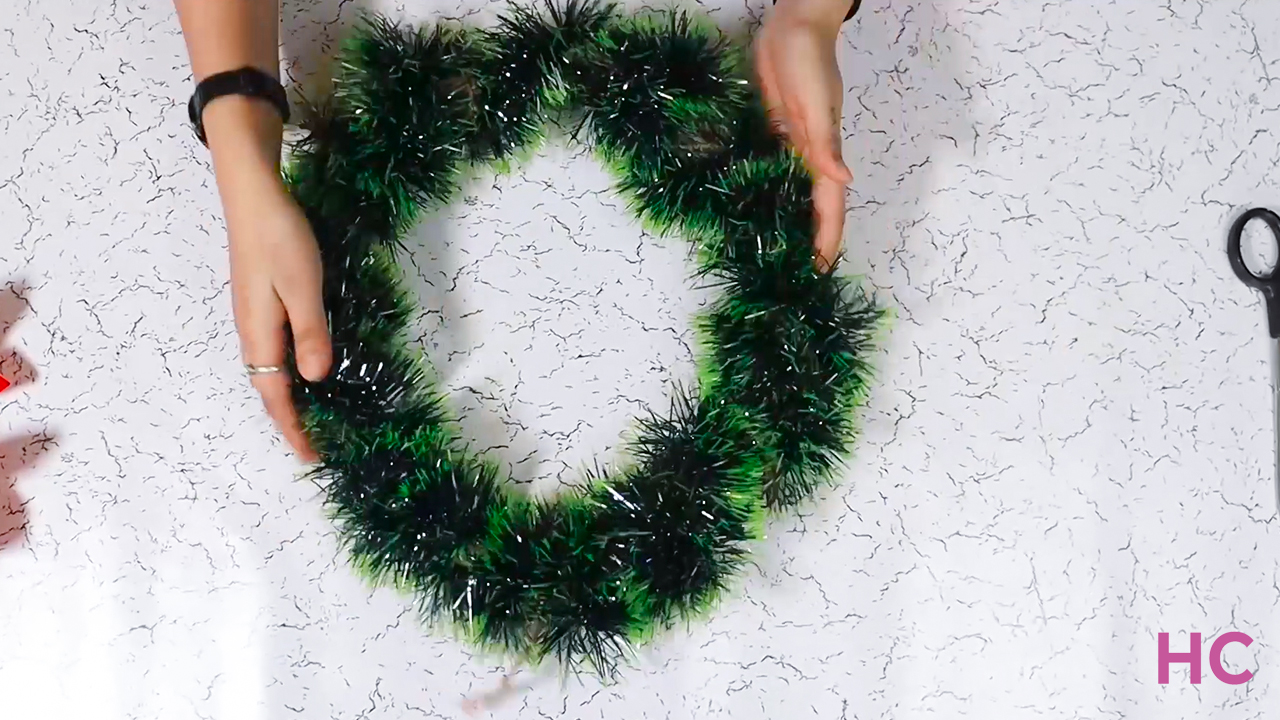
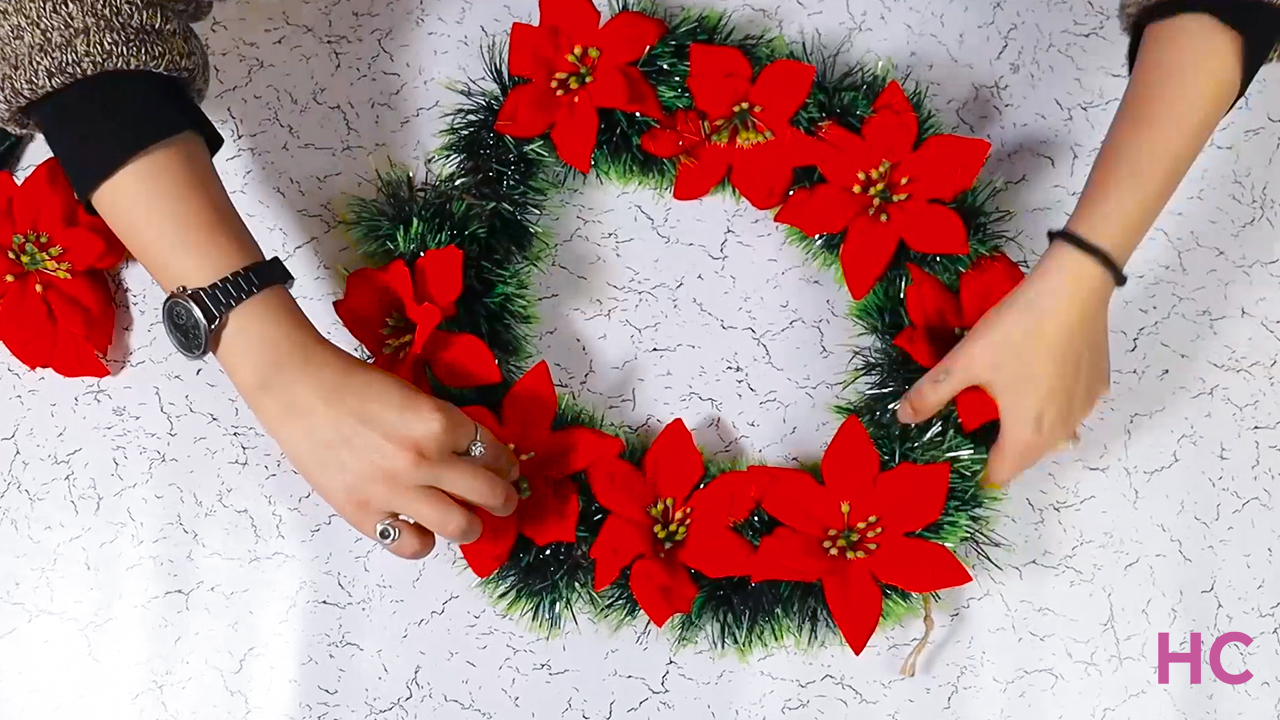
- Begin by draping the vine wreath with faux green garland
- This is a no-sew, no-glue DIY Christmas craft, so make sure to leave some gaps between the garland so you can stick the flowers and other ornaments in there
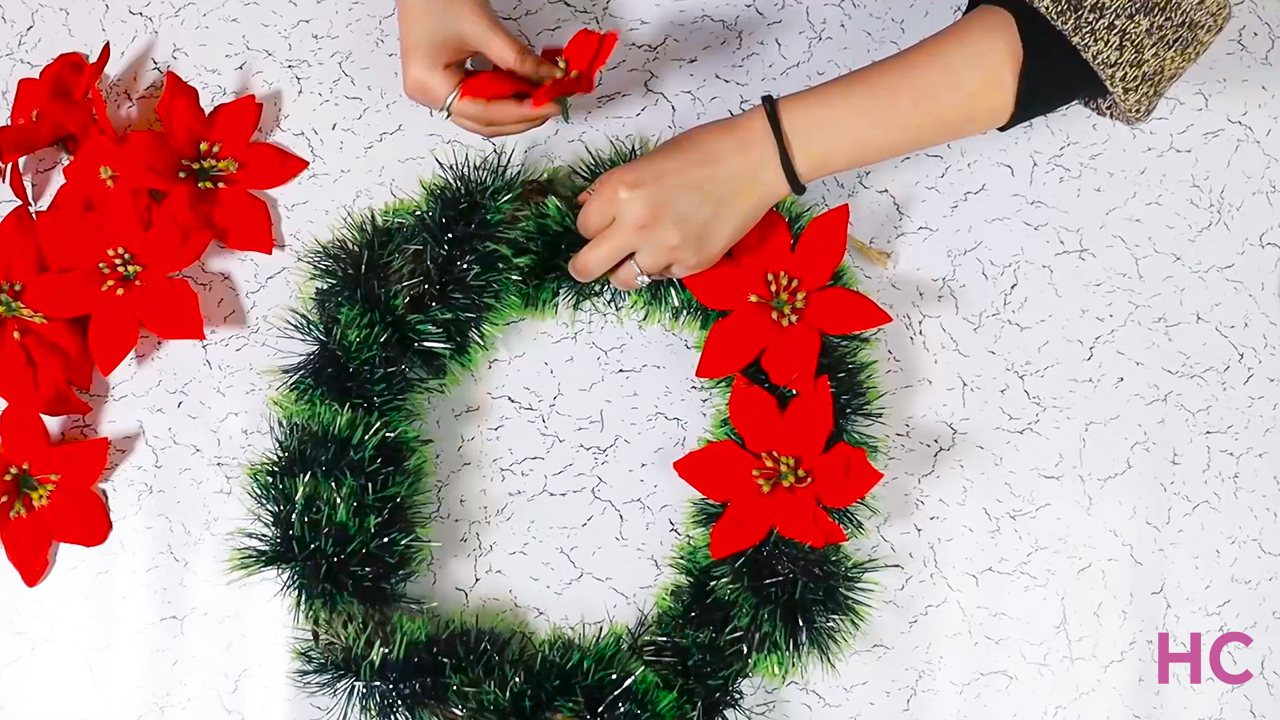
- Once the garland is wrapped around the base, add your poinsettia flowers to it
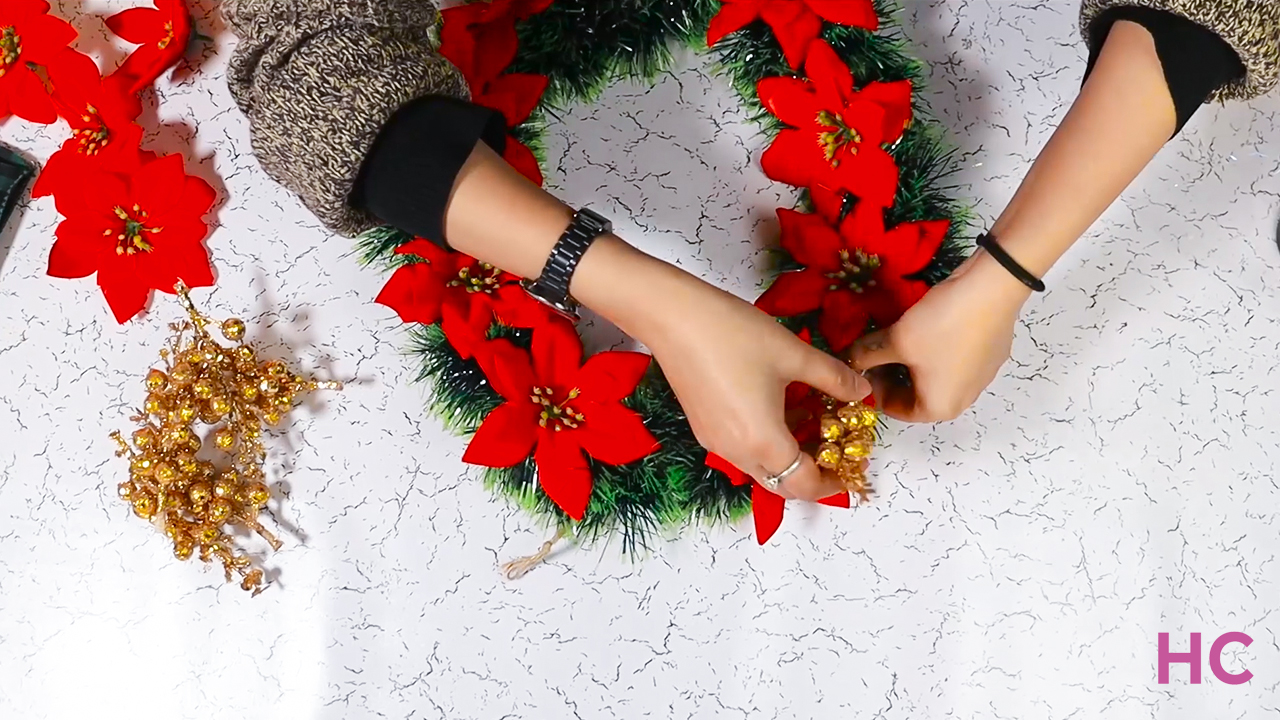
- After you are done inserting the flowers into the gaps between the vines, make sure to give it a shake to test if any flowers are loose
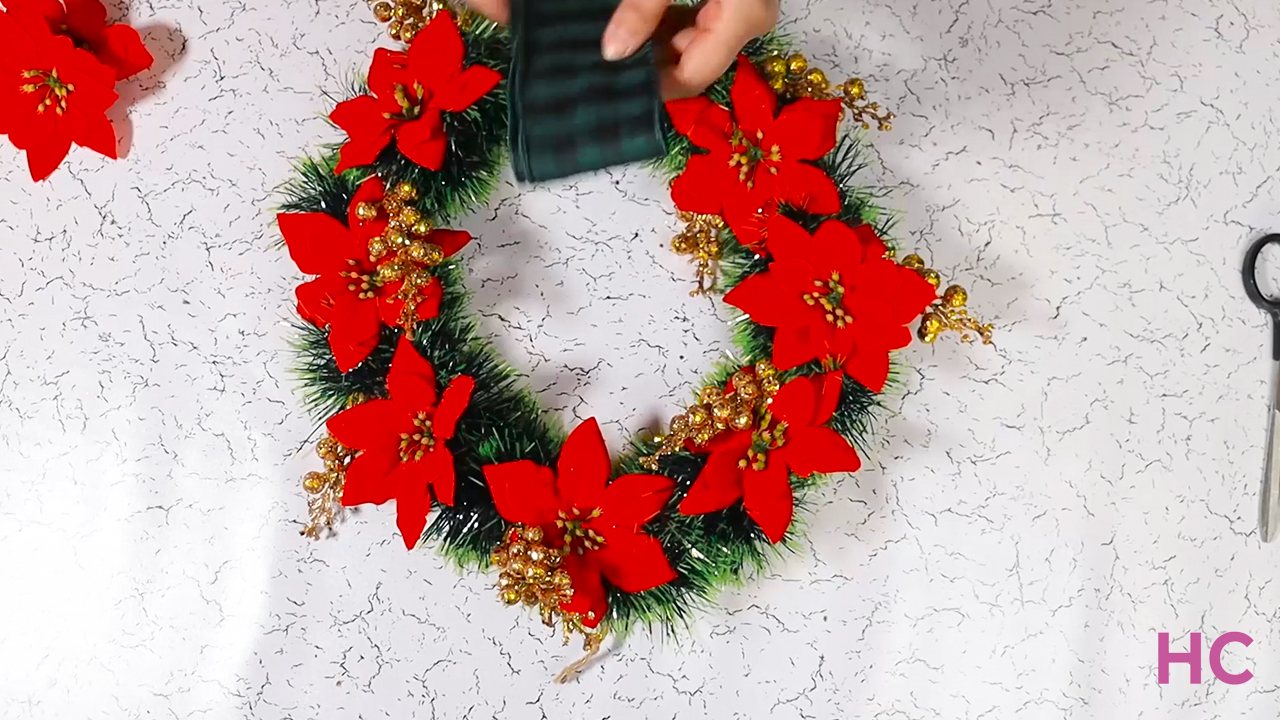
- Next, add your golden berry stems wherever you feel any major aesthetic gaps in the wreath
- As you are not using glue, it is easy to insert and remove the ornaments without damaging them if you make any errors, and you can reuse them next year as well
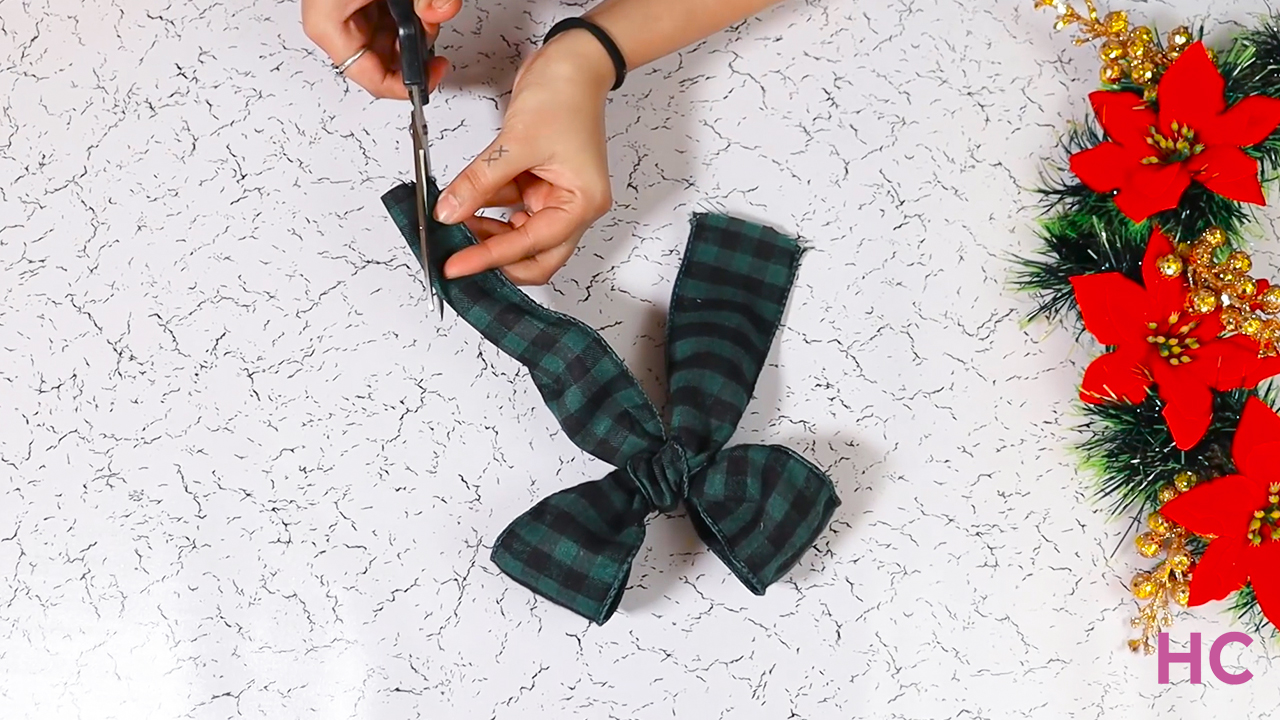
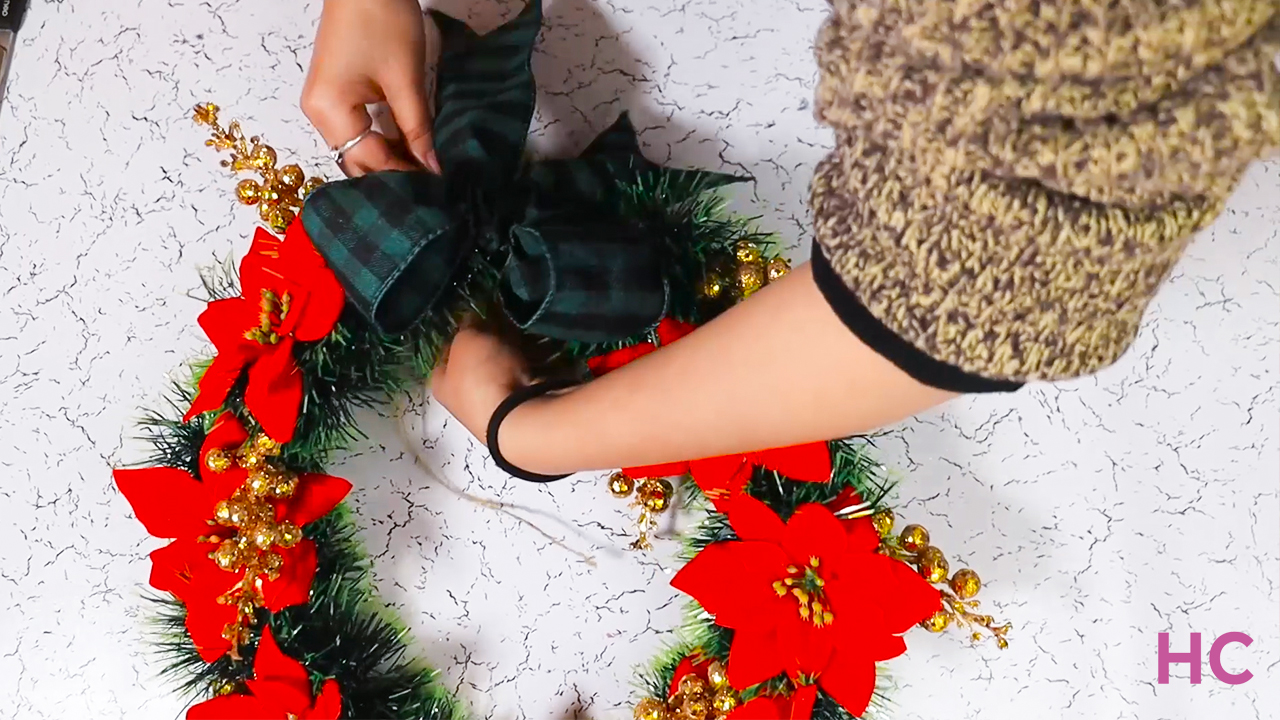
- Once your ornaments are secure in place, make a bow with a wired plaid ribbon and tie it around the bottom of the wreath, make sure it aligns with the hanging loop at the top
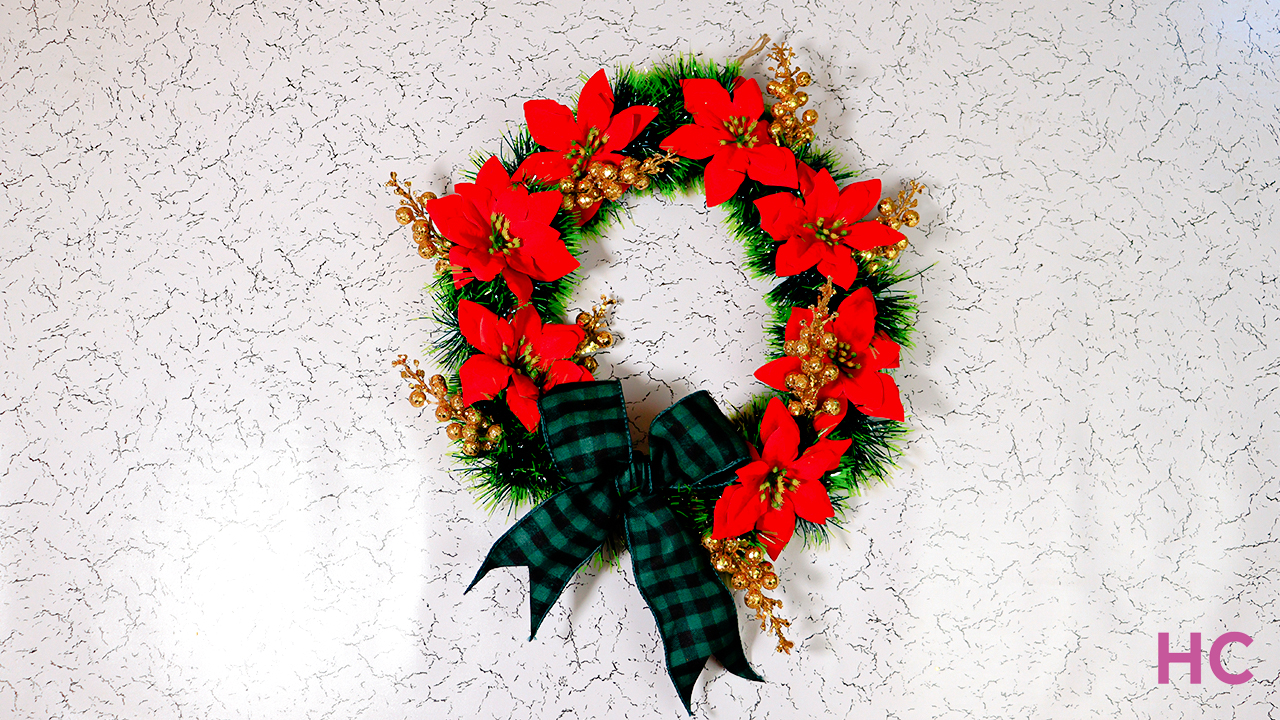
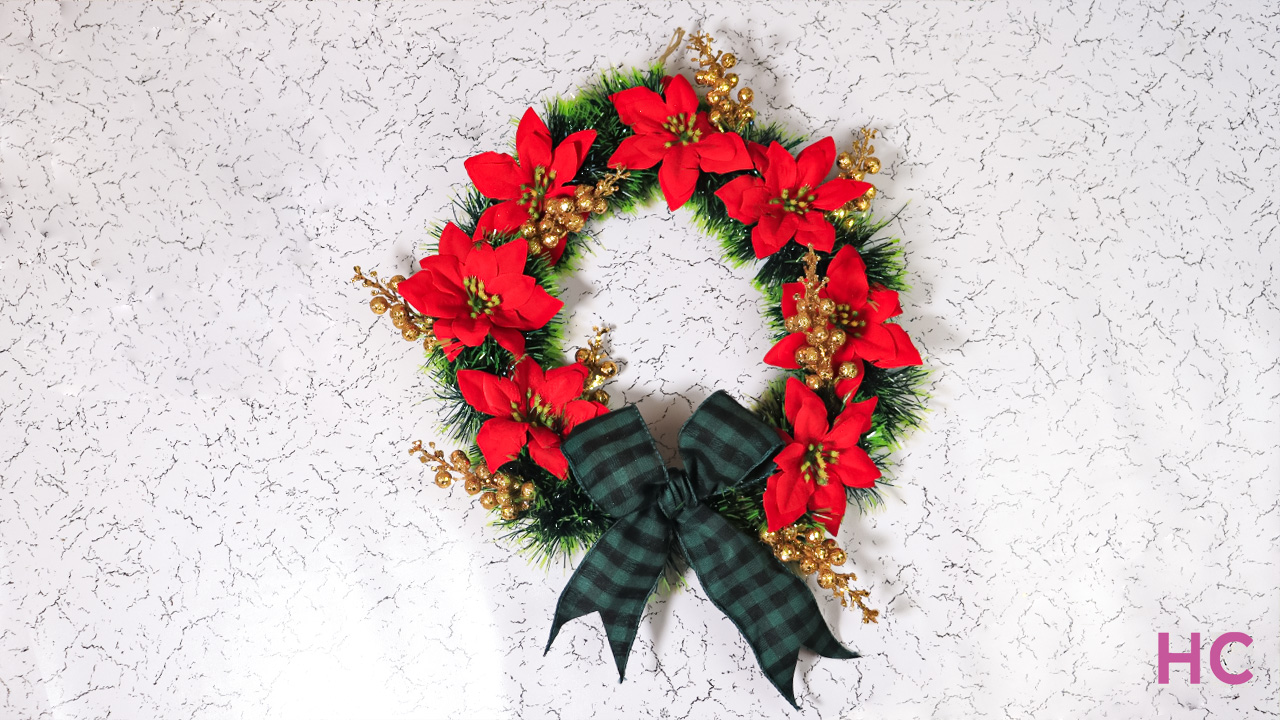
And that is it! Your DIY Christmas poinsettia wreath is done to be proudly displayed on the wall or front door. If you have a doubt in the process, follow the full video tutorial below and let us know what you think.
Follow Homecrux on Google News!


