I will admit that carving pumpkins is truly a messy business, and if you do not have the proper tools, it is a headache. But I can not deny the satisfaction of creating something beautiful and scary by carving a pumpkin. After a pumpkin fairy house idea, I decided to carve an easy but scary pumpkin carving in 5 simple steps for Halloween decorations.
All you need is a pumpkin and some knives or carving tools, if you have them. And a tutorial to guide you through the process, which isn’t much and you can easily pull this pumpkin carving idea within half an hour. Let’s see what to do:
Also Read: 70+ Cool and Easy Pumpkin Carving Ideas You can Pull Off
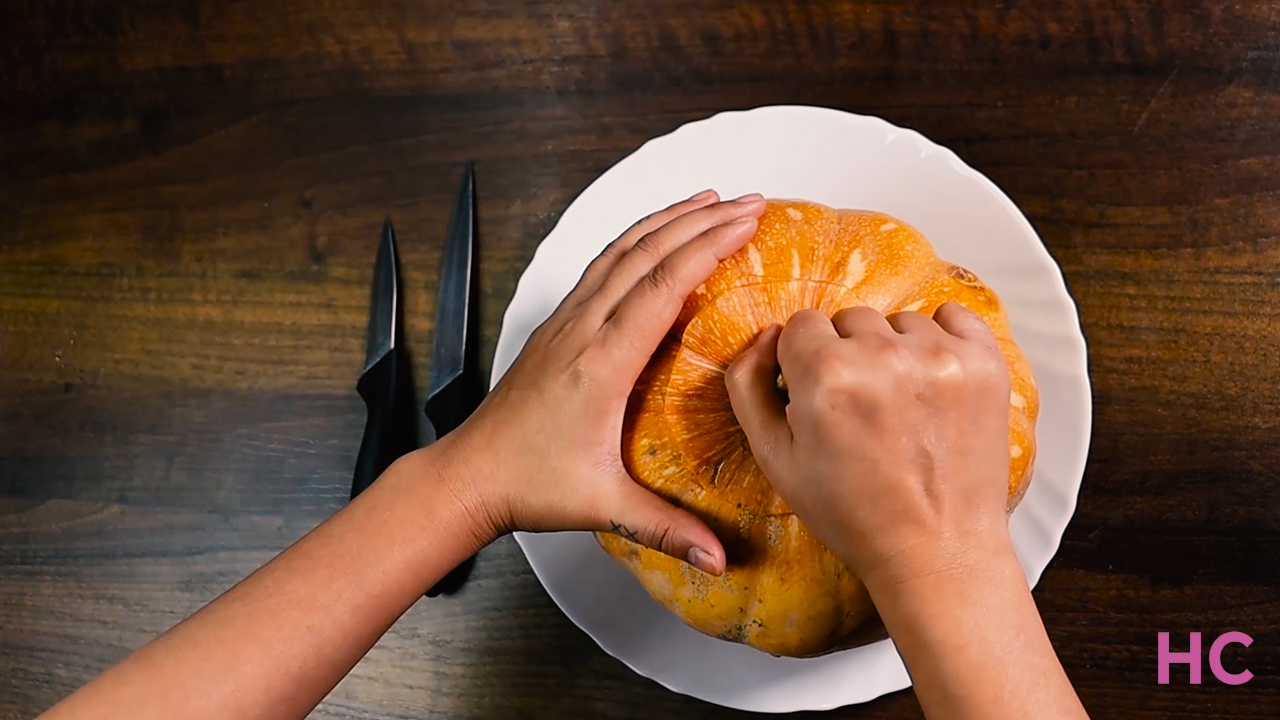
Step 1: Make a hole at the top. You can make a circle with a pencil beforehand or go freehand. First, make shallow cuts, it will help the knife get deeper on the second round.
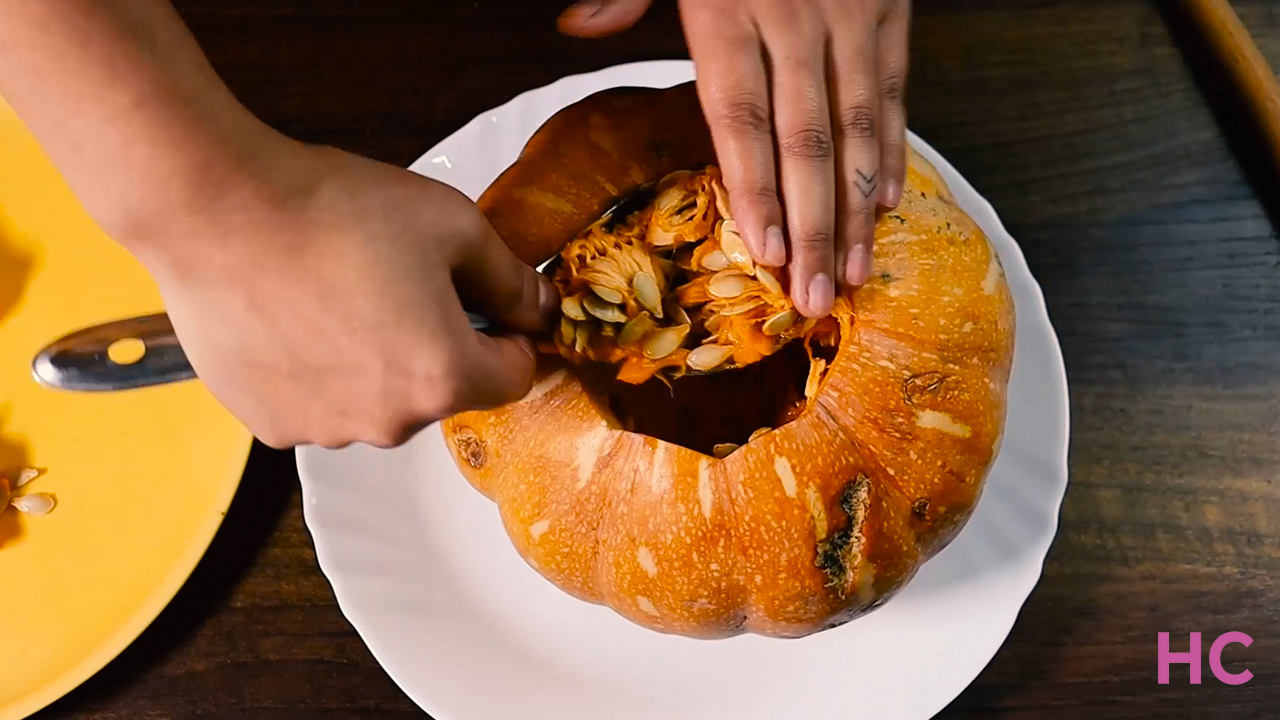
Step 2: Once you have a hole on the top, start emptying the pumpkin innards. Make sure to get out every bit of fibrous strands, seeds, and pulps.
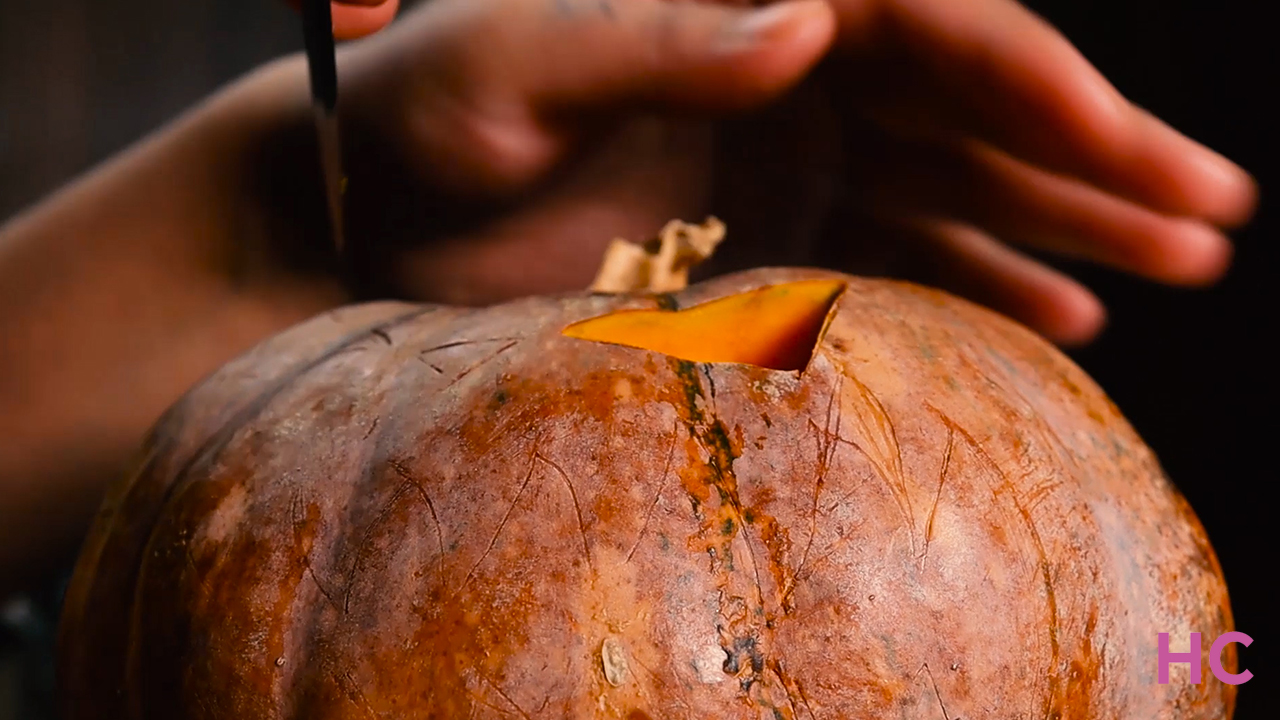
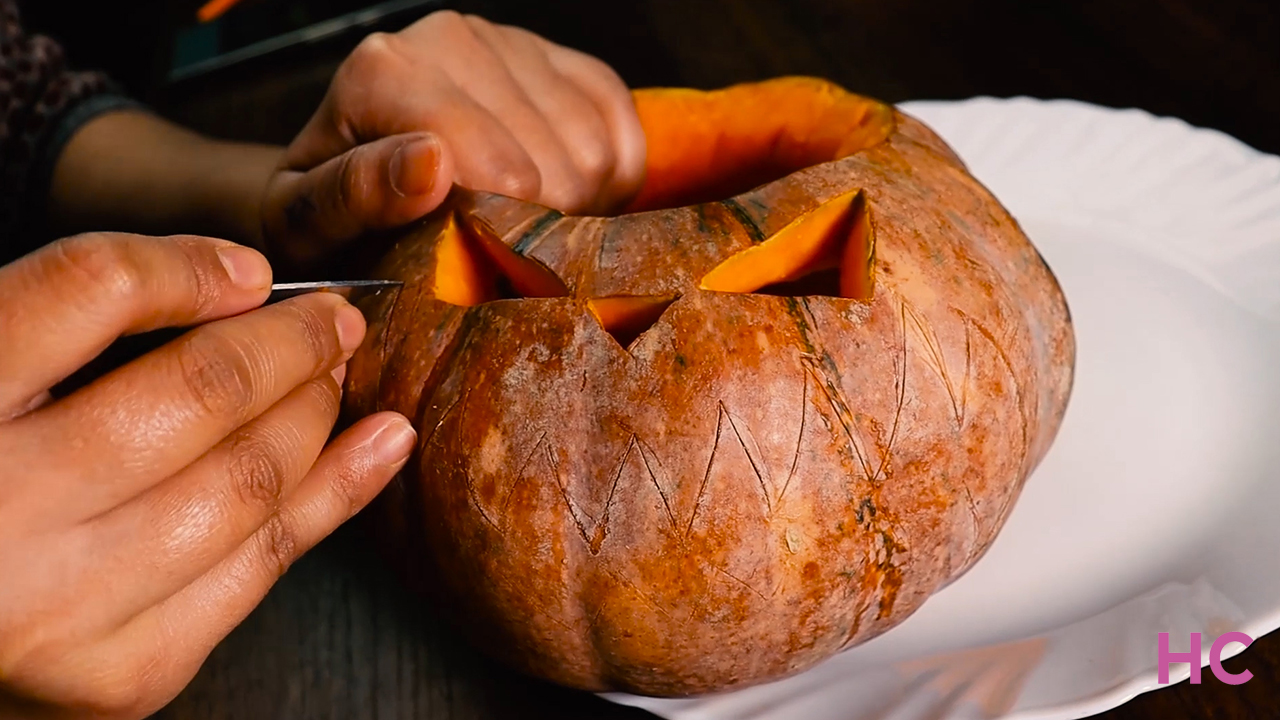
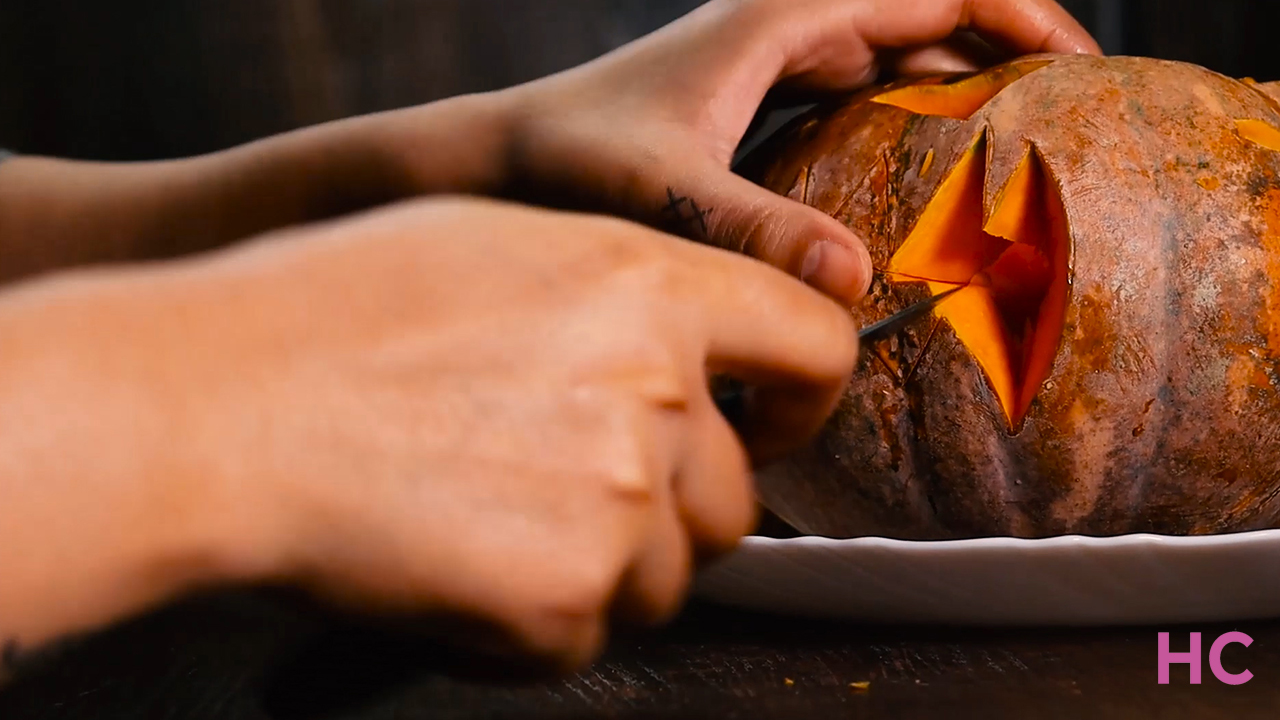
Step 3: Draw a scary Jack-o’-lantern pattern on the side of the pumpkin. Start by carving eyes, nose, and mouth with jaws. Make shallow cuts at the beginning, allowing your knife to stay on course.
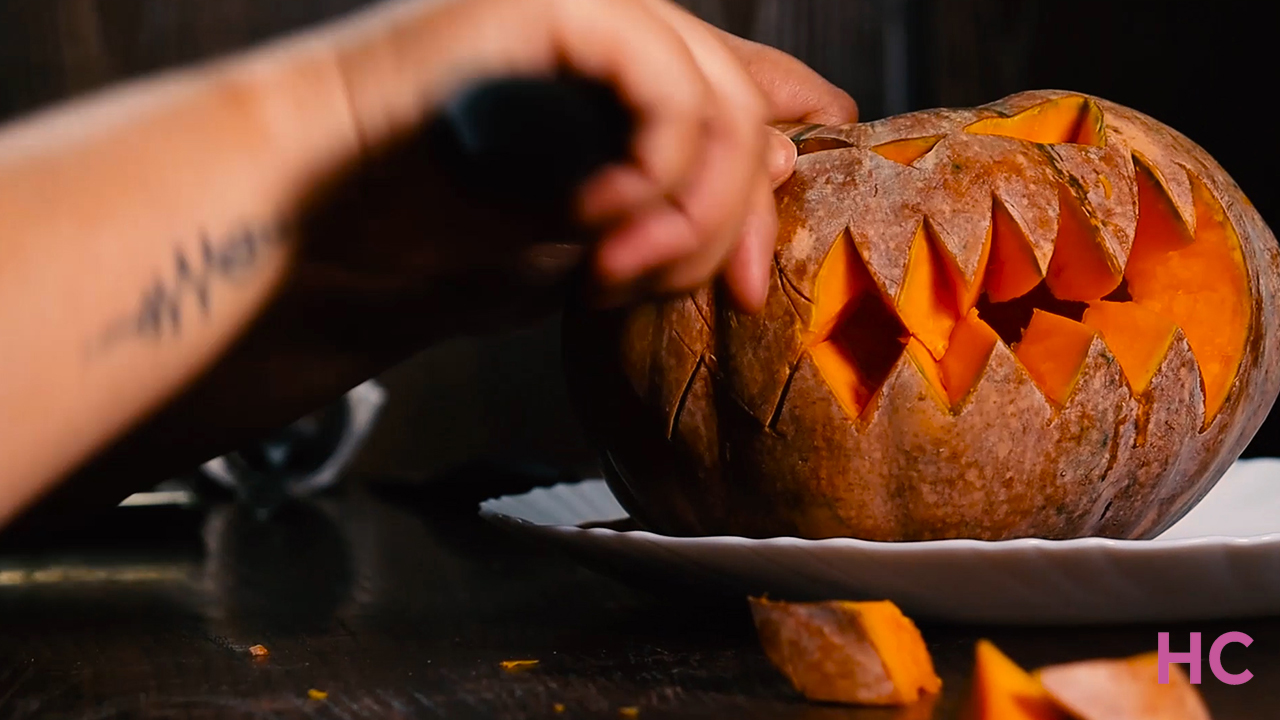
Step 4: While carving, be careful of the knife slipping. Cut the carved chunks out of the gourds and clean any messy bits on it.
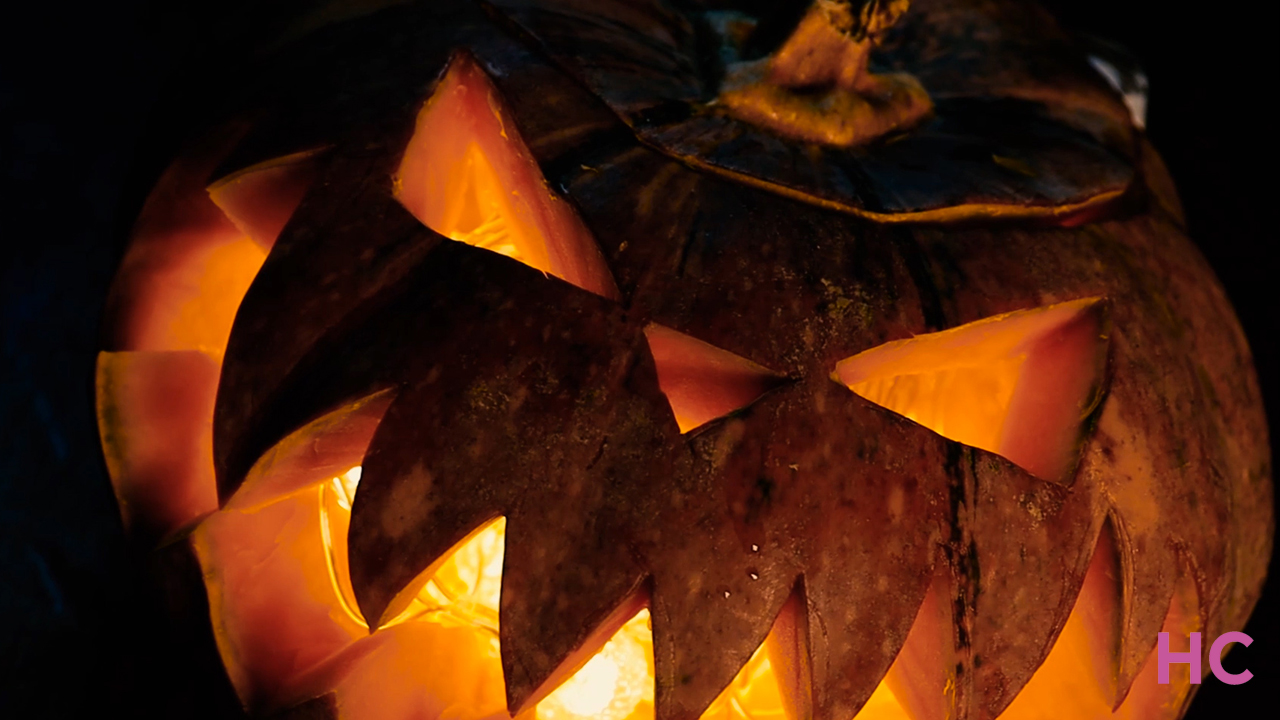
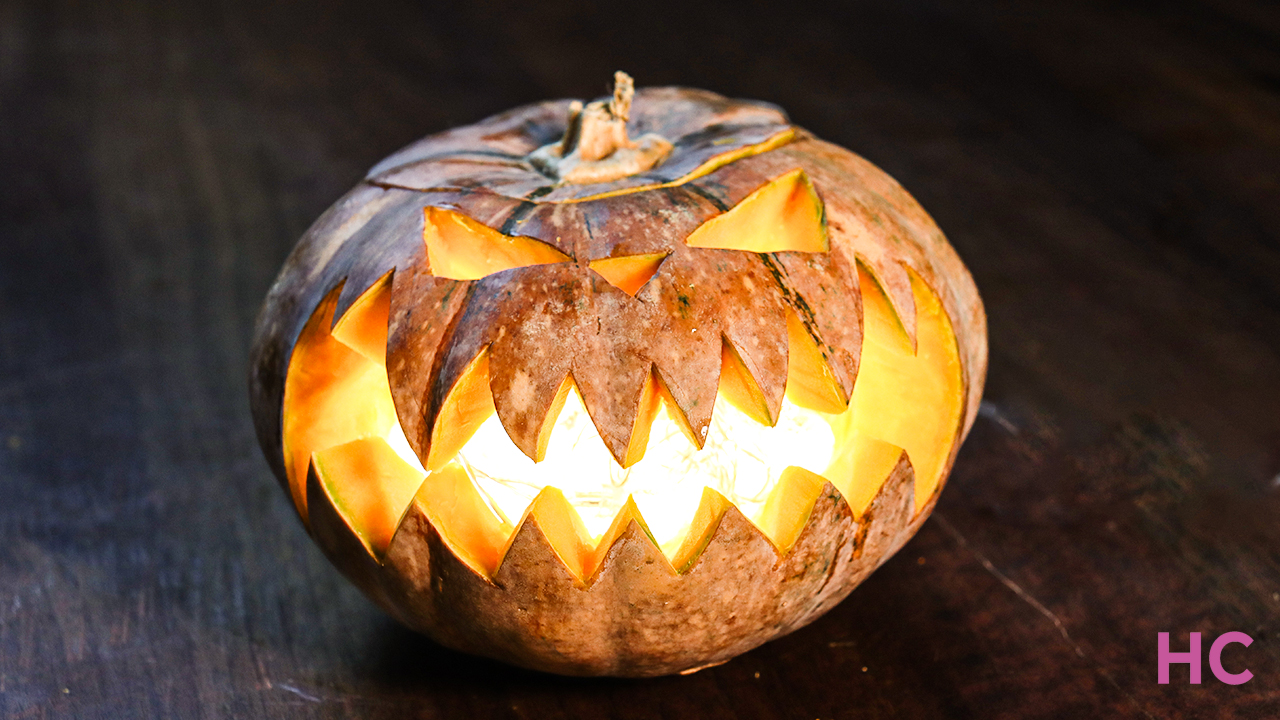
Step 5: The last thing you need to do is add lights inside and decorate your house with this scary pumpkin carving idea. You can create as many as you want and scare trick-or-treaters.
Follow the video tutorial below:


Follow Homecrux on Google News!



Good