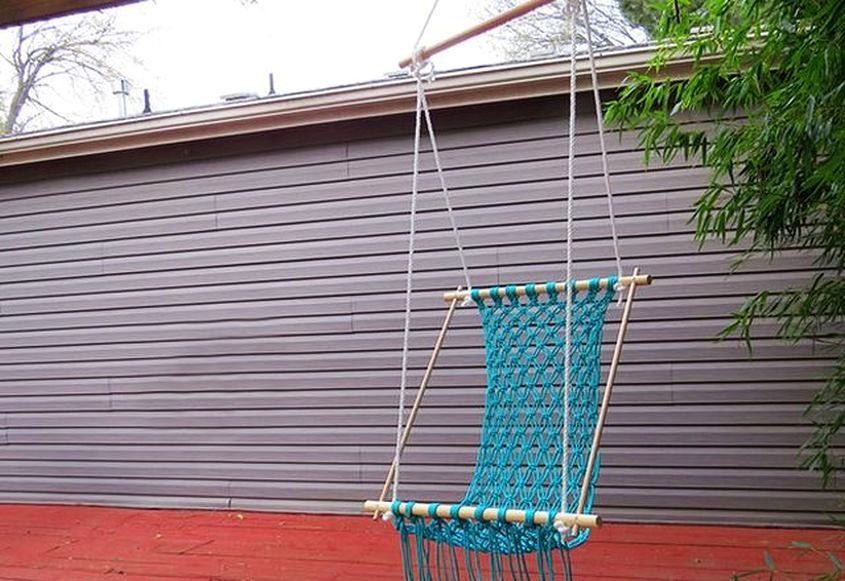
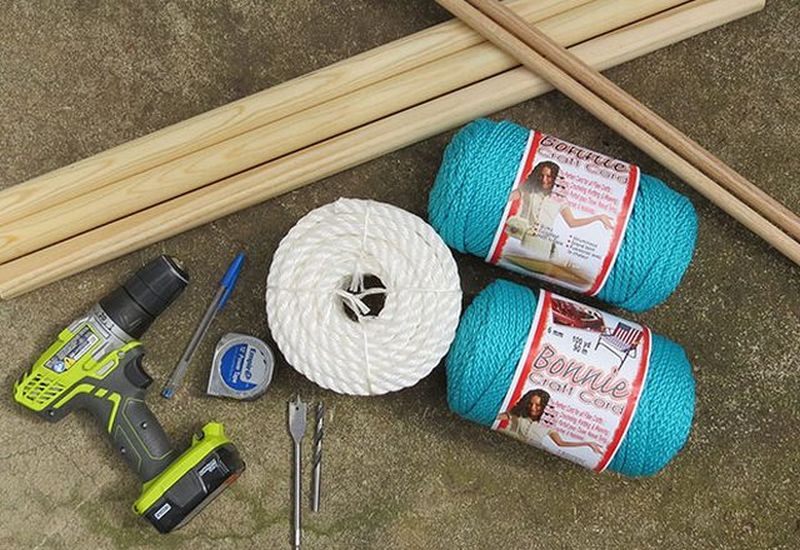
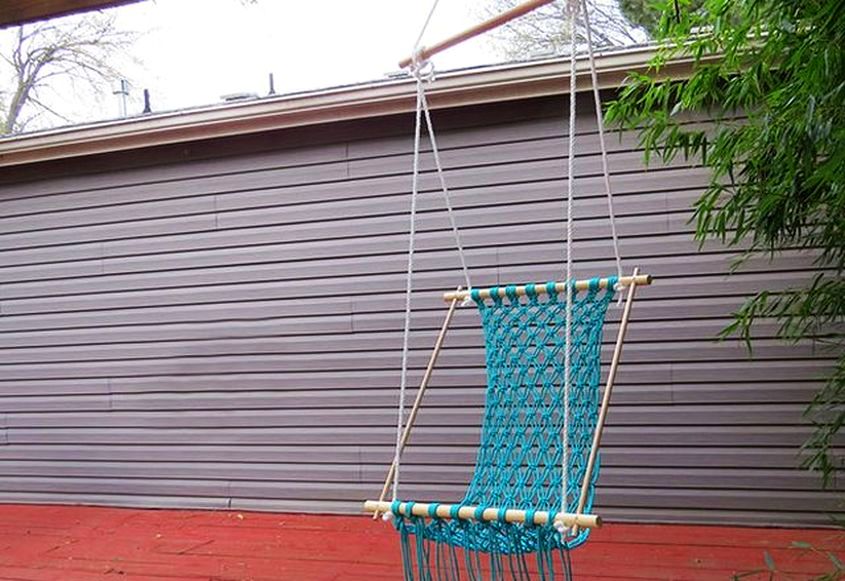
Hammocks are rapidly becoming popular among hikers, camping enthusiasts, as well as homeowners. You’ll find a hammock swinging in every backyard or porch. If you’re a wandering soul and DIY type, you might be interested in learning how to build a hammock at home. For this project, all you need is wood dowels, macramé rope, wood screws, drill and a conventional rope.
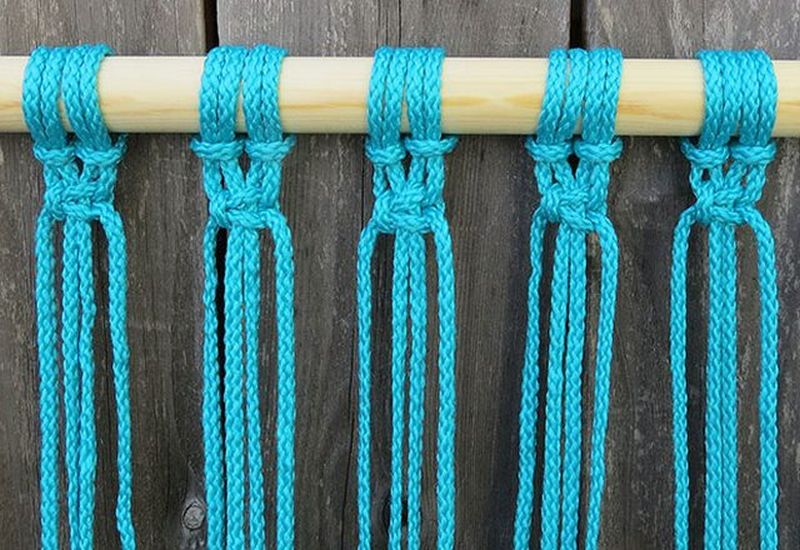
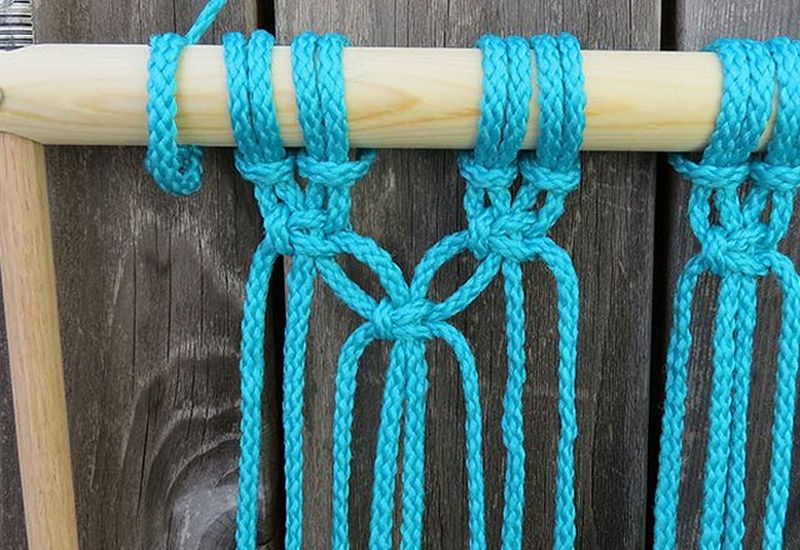
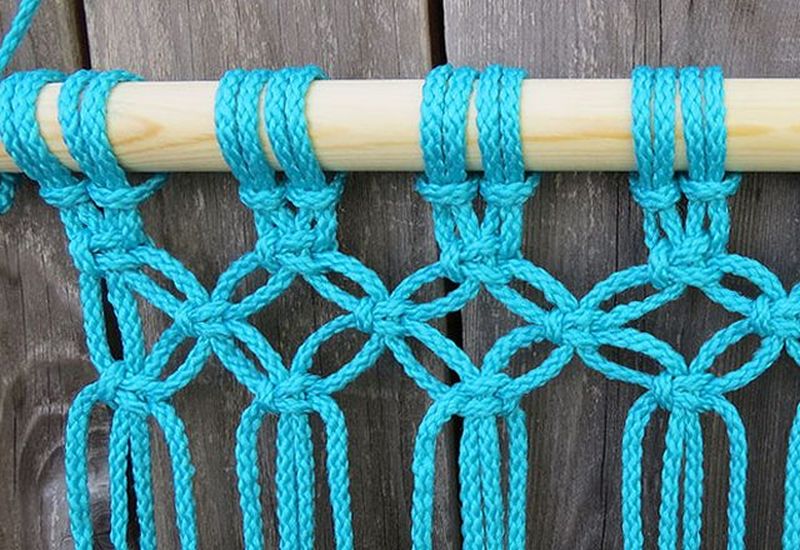
Before you start the project, you should know the macramé technique of creating textile using weaving or knotting threads. It’s alright if you don’t since it’s not rocket science. You will learn as you scroll through the pictures given below.
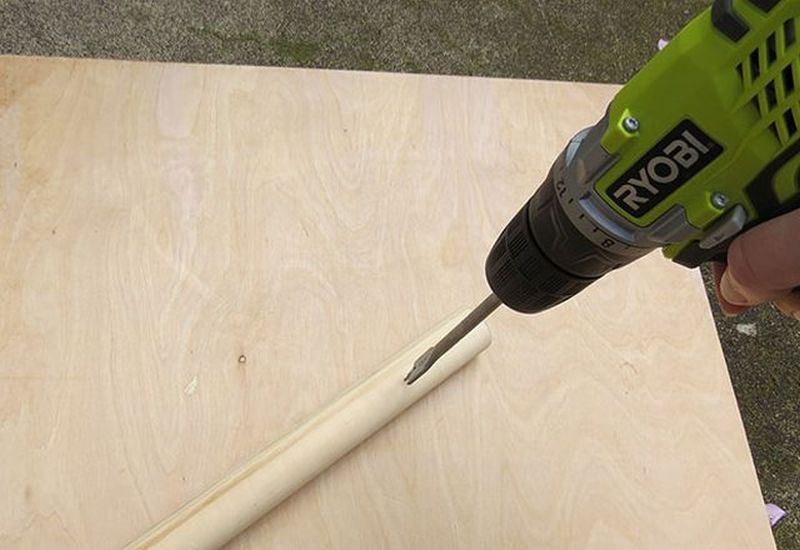
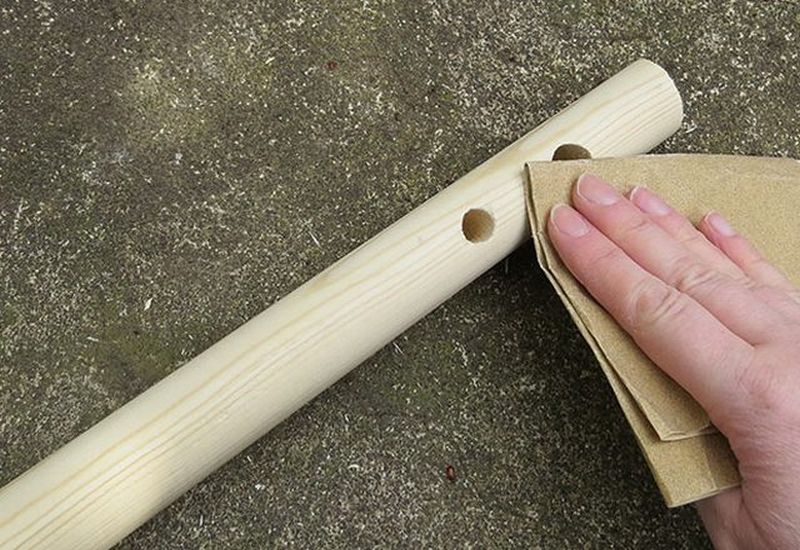
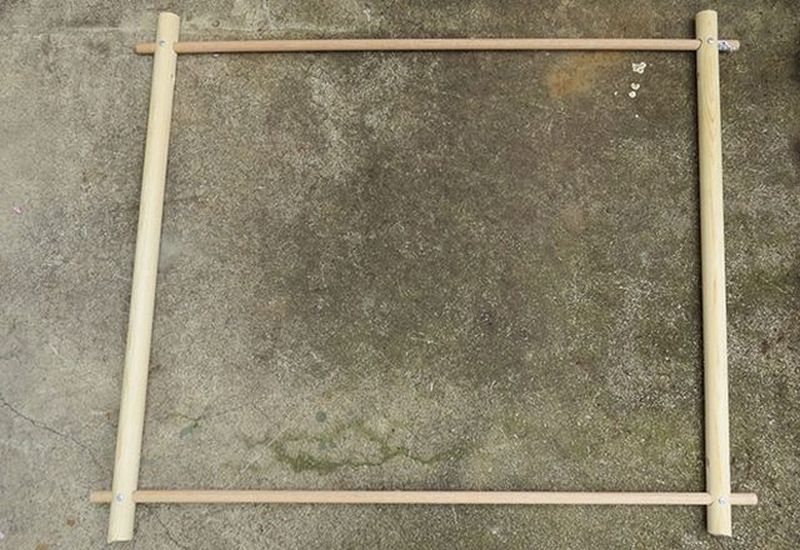
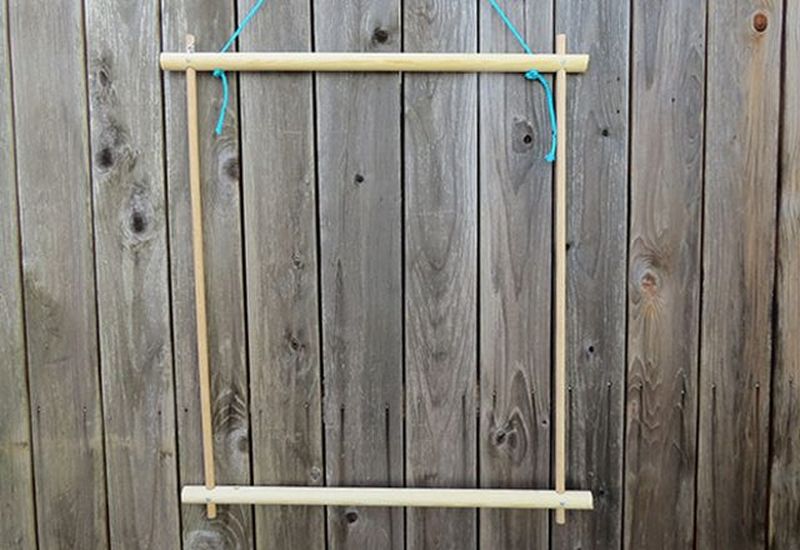
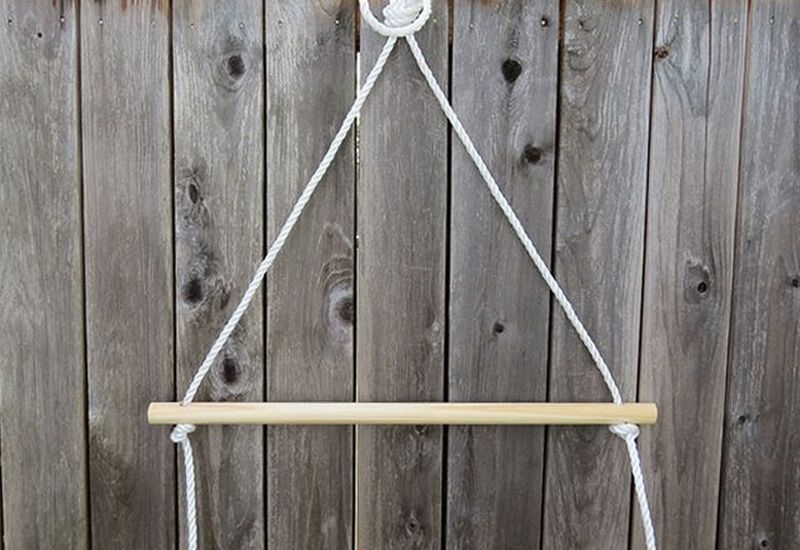
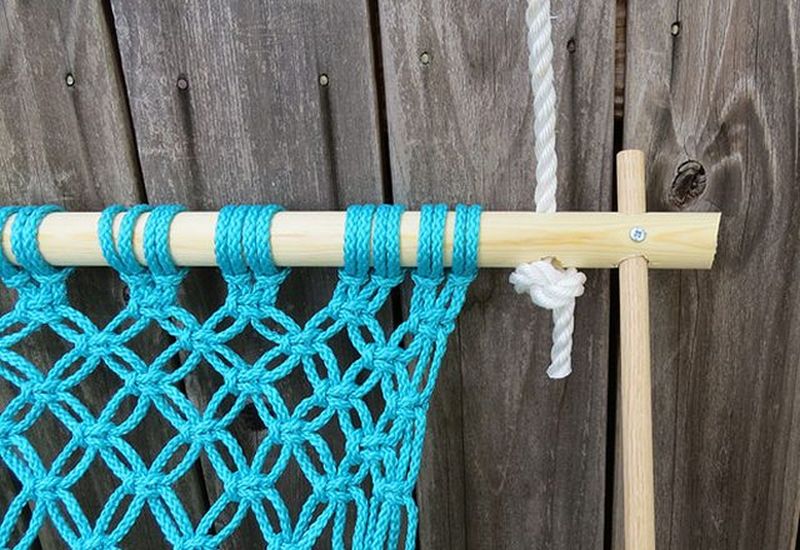
To start the project, drill holes on the large dowels and fasten the thinner dowels to create a square frame for the seat. Use wood screws to secure the frame and remember to leave overlaps at all ends. Also, drill two more holes at the top of the frame for hanging the hammock.
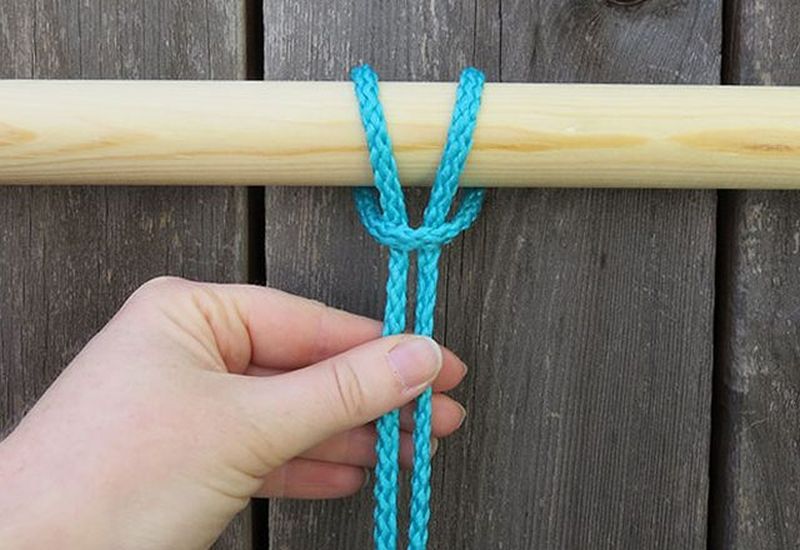
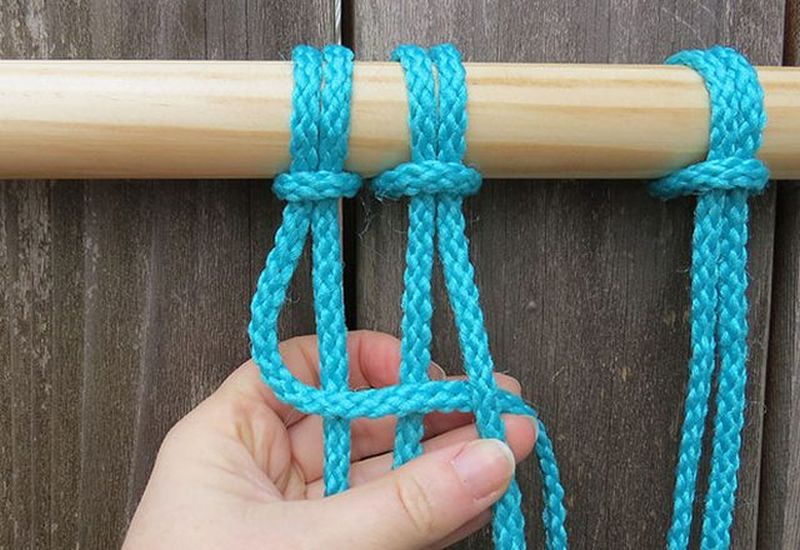
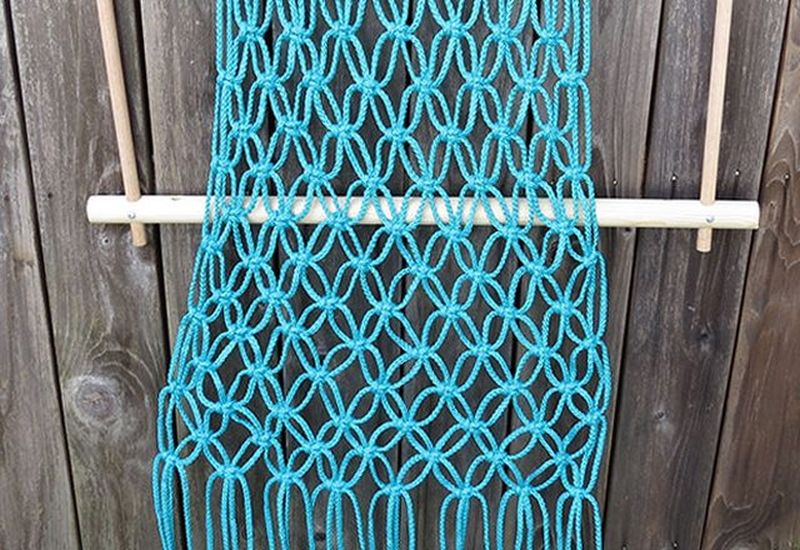
Now it is time to start the macramé process but make sure to hang the frame on a wall so that you can easily knot ropes. Head over to this tutorial by Hunker to get the detailed information about the macramé pattern. They have used 16 pieces of macramé cord and wrapped the cords around the larger dowel. You’ll be crossing four strands from right to left and vice versa to create a square knot.
Also Read: 15 Hammock Designs that Look Like Sculptures
Once macramé is complete, attach it to the other side of the wood frame. Now string rope pieces through the dowels and you’re ready to hang the macramé hammock. The macramé seat should be longer than the frame so that it hangs loose and creates a comfy retreat.
It is an easy DIY project, all it requires is moderate macramé skills.

Via: Hunker
Follow Homecrux on Google News!
